
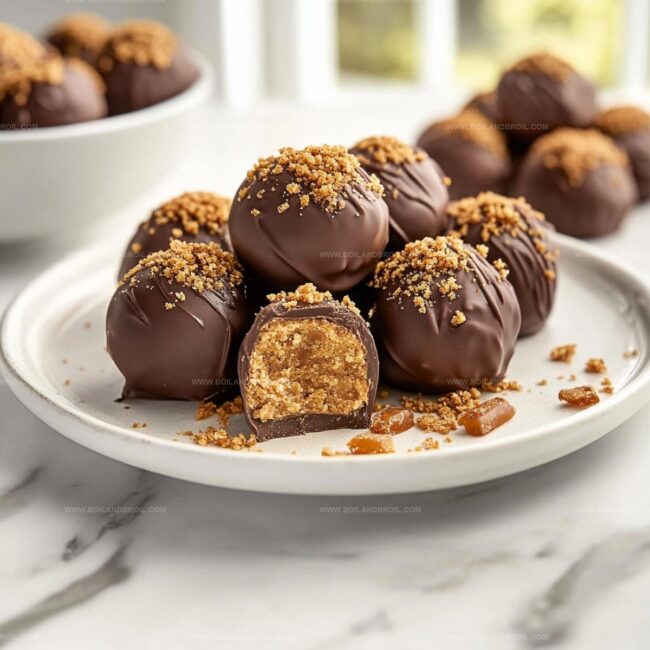
Try This No-Bake Irresistible Butterfinger Balls Recipe Today
Crafting these delectable Butterfinger balls promises a sweet adventure that will spark joy in every bite.
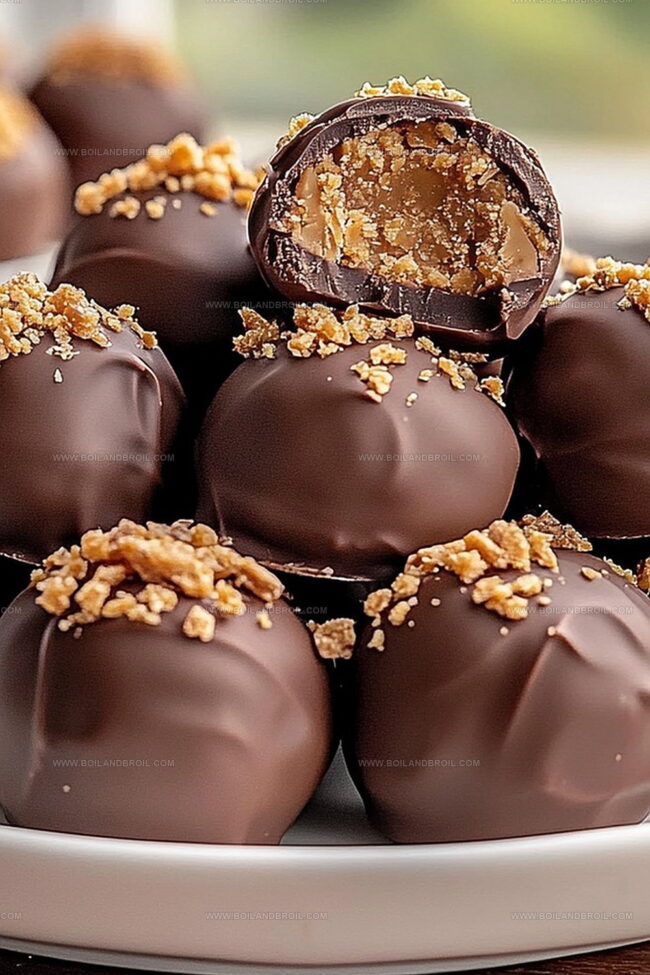
Chocolate and candy bars dance together in a playful dessert celebration.
Creamy peanut butter binds each morsel with rich, indulgent flavor.
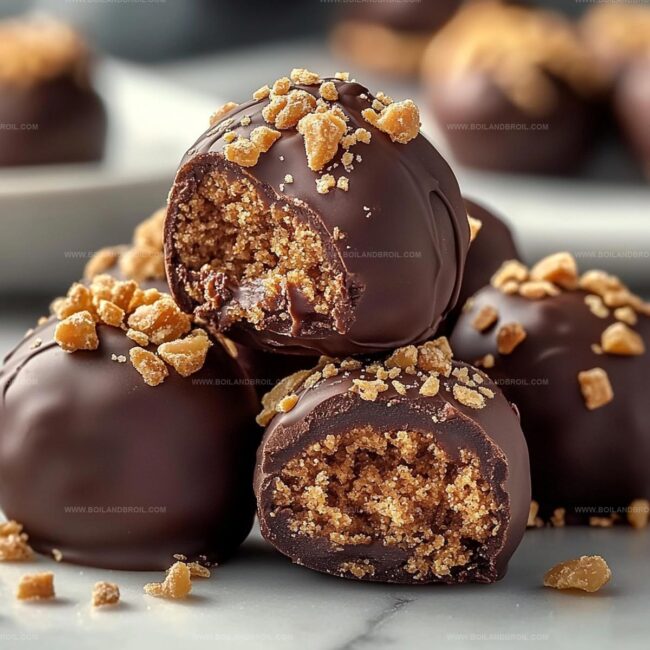
Crumbled Butterfinger pieces add delightful crunch and unexpected texture to these no-bake treats.
Home cooks can whip up this simple recipe in minutes, turning ordinary ingredients into extraordinary delights.
Minimal effort yields maximum satisfaction with these irresistible spheres of happiness.
Prepare to impress everyone at your next gathering with this crowd-pleasing confection.
What Makes Butterfinger Balls So Addictive
Everything You Need for Butterfinger Balls
How to Make Irresistible Butterfinger Balls
Step 1: Whip Up the Creamy Base
Grab a mixing bowl and toss in peanut butter, confectioners sugar, and vanilla extract.
Mix thoroughly until the ingredients transform into a smooth, velvety dough that holds together perfectly.
Step 2: Shape Delightful Rounds
Use a spoon to scoop out portions of the mixture.
Roll each scoop between your palms, creating bite-sized spheres.
Gently place each ball on a parchment-lined baking sheet.
Continue until you’ve used all the mixture.
Step 3: Chill and Firm
Pop the baking sheet into the freezer.
Let the balls hang out and get nice and firm for about half an hour.
This helps them stay together during the chocolate dipping process.
Step 4: Melt Chocolate Magic
Select a microwave-safe bowl.
Combine chocolate chips and coconut oil.
Microwave in short bursts, stirring between each interval, until the mixture becomes silky smooth and glossy.
Step 5: Chocolate Dunking Extravaganza
Take each chilled ball and lovingly dunk it into the melted chocolate.
Gently tap off excess chocolate, allowing a perfect coating to embrace each bite.
Return the chocolate-covered balls to the parchment-lined sheet.
Step 6: Final Chill and Serve
Slide the baking sheet back into the refrigerator.
Give the treats about 30 minutes to set completely.
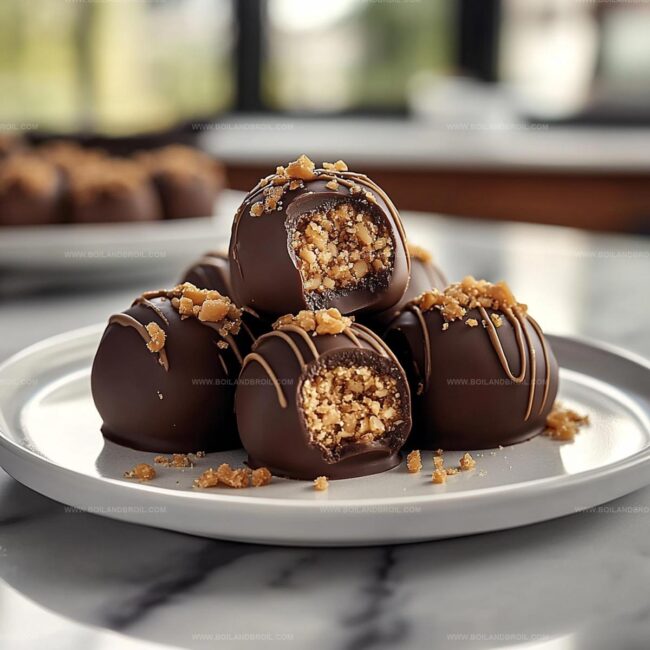
The chocolate will harden into a beautiful shell, creating an irresistible treat that’s ready to devour and share with friends and family.
Butterfinger Balls Tips to Remember
Keep Butterfinger Balls Fresh and Tasty
Tasty Pairings for Butterfinger Balls
Fun Twists for Butterfinger Balls
FAQs
Yes, you can substitute almond butter or cashew butter for a different flavor profile. Just ensure it’s creamy and has a similar consistency.
Use parchment paper or a silicone mat between layers when placing the balls in the freezer. This prevents them from sticking and keeps their shape intact.
Ensure the chocolate is melted completely and use a fork or dipping tool to help coat the balls evenly. Tap the fork gently on the bowl’s edge to remove excess chocolate.
Absolutely! You can prepare the Butterfinger Balls up to a week in advance and store them in an airtight container in the refrigerator. They’re perfect for make-ahead desserts or party treats.
Print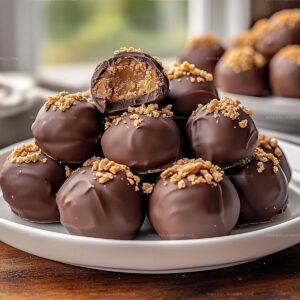
Irresistible Butterfinger Balls Recipe
- Total Time: 1 hour 15 minutes
- Yield: 12 1x
Description
Butterfinger balls deliver a rich, chocolatey paradise of sweet indulgence. Creamy peanut butter and crushed candy bars combine into bite-sized delights that will enchant dessert enthusiasts with their simple yet irresistible charm.
Ingredients
Main Ingredients:
- 1 cup (240 ml) creamy peanut butter
- 2 cups (340 g) chocolate chips (milk or dark chocolate)
- 1 cup (120 g) confectioners sugar
Secondary Ingredients:
- 1 teaspoon (5 ml) vanilla extract
Optional Ingredients:
- 1 tablespoon (15 ml) coconut oil (optional)
Instructions
- Prepare a smooth, luxurious mixture by combining peanut butter, confectioners sugar, and vanilla extract in a mixing bowl. Whisk thoroughly until the ingredients meld into a cohesive, thick dough.
- Using a tablespoon, carefully shape the mixture into uniform spherical portions. Gently roll each portion between your palms to create perfectly round balls.
- Transfer the formed balls onto a parchment-lined baking sheet, ensuring they are not touching each other.
- Place the baking sheet in the freezer for 30 minutes, allowing the balls to become firm and maintain their shape during chocolate coating.
- Create a silky chocolate coating by melting chocolate chips and coconut oil in a microwave-safe bowl. Heat in 30-second intervals, stirring between each interval until the mixture becomes completely smooth and glossy.
- Remove the chilled balls from the freezer and carefully dip each one into the melted chocolate, ensuring complete coverage. Gently tap the utensil to remove excess chocolate.
- Return the chocolate-coated balls to the parchment-lined baking sheet, maintaining space between each piece.
- Refrigerate for an additional 30 minutes until the chocolate shell hardens completely, creating a crisp, glossy exterior.
- Once set, transfer the Butterfinger Balls to a serving platter and indulge in these delectable treats.
Notes
- Swap peanut butter with almond or sunflower seed butter for nut-free alternative and accommodate allergies.
- Chill balls thoroughly before dipping to prevent crumbling and ensure smooth chocolate coating.
- Use dark chocolate for richer flavor or white chocolate for different visual appeal and taste variation.
- Crush extra Butterfinger candy bars as decorative topping for added crunch and intense flavor boost.
- Prep Time: 15 minutes
- Cook Time: 1 hour
- Category: Desserts, Snacks
- Method: Chilling
- Cuisine: American
Nutrition
- Serving Size: 12
- Calories: 152
- Sugar: 12 g
- Sodium: 60 mg
- Fat: 8 g
- Saturated Fat: 4 g
- Unsaturated Fat: 3 g
- Trans Fat: 0 g
- Carbohydrates: 19 g
- Fiber: 1 g
- Protein: 3 g
- Cholesterol: 0 mg
Jack Sullivan
Founder & Culinary Storyteller
Expertise
Single-recipe development with a narrative approach, Culinary storytelling and food history, Seasonal and regional ingredient utilization, Home cooking techniques adapted for modern kitchens
Education
New England Culinary Institute (Montpelier, VT)
Certificate in Culinary Arts
Focused on farm-to-table cooking, sustainable practices, and modern plating techniques.
Asheville-Buncombe Technical Community College
Associate Degree in Culinary Arts
Emphasized Southern Appalachian cuisine and local ingredient sourcing.
Jack grew up surrounded by smoky skillets and handwritten recipes in the mountains of North Carolina. His roots in Appalachian cooking shaped the way he sees food – as something that connects people, tells a story, and holds meaning.
With hands-on training and a background in sustainable, regional cooking, Jack started Boil And Broil to make meaningful meals more accessible. He’s all about one-dish recipes that are simple to follow but rich with flavor and history.