Whip Up Soft Lady Fingers: Simple Recipe for Sweet Success
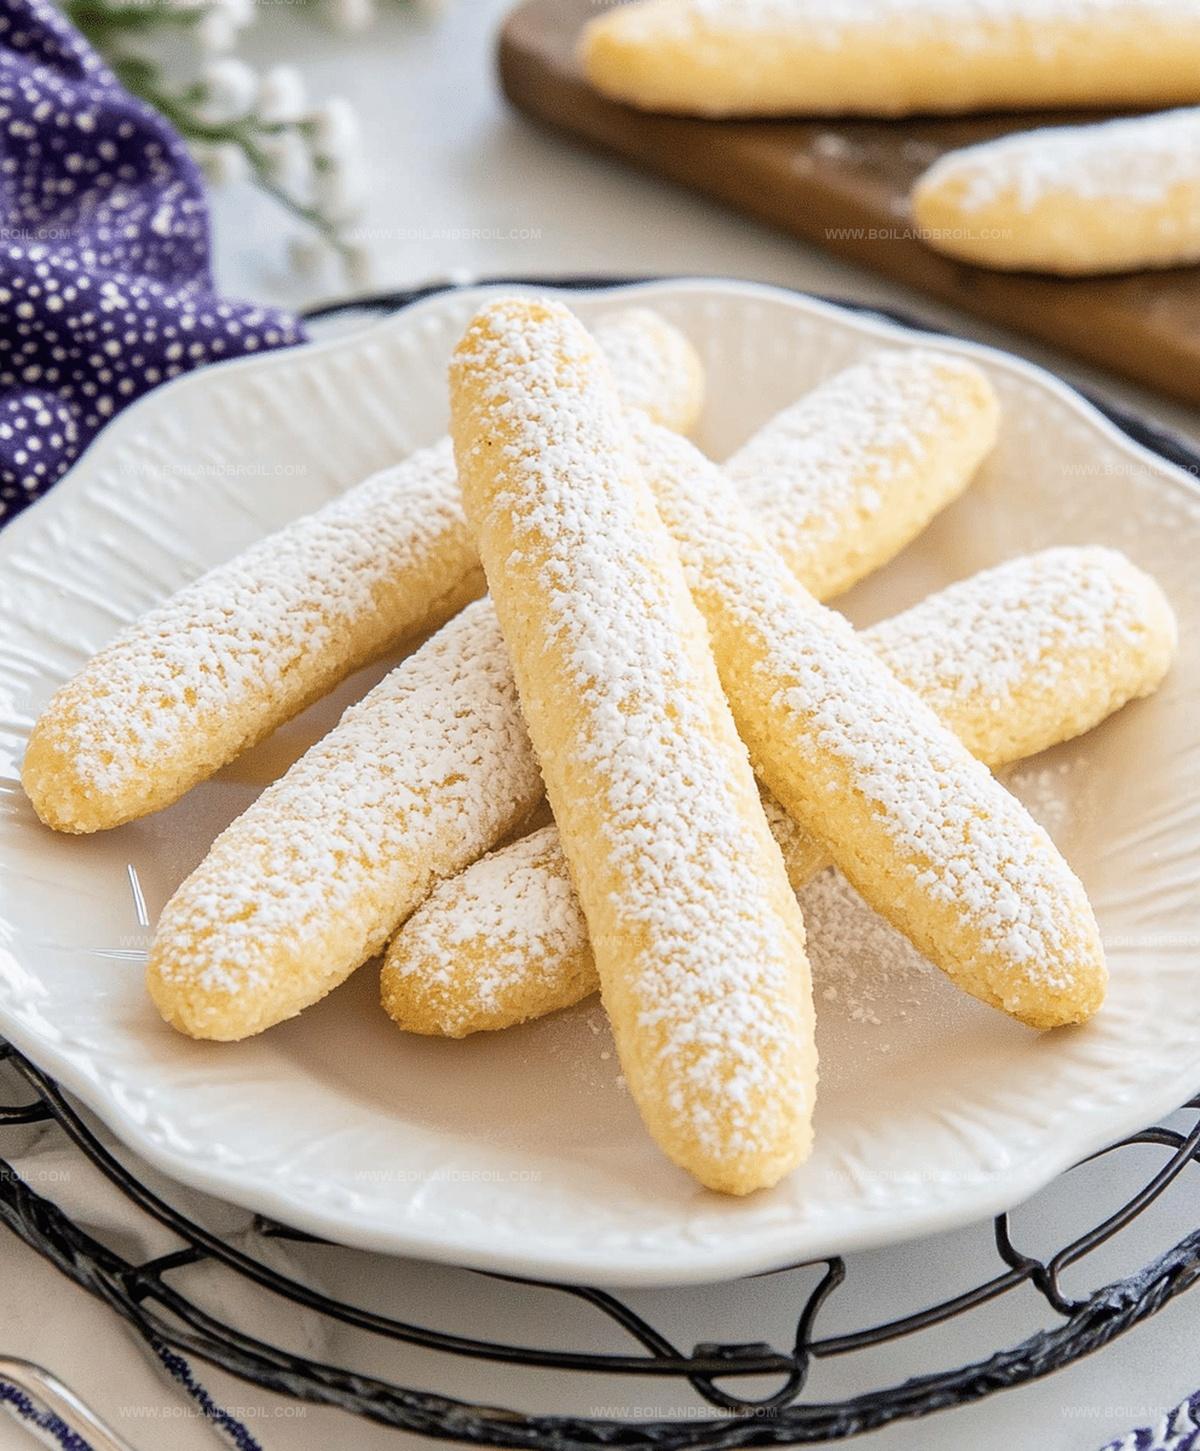
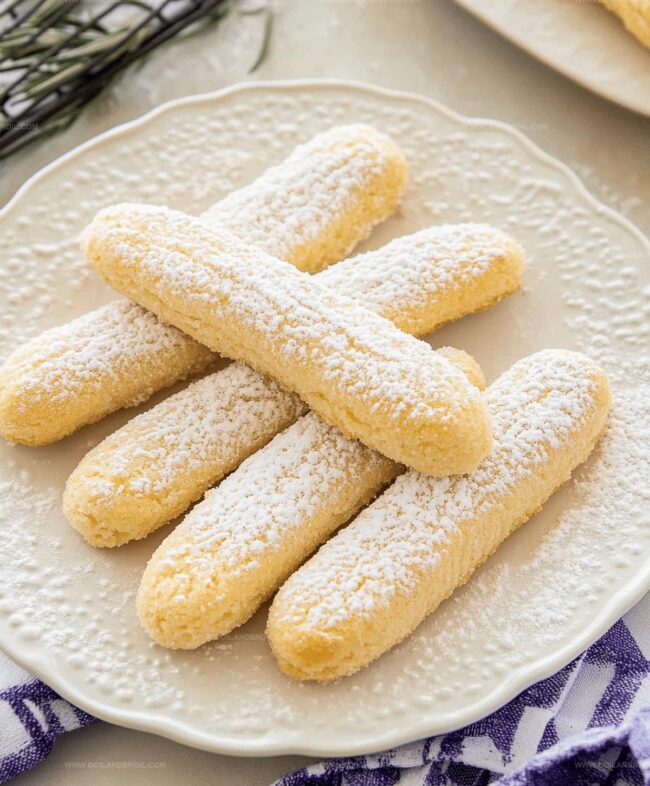
Delicate and elegant, these lady fingers dance between crisp texture and sweet sophistication.
Baking lady fingers perfectly requires a gentle touch and precise technique.
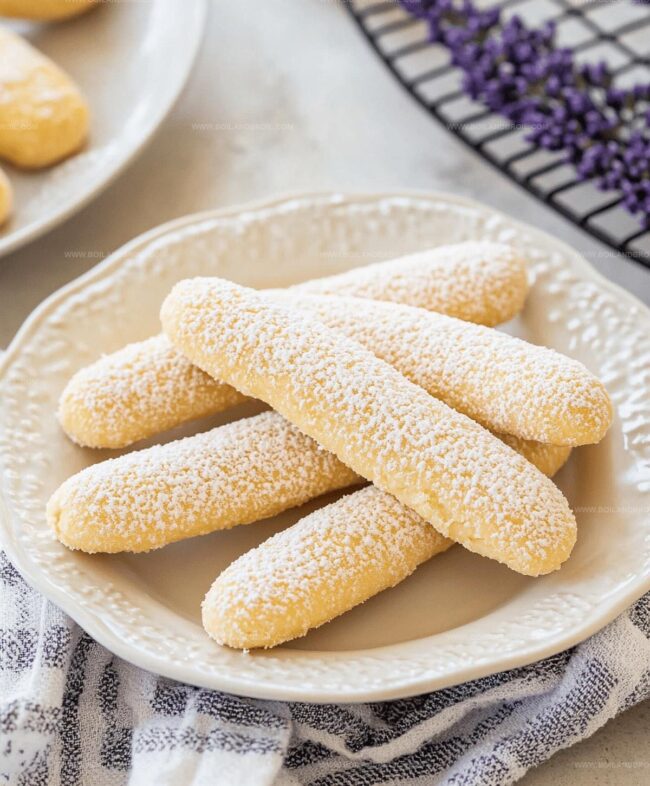
Each golden-hued cookie carries the promise of delightful desserts and classic European pastry traditions.
Light as air and subtly sweet, these delicate biscuits serve as a sublime base for tiramisu or elegant tea-time treats.
Soft meringue folded with flour creates their signature airy structure that melts gracefully on your palate.
Professional bakers and home cooks alike cherish these versatile cookies for their simplicity and charm.
Embrace the art of crafting these delectable morsels and elevate your dessert repertoire with this timeless recipe.
Lady Fingers Baking Tips
Best Way to Store and Enjoy Later
What Goes Well with Lady Fingers
Creative Twists for Lady Fingers
FAQs
Ladyfingers are versatile cookies often used in classic desserts like tiramisu, trifles, charlottes, and as a base for many European-style cakes. They absorb liquid well and provide a light, spongy texture to layered desserts.
While a piping bag gives the traditional shape, you can use a zip-lock bag with a corner cut off or carefully spoon the batter onto the baking sheet. The texture might be slightly less uniform, but they’ll still taste delicious.
Gentle folding preserves the air bubbles in the whipped egg whites, which gives ladyfingers their light, airy texture. Rough mixing will deflate the batter and result in dense, flat cookies.
Properly whipped egg whites should form stiff, glossy peaks that hold their shape when the whisk is lifted. They should look smooth and not grainy, and the peaks should stand up straight without falling over.
What Makes Lady Fingers So Delightful
Ingredients for Classic Lady Fingers
Eggs:Dry Ingredients:Sweeteners and Flavor:Steps to Make Perfect Lady Fingers
Step 1: Prepare Baking Setup
Warm up the oven to a toasty 400°F.
Line two baking sheets with parchment paper.
Get a pastry bag ready with a round tip that’s half an inch wide.
Step 2: Whip Fluffy Egg Whites
Grab a clean mixing bowl and beat egg whites on high speed.
Watch them transform into soft, pillowy peaks within 1-2 minutes.
Sprinkle in some sugar and continue beating until the mixture becomes glossy and stands up proudly.
Step 3: Create Silky Egg Yolk Mixture
In another bowl, blend egg yolks with vanilla and remaining sugar.
Whip on medium-high speed until the mixture turns light and fluffy.
You’ll see the color shift to a gorgeous pale yellow.
Step 4: Combine Delicate Mixtures
Gently fold egg whites into the yolk mixture using a rubber spatula.
Work with a light touch to keep the air in the batter.
Sift in dry ingredients:Fold carefully until everything is perfectly blended.
Step 5: Pipe Elegant Fingers
Fill your pastry bag with the delicate batter.
Pipe 3-inch long fingers onto the prepared baking sheets.
Space them about 2 inches apart, creating neat rows of delicate treats.
Step 6: Add Sweet Finishing Touch
Dust the piped fingers with a light sprinkle of powdered sugar.
This will create a magical crisp exterior when baked.
Step 7: Bake to Golden Perfection
Slide the baking sheets into the oven.
Bake for 12-15 minutes until the fingers turn a beautiful golden color and feel firm when touched.
Watch closely to prevent overcooking.
Step 8: Cool and Serve
Allow the lady fingers to cool completely on the baking sheet.
Once cooled, they’re ready to be enjoyed solo or as part of a spectacular dessert creation.
Print
Lady Fingers Recipe
- Total Time: 30 minutes
- Yield: 8 1x
Description
Sweet Italian lady fingers dance with delicate elegance, offering a classic dessert foundation perfect for tiramisu or elegant pastry garnishes. Crisp, light cookies provide a simple yet sophisticated treat sure to delight dessert enthusiasts with their gentle crunch and subtle sweetness.
Ingredients
Main Ingredients:
- 4 large eggs (separated)
- 2/3 cup (134 g) granulated sugar
- 1 cup (120 g) all-purpose flour
Leavening Agents:
- 1/2 teaspoon baking powder
- 2 tablespoons cornstarch
Flavor and Finishing:
- 1/2 teaspoon vanilla extract
- Powdered sugar (for dusting)
Instructions
- Prepare the oven to 400°F and line two baking sheets with parchment paper. Equip a pastry bag with a 1/2-inch round tip.
- Whip egg whites in a clean bowl until soft peaks form. Gradually add sugar while beating until stiff and glossy peaks develop, approximately 2-3 minutes.
- In a separate bowl, combine egg yolks, vanilla, and remaining sugar. Blend until the mixture becomes pale and thick, creating a fluffy texture.
- Delicately incorporate half the whipped egg whites into the yolk mixture using a rubber spatula. Gently sift flour, cornstarch, and baking powder into the batter, folding carefully to maintain volume.
- Fill the prepared piping bag with the batter. Pipe 3-inch long finger-shaped strips onto the parchment, spacing them 2 inches apart. Ensure each ladyfinger is approximately 1 inch wide.
- Sprinkle a light layer of powdered sugar over the piped ladyfingers to create a delicate, crisp exterior.
- Bake in the preheated oven for 12-15 minutes. Watch carefully until the ladyfingers turn golden and feel firm when touched.
- Remove from the oven and allow to cool completely on the baking sheet. Transfer to a wire rack for storage or immediate use in dessert preparations.
Notes
- Handle egg whites with extreme care to maintain their delicate, airy structure during folding, ensuring maximum volume and lightness in your ladyfingers.
- Use room temperature eggs for better volume and smoother incorporation, which helps create a more consistent and tender texture in the final product.
- Sift dry ingredients like flour and cornstarch to prevent lumps and create a smoother, more refined batter that will result in more delicate ladyfingers.
- Prep Time: 15 minutes
- Cook Time: 15 minutes
- Category: Desserts, Snacks
- Method: Baking
- Cuisine: Indian
Nutrition
- Serving Size: 8
- Calories: 143
- Sugar: 17 g
- Sodium: 41 mg
- Fat: 3 g
- Saturated Fat: 1 g
- Unsaturated Fat: 2 g
- Trans Fat: 0 g
- Carbohydrates: 27 g
- Fiber: 0.5 g
- Protein: 4 g
- Cholesterol: 86 mg
Clara Thompson
Recipe Developer & Culinary Educator
Expertise
Developing accessible single-serving recipes, Food writing and content creation, Plant-based and allergen-friendly cooking, Culinary education and workshop facilitation
Education
Oregon Culinary Institute (Portland, OR)
Diploma in Culinary Arts
Specialized in plant-based cooking and sustainable kitchen practices.
Portland Community College
Certificate in Food Writing and Media
Focused on recipe writing, food photography, and digital content creation.
Clara’s food journey began with a curiosity for color, texture, and ingredients pulled straight from the garden. Her background in plant-forward cooking and creative writing gives her a unique edge – she makes healthy, flavorful food feel inviting, not intimidating.
She specializes in meals that work for busy lives and different diets, all without sacrificing taste. Clara’s voice comes through in every recipe she writes – clear, kind, and encouraging.