
Easy Little Debbie Christmas Tree Cake Balls Recipe for Fun Treats
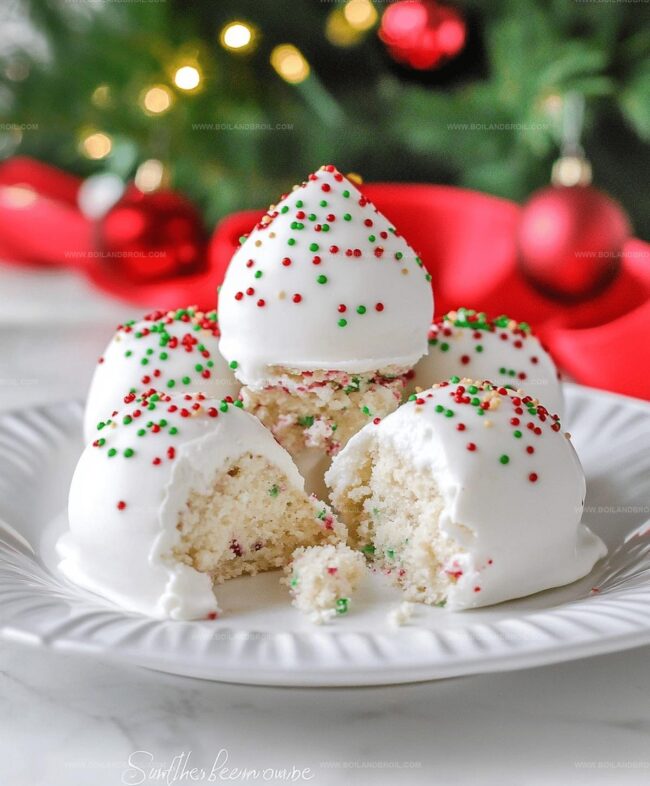
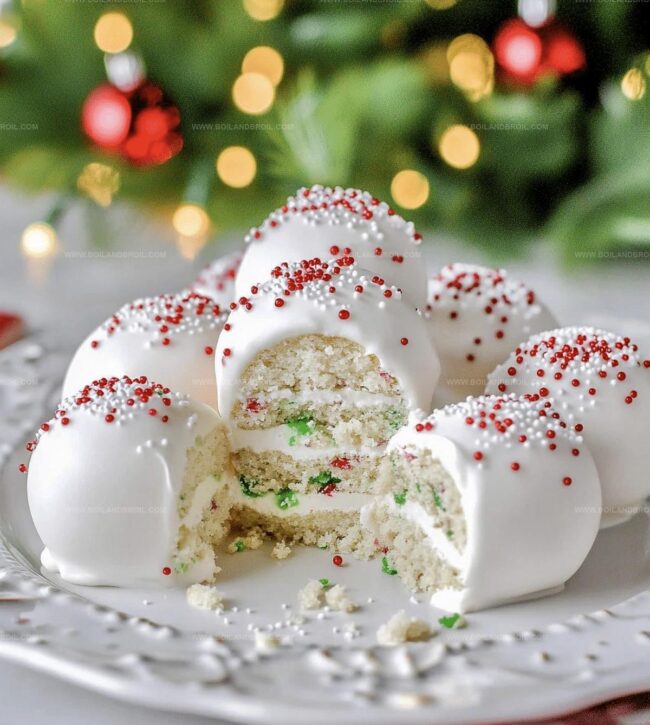
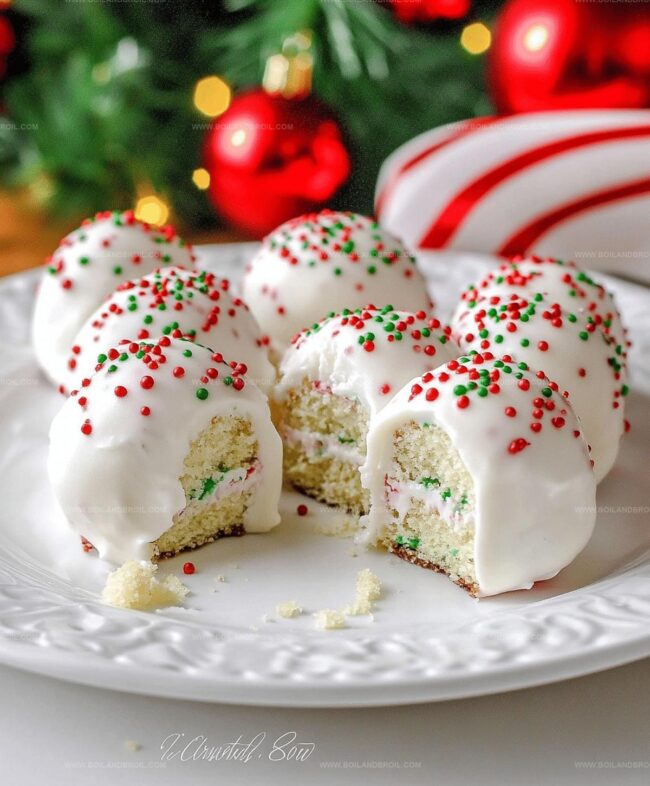
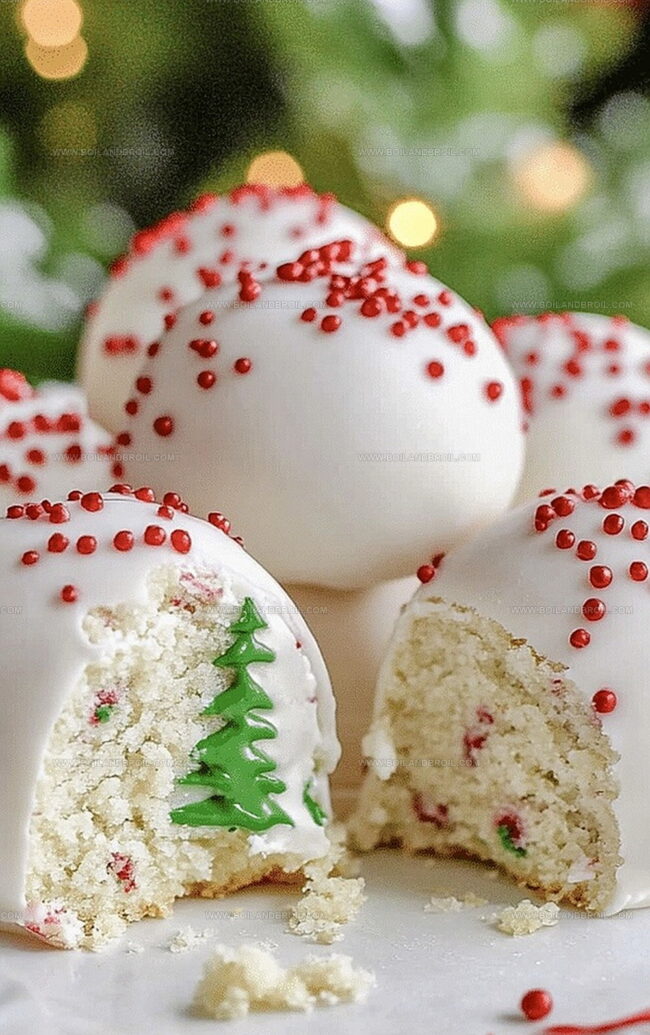
Festive holiday treats sparkle with nostalgia when you whip up these delightful little Debbie Christmas tree cake balls that remind everyone of childhood memories.
Sweet crumbs of classic snack cakes blend into irresistible bite-sized delights.
Chocolate and sprinkles add extra magic to these simple yet charming desserts.
Soft cake centers coated in rich chocolate create a perfect winter celebration treat.
Winter gatherings call for something special and unexpected.
Each cake ball brings a burst of cheerful flavor that connects generations.
Serve these delectable bites and watch everyone smile with pure joy.
Why Cake Balls Are So Fun to Make
Ingredients for Little Debbie Cake Balls
Base Ingredients:Coating Ingredients:Decorative Ingredients:How to Form Tree Cake Balls Fast
Step 1: Crush Christmas Tree Cakes
Unwrap the Little Debbie Christmas Tree Cakes and place them in a large mixing bowl.
Break them down completely into crumbly pieces.
Mix in softened cream cheese, blending until the mixture becomes a smooth, cohesive dough that holds together perfectly.
Step 2: Shape Delightful Cake Balls
Grab small portions of the dough and roll them into smooth, uniform balls using your palms.
If the mixture feels sticky, lightly coat your hands with cooking spray or a touch of vegetable oil.
Arrange the cake balls on a parchment-lined baking sheet.
Refrigerate for at least two hours to firm them up completely.
Step 3: Prepare Vanilla Coating
Select a microwave-safe bowl for melting vanilla almond bark.
Heat the coating in short 30-second bursts, stirring between each interval to ensure smooth, even melting.
Avoid overheating to prevent burning or seizing of the chocolate.
Step 4: Coat with Vanilla Goodness
Remove the chilled cake balls from the refrigerator.
Using a dipping fork or chocolate dipping tool:Step 5: Create Festive Drizzle
Melt red candy melts using the same microwave technique.
Transfer to a piping bag or resealable plastic bag.
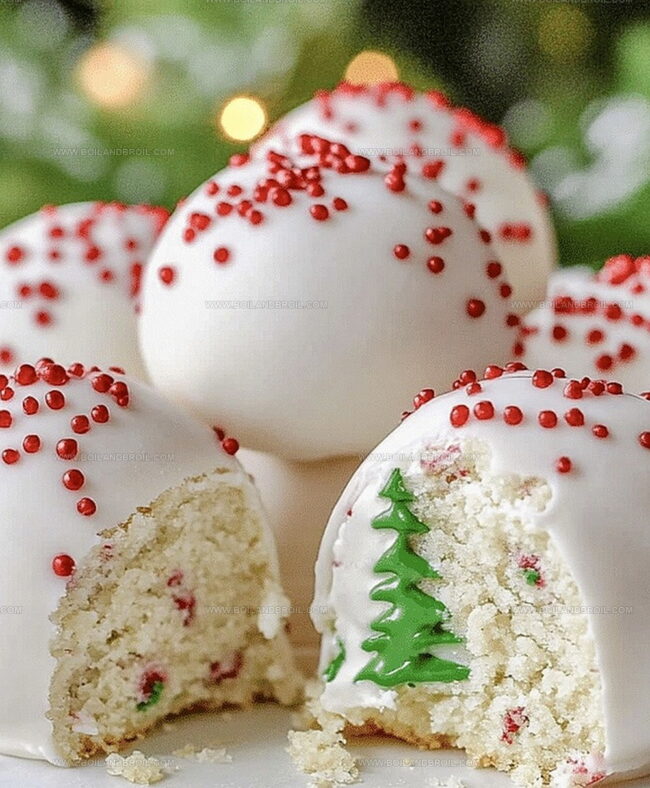
Snip a tiny corner and create delicate, wavy lines across the coated cake balls to mimic the original Christmas Tree Cake design.
Step 6: Chill and Serve
Place the decorated cake balls in the refrigerator for about 10 minutes to set the coating completely.
Once firm and glossy, they’re ready to delight friends and family with a nostalgic holiday treat.
Helpful Hints for Tree Cake Balls
How to Keep Tree Cake Balls Fresh
Best Pairings for Tree Cake Balls
Tree Cake Ball Flavors to Explore
FAQs
You’ll need Little Debbie Christmas Tree Cakes, cream cheese, vanilla almond bark, red candy melts, and green sanding sugar.
Yes! You can prepare the cake balls and chill them overnight before coating with almond bark. The completed cake balls can also be stored in the refrigerator for several days.
No special equipment is required. You’ll just need a mixing bowl, baking sheet, parchment paper, and a microwave-safe bowl for melting coatings.
This recipe usually yields around 18-24 cake balls, depending on the size you roll them. The exact number can vary based on how large or small you make each ball.
Print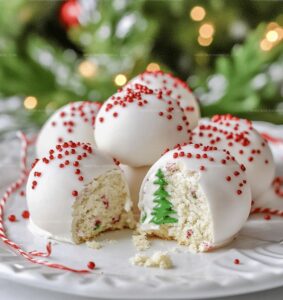
Little Debbie Christmas Tree Cake Balls Recipe
- Total Time: 2 hours 25 minutes
- Yield: 24 1x
Description
Festive Little Debbie Christmas Tree Cake Balls blend nostalgic holiday cheer with playful dessert creativity. Sweet memories of childhood treats melt into delightful bite-sized spheres that bring winter magic right to your plate.
Ingredients
Main Ingredients:
- 10 Little Debbie Christmas Tree Cakes (2 boxes)
- 8 ounces (226 grams) cream cheese, softened
Coating Ingredients:
- 16 ounces (454 grams) vanilla almond bark
- 1 cup red candy melts
Decorative Ingredient:
- Green sugar sanding
Instructions
- Create a foundational mixture by crumbling the Christmas Tree Cakes into fine pieces in a large mixing bowl. Incorporate softened cream cheese and blend thoroughly until a cohesive, dense mixture forms with a uniform texture.
- Using clean hands, portion the mixture and shape into uniform spherical balls approximately one inch in diameter. Lightly coat hands with cooking spray to minimize sticking during the rolling process.
- Arrange cake balls on a parchment-lined tray and refrigerate for 2 hours until completely firm and chilled. Cooling helps maintain structural integrity during coating.
- Melt vanilla almond bark in a microwave-safe container, heating at 50% power in 30-second increments. Stir between intervals to ensure smooth, consistent melting without scorching.
- Carefully submerge each chilled cake ball into melted almond bark using a dipping fork. Allow excess coating to drip off, then place on prepared baking sheet.
- While coating remains wet, sprinkle green sanding sugar over each ball to create festive decoration. Ensure even coverage for consistent appearance.
- Melt red candy melts using identical microwave technique as almond bark. Transfer to a piping bag and create delicate, zigzag drizzles across coated cake balls.
- Refrigerate decorated cake balls for 10-15 minutes to solidify coating and set decorative elements. Serve chilled and enjoy your festive treat.
Notes
- Choose slightly stale or refrigerated Christmas Tree Cakes for easier handling and less crumbly texture when mixing.
- Use a small cookie scoop for uniform cake ball sizes and minimize messy hand contact during shaping.
- Work quickly when dipping in almond bark, keeping it at consistent warm temperature to prevent clumping or hardening.
- Substitute regular cream cheese with dairy-free alternatives like vegan cream cheese for lactose-intolerant individuals.
- Pre-freeze cake balls for 15 minutes before dipping to help coating adhere more smoothly and create cleaner edges.
- Prep Time: 10 minutes
- Cook Time: 2 hours 15 minutes
- Category: Desserts, Snacks
- Method: Rolling
- Cuisine: American
Nutrition
- Serving Size: 24
- Calories: 150
- Sugar: 12g
- Sodium: 100mg
- Fat: 8g
- Saturated Fat: 4g
- Unsaturated Fat: 3g
- Trans Fat: 0g
- Carbohydrates: 18g
- Fiber: 0g
- Protein: 1g
- Cholesterol: 15mg
Clara Thompson
Recipe Developer & Culinary Educator
Expertise
Developing accessible single-serving recipes, Food writing and content creation, Plant-based and allergen-friendly cooking, Culinary education and workshop facilitation
Education
Oregon Culinary Institute (Portland, OR)
Diploma in Culinary Arts
Specialized in plant-based cooking and sustainable kitchen practices.
Portland Community College
Certificate in Food Writing and Media
Focused on recipe writing, food photography, and digital content creation.
Clara’s food journey began with a curiosity for color, texture, and ingredients pulled straight from the garden. Her background in plant-forward cooking and creative writing gives her a unique edge – she makes healthy, flavorful food feel inviting, not intimidating.
She specializes in meals that work for busy lives and different diets, all without sacrificing taste. Clara’s voice comes through in every recipe she writes – clear, kind, and encouraging.