
The Best Marble Cake Recipe: Swirled Homemade Goodness
Baking a marble cake brings pure magic into your kitchen with its mesmerizing swirls of chocolate and vanilla.
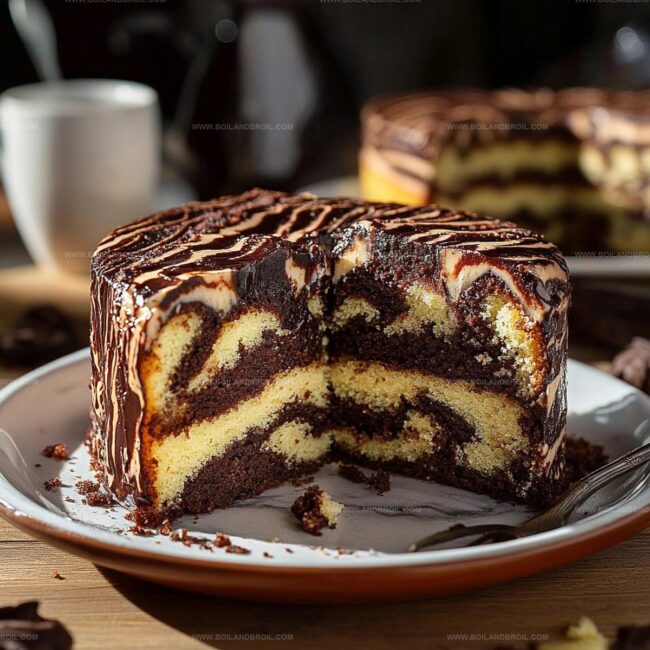
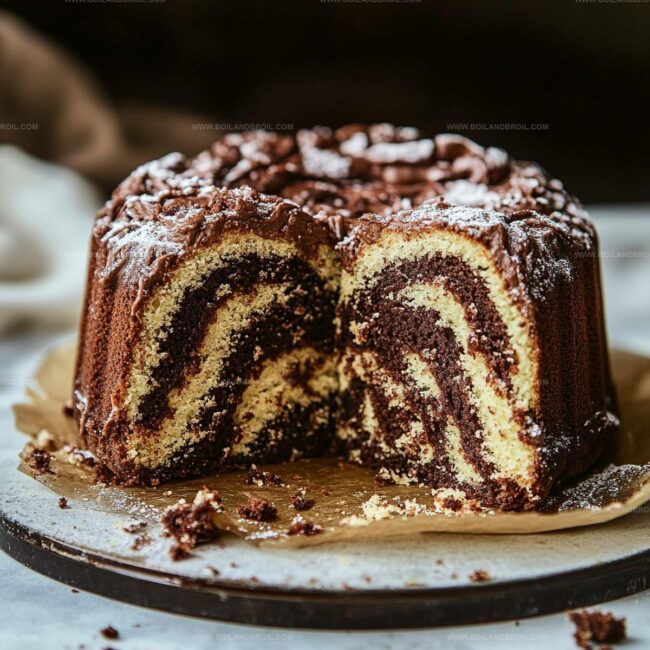
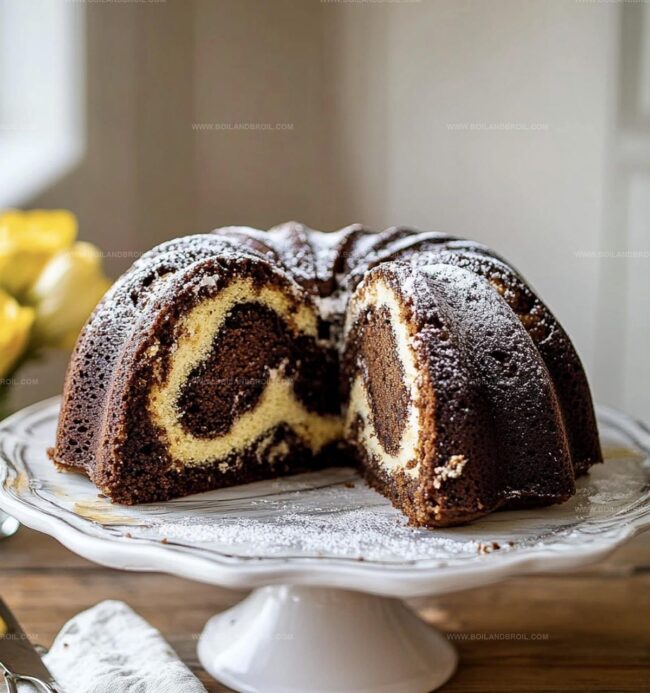
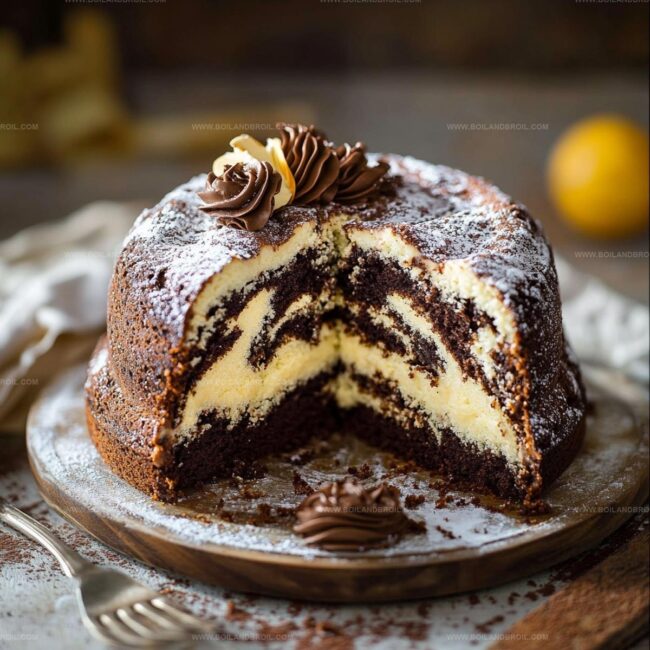
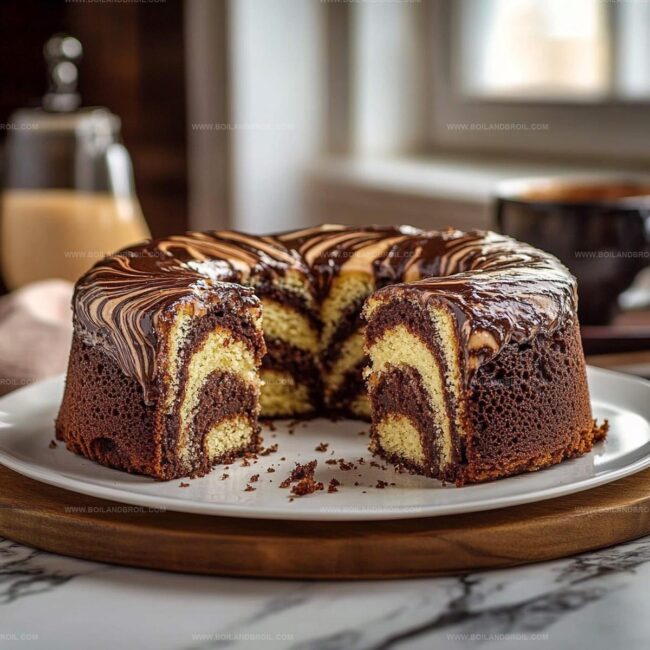
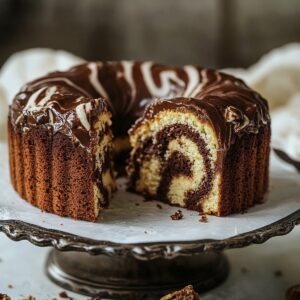
Soft layers intertwine like delicate ribbons, creating a visual masterpiece that promises delightful flavor in every bite.
Mixing techniques make this dessert surprisingly simple for home bakers of all skill levels.
Each slice reveals a stunning pattern that looks professionally crafted yet comes together effortlessly.
Rich cocoa and creamy vanilla dance together, producing a harmonious blend that feels both comforting and elegant.
Whisking ingredients becomes an artistic process, turning ordinary batter into something extraordinary.
You’ll fall in love with how quickly this stunning dessert comes together, making it perfect for spontaneous sweet cravings.
Swirl Variations for Marble Cake Perfection
FAQs
Sifting breaks up any lumps, ensures even distribution of baking powder and salt, and creates a lighter, more uniform cake texture.
Yes, you can substitute whole milk with buttermilk, low-fat milk, or non-dairy alternatives like almond or soy milk without significantly changing the cake’s structure.
Gently drag a knife through the batters 2-3 times in a figure-8 pattern. Avoid over-mixing, which can blend the batters completely and lose the marble effect.
Always grease the pan thoroughly and line the bottom with parchment paper. This ensures easy removal and a perfect cake shape.
What Makes Marble Cake Perfection So Special
Ingredients in Marble Cake Perfection
How to Bake a Swirled Marble Cake
Step 1: Warm Up the Oven
Fire up your oven to a toasty 350F (175C).
Grab a loaf or bundt pan and give it a generous coating of grease, then line it with parchment paper for easy cake removal.
Step 2: Mix Dry Ingredients
Gather your dry ingredients:Sift these together in a bowl to break up any stubborn lumps and create a smooth, light mixture.
Step 3: Cream Butter and Sugar
In a separate large mixing bowl, beat butter and sugar together until they transform into a fluffy, cloud-like mixture.
This process creates tiny air pockets that will make your cake wonderfully light and tender.
Step 4: Add Liquid Ingredients
Crack eggs into the butter mixture one at a time, mixing thoroughly after each addition.
Pour in vanilla extract and mix until everything is beautifully combined.
Step 5: Combine Wet and Dry
Gradually add your dry ingredients and milk to the wet mixture.
Start and end with dry ingredients, alternating between the two.
This technique helps prevent overmixing and keeps the batter smooth.
Step 6: Create Chocolate Batter
Divide the batter into two equal portions.
In one half, whisk cocoa powder with hot water until it becomes a silky smooth chocolate mixture.
Gently fold this into one portion of the batter.
Step 7: Layer and Swirl
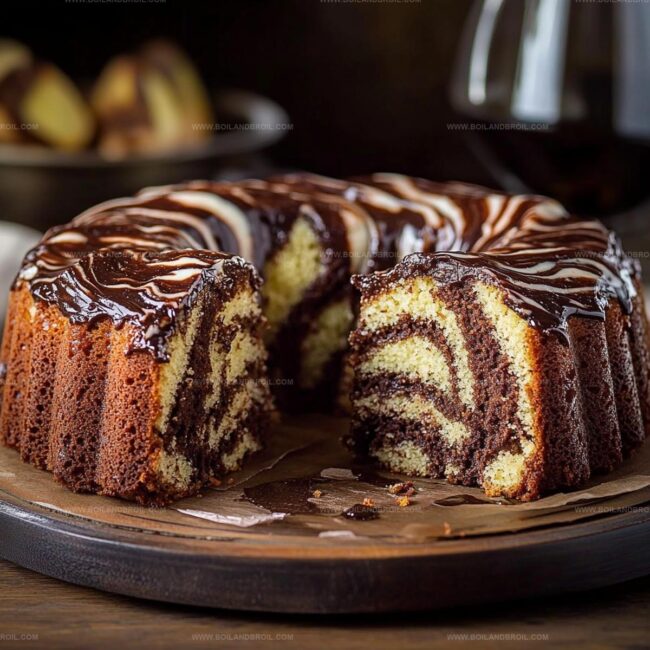
Pour spoonfuls of vanilla and chocolate batters alternately into the prepared pan.
Take a knife and create gentle swirling motions to produce a beautiful marbled effect.
Don’t overmix – you want distinct chocolate and vanilla streaks.
Step 8: Bake to Perfection
Slide the pan into the preheated oven and bake for about 50 minutes.
Check doneness by inserting a toothpick into the center – it should come out clean with just a few moist crumbs.
Step 9: Cool and Serve
Let the cake rest in the pan for 10 minutes to set.
Then transfer to a wire rack and allow it to cool completely.
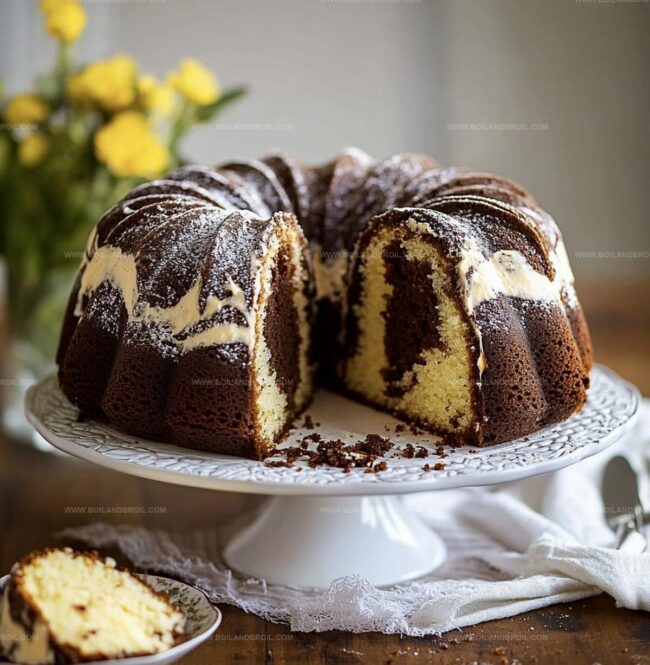
Slice and enjoy your stunning marbled masterpiece!
Tips for Marble Cake Success
Store and Reheat Marble Cake Perfection
Pairing Suggestions for Marble Cake
Marble Cake Recipe
- Total Time: 1 hour 10 minutes
- Yield: 12 1x
Description
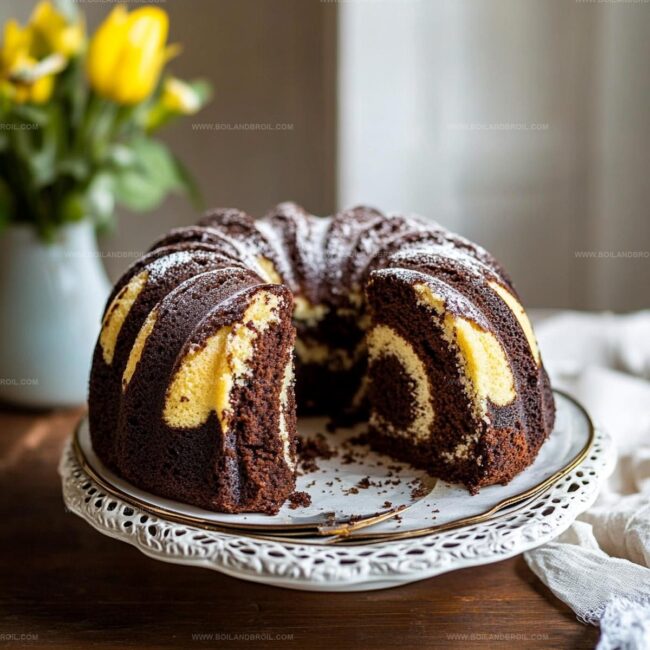
Sweet memories swirl through this classic Marble Cake, blending rich chocolate and vanilla in a delightful dance of flavors. Moist layers intertwine, creating a delectable dessert that invites you to savor each luxurious bite.
Ingredients
Main Ingredients:
- 1 cup (225g) unsalted butter, softened
- 1 3/4 cups (350g) granulated sugar
- 4 large eggs
- 2 1/2 cups (315g) all-purpose flour
- 1 cup (240 ml) milk
Leavening Agents:
- 1 teaspoon baking powder
- 1/2 teaspoon baking soda
- 1/4 teaspoon salt
Flavor Enhancers:
- 1 teaspoon vanilla extract
- 1/4 cup (30g) cocoa powder
- 3 tablespoons hot water
Instructions
- Preheat the oven to 350F (175C) and meticulously prepare a loaf or bundt pan by greasing and lining with parchment paper, ensuring smooth cake removal.
- Sift together dry ingredients – flour, baking powder, baking soda, and salt – creating a light, airy foundation for the cake.
- In a separate mixing bowl, cream butter and sugar until the mixture becomes pale, fluffy, and significantly increases in volume.
- Incorporate eggs individually, thoroughly blending after each addition to maintain a smooth, consistent texture.
- Gently fold in vanilla extract, infusing the batter with aromatic warmth.
- Gradually add dry ingredients and milk to the wet mixture, alternating between the two and starting and ending with dry ingredients to maintain optimal batter consistency.
- Divide the prepared batter into two equal portions, creating separate spaces for vanilla and chocolate variations.
- Mix cocoa powder with hot water until achieving a silky, lump-free chocolate base, then fold into one portion of the batter.
- Transfer batters into the prepared pan by layering alternating spoonfuls of vanilla and chocolate, creating visual intrigue.
- Use a knife to delicately swirl the batters, generating a mesmerizing marble pattern without overmixing.
- Bake for 50 minutes, or until a toothpick inserted into the center emerges clean and dry.
- Allow cake to rest in the pan for 10 minutes, then carefully transfer to a wire rack for complete cooling.
Notes
- Perfectly separate batters by using two distinct mixing bowls to prevent cross-contamination and maintain clean color distinctions.
- Swirl gently with a figure-eight motion using a butter knife or wooden skewer to create elegant, seamless marble patterns without overmixing.
- Use room temperature ingredients, especially eggs and butter, to ensure smooth batter integration and consistent cake texture.
- Prevent dry cake by checking doneness early and removing from oven as soon as the toothpick comes out with minimal moist crumbs, typically around 45-50 minutes.
- Prep Time: 20 minutes
- Cook Time: 50 minutes
- Category: Desserts
- Method: Baking
- Cuisine: American
Nutrition
- Serving Size: 12
- Calories: 370
- Sugar: 29g
- Sodium: 155mg
- Fat: 20g
- Saturated Fat: 12g
- Unsaturated Fat: 8g
- Trans Fat: 0g
- Carbohydrates: 43g
- Fiber: 1g
- Protein: 5g
- Cholesterol: 85mg
Jack Sullivan
Founder & Culinary Storyteller
Expertise
Single-recipe development with a narrative approach, Culinary storytelling and food history, Seasonal and regional ingredient utilization, Home cooking techniques adapted for modern kitchens
Education
New England Culinary Institute (Montpelier, VT)
Certificate in Culinary Arts
Focused on farm-to-table cooking, sustainable practices, and modern plating techniques.
Asheville-Buncombe Technical Community College
Associate Degree in Culinary Arts
Emphasized Southern Appalachian cuisine and local ingredient sourcing.
Jack grew up surrounded by smoky skillets and handwritten recipes in the mountains of North Carolina. His roots in Appalachian cooking shaped the way he sees food – as something that connects people, tells a story, and holds meaning.
With hands-on training and a background in sustainable, regional cooking, Jack started Boil And Broil to make meaningful meals more accessible. He’s all about one-dish recipes that are simple to follow but rich with flavor and history.