The Most Heavenly Martha Washington Candy Recipe Ever
Sweet martha washington candy whispers nostalgic stories of homemade confections passed through generations.
Grandmothers carefully crafted these delectable treats in warm kitchens across america.
Creamy coconut and powdered sugar blend into a delightful mixture that melts smoothly on your tongue.
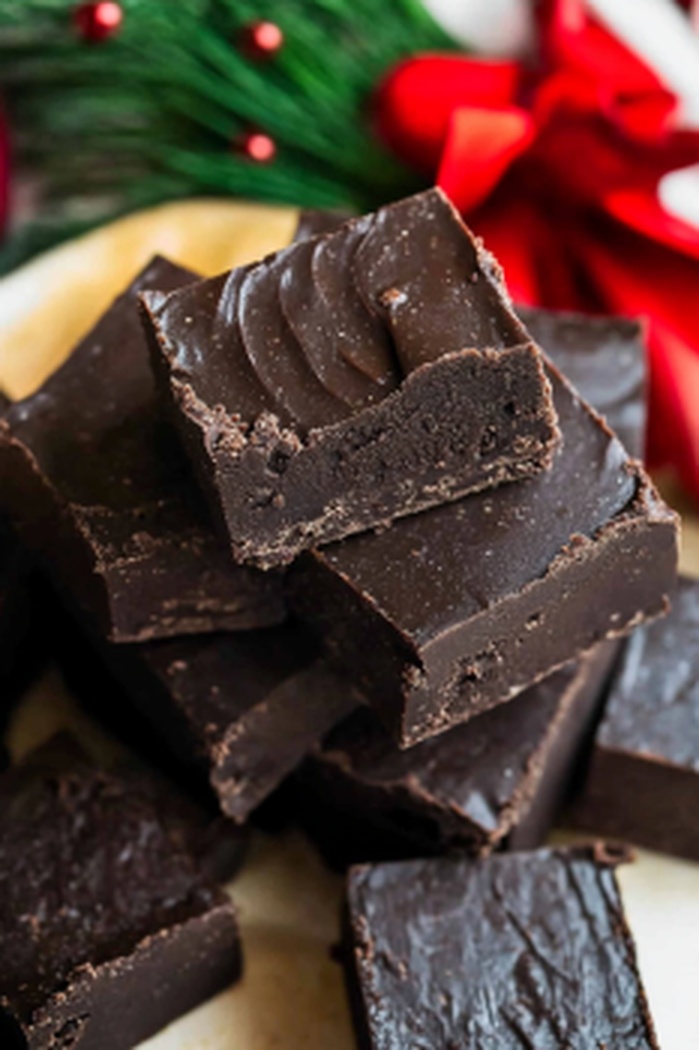
Chocolate coating adds a rich decadence to each perfectly shaped morsel.
Simple ingredients come together with minimal effort, creating a classic dessert that sparks memories.
Chocolate lovers will appreciate the elegant simplicity of this traditional confection.
You can recreate these timeless sweets and share a piece of culinary heritage with those you cherish.
Candy That’s a Classic Holiday Hit Generation After Generation
Festive Family Delight: Craft a charming holiday treat that brings everyone together, creating magical memories with each sweet bite.
Beginner-Friendly Bliss: Whip up these delectable candies with simple steps and basic ingredients, perfect for novice bakers looking to impress.
No-Bake Weekend Wonder: Skip the oven and enjoy a stress-free dessert preparation that requires minimal effort but delivers maximum flavor and fun.
Crowd-Pleasing Customization: Jazz up the recipe by experimenting with different nuts, cherries, or chocolate coatings to suit personal tastes and wow guests.
Boozy Peppermint Truffles Ingredient Guide
Candy Base:
Butter: Creamy base for the candy mixture.
Confectioners' Sugar: Adds sweetness and helps bind ingredients.
Pecans, Cherries: Provide crunch and fruity notes.
Coating Ingredients:
Chocolate Almond Bark, White Candy Melts: Create smooth, sweet chocolate coating for the candies.
Repeating Martha Washington Candy Preparation
Step 1: Prepare Creamy Base
Blend softened butter, powdered sugar, sweetened condensed milk, and vanilla extract in a large mixing bowl until the mixture becomes silky and uniform. Use an electric mixer for best results to ensure everything combines smoothly.
Step 2: Add Delightful Mix-Ins
Gently fold in the following ingredients:
Shredded coconut
Chopped pecans
Maraschino cherries
Stir until all ingredients are evenly distributed throughout the creamy mixture.
Step 3: Chill and Firm
Cover the bowl with plastic wrap and refrigerate for 30 minutes. This cooling period helps the mixture become firm and easier to shape.
Step 4: Shape Delectable Balls
Remove the chilled mixture from the refrigerator. Using clean hands, roll the mixture into small, bite-sized balls. Place each ball on parchment-lined baking sheets, ensuring they are not touching.
Step 5: Complete First Chill
Return the baking sheets to the refrigerator. Allow the candy balls to firm up completely, typically 2 hours or overnight for best results.
Step 6: Prepare Chocolate Coating
Melt chocolate almond bark in a microwave-safe bowl. Heat in short 30-second intervals, stirring between each interval to prevent burning. Continue until the chocolate is completely smooth and glossy.
Step 7: Dip and Coat
Use a fork or toothpick to carefully dip each chilled candy ball into the melted chocolate. Gently tap to remove excess chocolate, then place back on the lined baking sheet.
Step 8: Finish Remaining Batch
Repeat the chocolate dipping process with the second tray of candy balls, reheating the chocolate if needed to maintain a smooth consistency.
Step 9: Add Decorative Touch
Optional: Drizzle melted white candy melts over the chocolate-covered candies for an elegant finishing detail.
Step 10: Set and Serve
Allow the chocolate coating to set completely at room temperature. Once hardened, transfer to a serving platter and enjoy these delightful holiday treats.
Candy Tips That Perfect the Martha Washington Classic
Perfect Chilling Strategy: Refrigerate the mixture for at least 30 minutes to make rolling easier and prevent sticky hands.
Quick Chocolate Coating Trick: Use a fork or toothpick for smooth, even chocolate coverage without messy fingers.
Preserve Freshness Hack: Store candies in an airtight container between layers of parchment paper to maintain texture for up to a week.
Temperature Control Tip: Keep candies refrigerated to prevent chocolate from melting and maintain their firm, delightful shape.
Flavor Enhancement Suggestion: Toast pecans briefly before adding to intensify their nutty flavor and add extra depth to the recipe.
Wrap Martha Washington Candy to Keep It Fresh
Store candies in an airtight container between layers of parchment paper for up to 1 week in the refrigerator. Keep them cool to maintain texture and prevent melting.
Carefully place candies in a freezer-safe container with wax paper separating layers. Freeze for 2-3 months, maintaining quality and flavor.
Remove frozen candies from the freezer and let them sit at room temperature for 15-20 minutes before serving. Avoid microwaving to prevent chocolate from becoming grainy.
Best enjoyed straight from the refrigerator to preserve the chocolate coating and maintain the candy's firm texture. Keep chilled until ready to serve.
Boozy Peppermint Truffles Companions
Chocolate Cherry Harmony: Pair dark chocolate red wine to complement the rich chocolate coating and sweet cherry notes.
Sweet Nutty Contrast: Select a creamy hazelnut liqueur that enhances the pecan crunch and balances the candy's sweetness.
Espresso Bold Companion: Serve strong, freshly brewed espresso to cut through the candy's richness and provide a robust counterpoint.
Sparkling Dessert Cleanse: Choose a crisp champagne or prosecco to cleanse the palate and add elegant fizzy brightness between bites.
Boozy Peppermint Truffle Combos
Gluten-Free Version: Replace traditional ingredients with gluten-free confectioners' sugar and ensure all mix-ins are certified gluten-free. Use almond bark that is specifically labeled gluten-free.
Vegan Adaptation: Swap butter with coconut oil, use dairy-free condensed milk alternative, and replace traditional chocolate with vegan chocolate coating. Select plant-based cherry and nut options for complete replacement.
Nut-Free Option: Eliminate pecans completely and substitute with sunflower seeds or additional coconut for crunch. Use seed-based chocolate coating to maintain allergen safety.
Low-Sugar Alternative: Utilize sugar-free confectioners' sugar substitute, reduce sweetened condensed milk quantity, and incorporate monk fruit sweetener for fewer calories while maintaining original recipe texture.
FAQs
What makes Martha Washington Candy different from other holiday treats?
These candies are a nostalgic, old-fashioned confection featuring a rich, creamy center with cherries, coconut, and pecans, completely enrobed in chocolate for a decadent bite.
Are these candies hard to make for beginners?
Not at all! The recipe is straightforward and requires basic mixing and chilling skills. The key is patience during the chilling steps to ensure the candies hold their shape when dipping in chocolate.
Can I substitute ingredients if I don't have exactly what the recipe calls for?
Yes, you can swap out pecans for walnuts, use maraschino or dried cherries, and even use different types of chocolate coating like semi-sweet or milk chocolate almond bark.
How long do Martha Washington Candies stay fresh?
When stored in an airtight container in the refrigerator, these candies can last up to two weeks, making them perfect for holiday gift-giving or making ahead of time.
Developing accessible single-serving recipes, Food writing and content creation, Plant-based and allergen-friendly cooking, Culinary education and workshop facilitation
Education
Oregon Culinary Institute (Portland, OR) Diploma in Culinary Arts
Specialized in plant-based cooking and sustainable kitchen practices.
Portland Community College Certificate in Food Writing and Media
Focused on recipe writing, food photography, and digital content creation.
Clara’s food journey began with a curiosity for color, texture, and ingredients pulled straight from the garden. Her background in plant-forward cooking and creative writing gives her a unique edge – she makes healthy, flavorful food feel inviting, not intimidating.
She specializes in meals that work for busy lives and different diets, all without sacrificing taste. Clara’s voice comes through in every recipe she writes – clear, kind, and encouraging.
Clara Thompson
Recipe Developer & Culinary Educator
Expertise
Developing accessible single-serving recipes, Food writing and content creation, Plant-based and allergen-friendly cooking, Culinary education and workshop facilitation
Education
Oregon Culinary Institute (Portland, OR)
Diploma in Culinary Arts
Specialized in plant-based cooking and sustainable kitchen practices.
Portland Community College
Certificate in Food Writing and Media
Focused on recipe writing, food photography, and digital content creation.
Clara’s food journey began with a curiosity for color, texture, and ingredients pulled straight from the garden. Her background in plant-forward cooking and creative writing gives her a unique edge – she makes healthy, flavorful food feel inviting, not intimidating.
She specializes in meals that work for busy lives and different diets, all without sacrificing taste. Clara’s voice comes through in every recipe she writes – clear, kind, and encouraging.