
Dreamy Mini Kit Kat Cheesecakes Recipe for Sweet Moments
Crafting mini Kit Kat cheesecakes can turn an ordinary dessert into a delightful adventure.
Chocolate lovers will instantly fall for this playful twist on classic cheesecake.
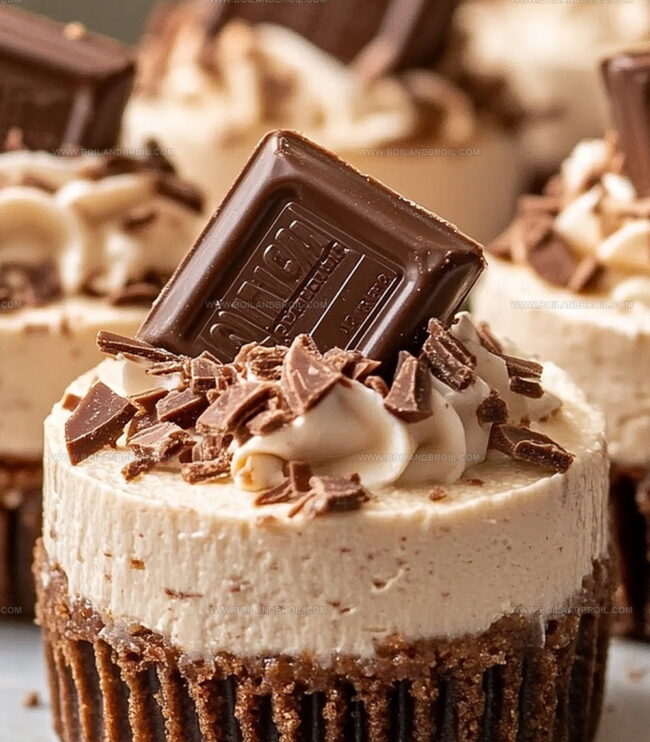
Small yet mighty, these little treats pack incredible flavor in every bite.
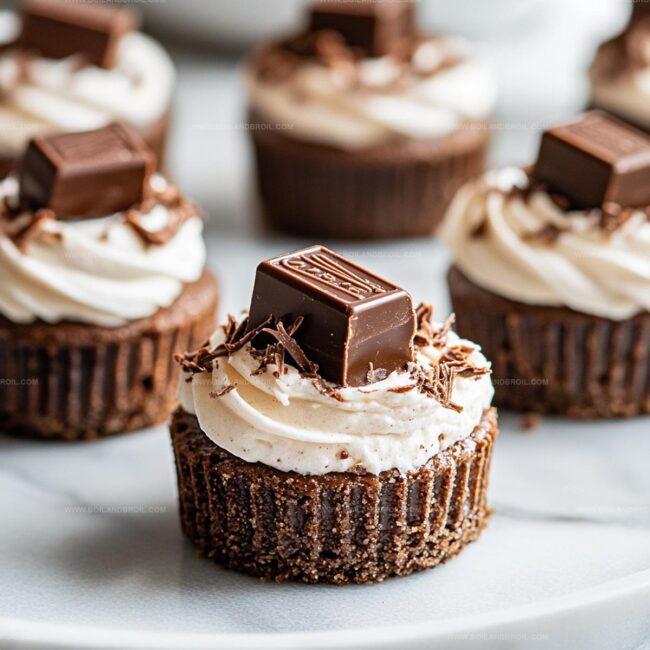
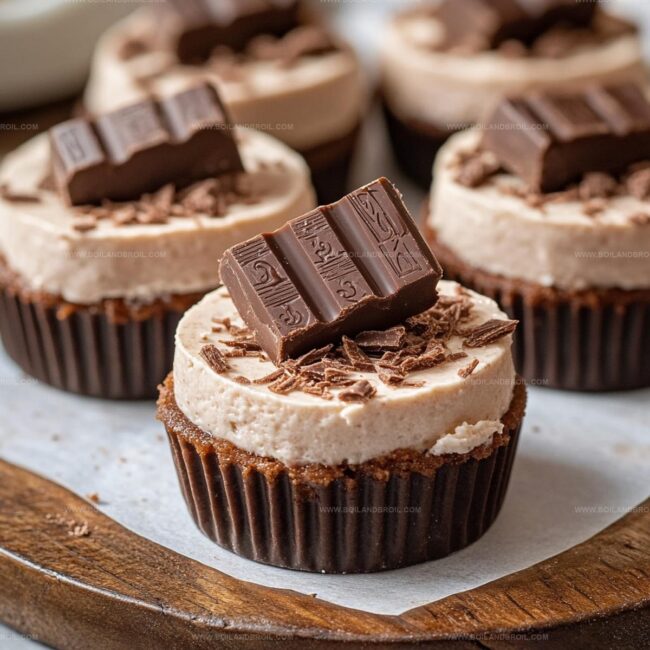
Layers of creamy filling and crunchy Kit Kat pieces create a perfect balance of textures.
Smooth cream cheese blends beautifully with the iconic chocolate bar’s crisp wafer.
Sweet and indulgent, these miniature desserts work magic at parties or quiet nights in.
You’ll want to savor each delectable morsel that combines childhood nostalgia with gourmet charm.
Dive into this recipe and let your taste buds celebrate pure deliciousness.
What Makes Mini Kit Kat Cheesecakes So Fun
Ingredients List for Mini Kit Kat Cheesecakes
How to Prepare Mini Kit Kat Cheesecakes Easily
Step 1: Crush Graham Cracker Crust
Grab a bowl and mix graham cracker crumbs with sugar.
Pour in melted butter and blend until the mixture looks like wet sand.
Press this crumbly goodness firmly into mini muffin tins or cute dessert cups.
Pop the tray into the refrigerator to chill while you prepare the creamy filling.
Step 2: Whip Creamy Cheesecake Base
Take a large mixing bowl and beat cream cheese until super smooth and silky.
Gradually sprinkle in powdered sugar and vanilla extract, mixing until the texture becomes light and fluffy.
Gently fold in whipped cream, creating a cloud-like consistency.
Chop Kit Kat bars into small chunks and fold them into the creamy mixture, distributing the chocolate pieces evenly.
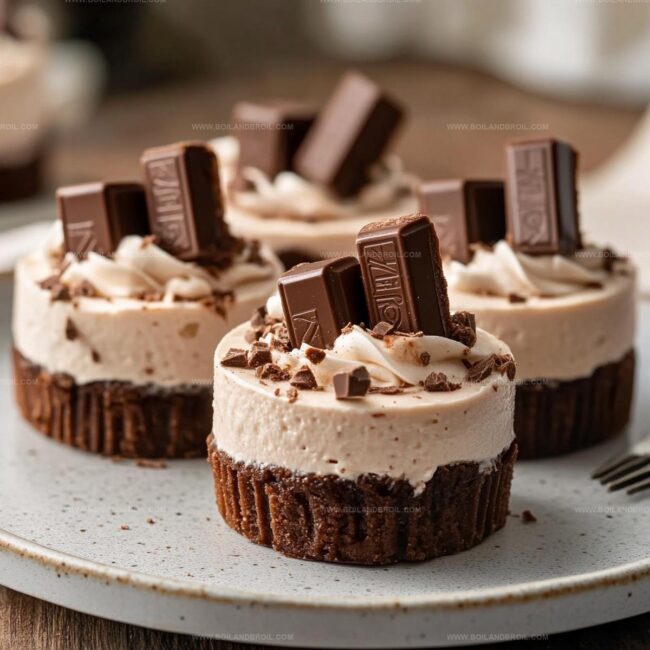
Step 3: Fill and Decorate Cheesecake Cups
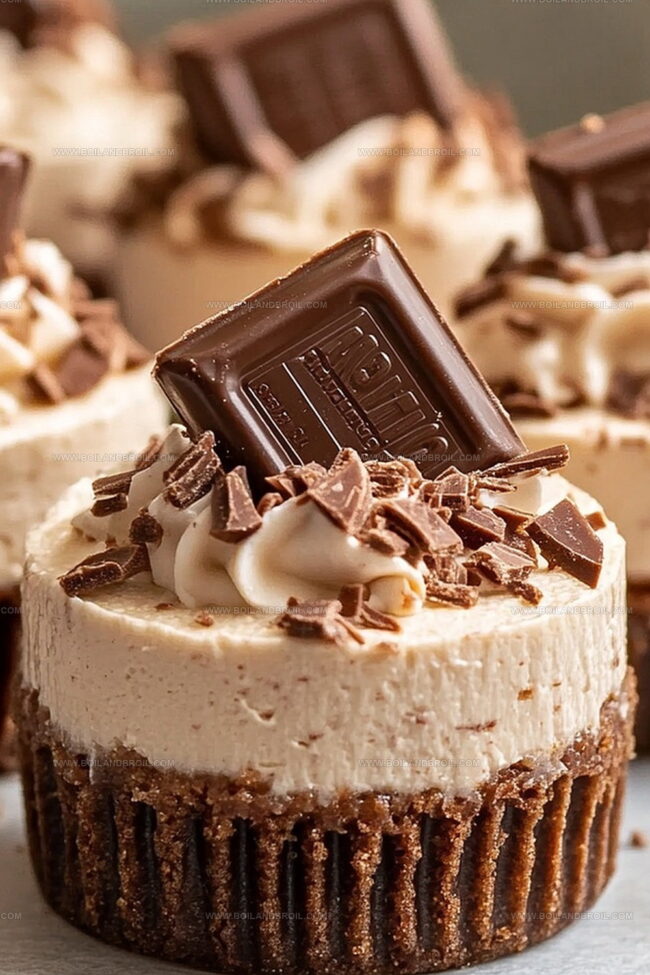
Carefully spoon the luscious cheesecake filling over the chilled graham cracker crusts.
Use a small spatula to smooth the tops, creating a perfect finish.
For extra indulgence, sprinkle additional chopped Kit Kat pieces on top as a delightful garnish.
Step 4: Chill and Set
Cover the mini cheesecakes and let them rest in the refrigerator for at least 4 hours or overnight.
This allows the flavors to meld and the texture to become wonderfully firm.
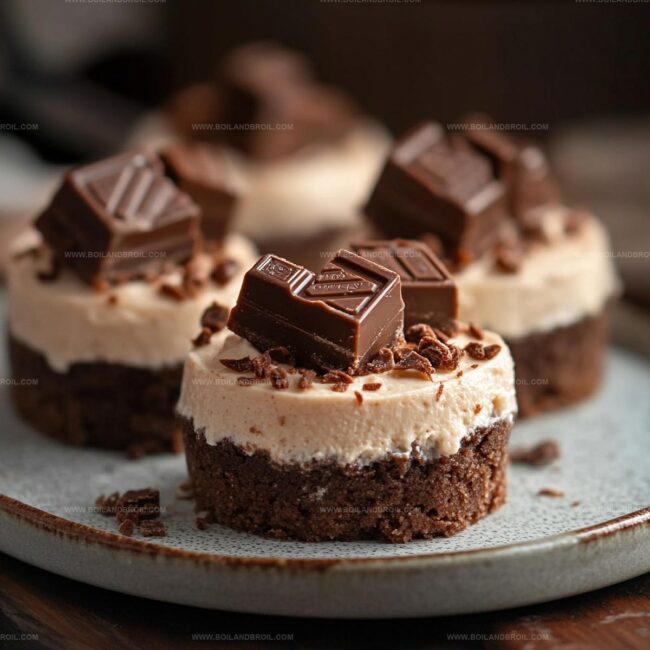
Step 5: Serve and Enjoy
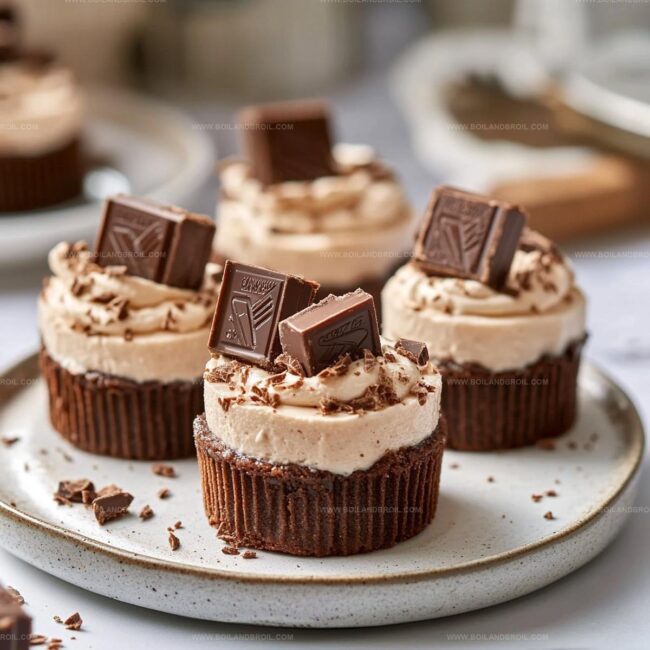
Remove the mini cheesecakes from the refrigerator and serve immediately.
Watch as everyone falls in love with these bite-sized chocolate-studded treats!
Mini Kit Kat Cheesecake Tips for Success
Best Ways to Store Mini Kit Kat Cheesecakes
What to Serve with Mini Kit Kat Cheesecakes
Fun Flavor Twists on Mini Kit Kat Cheesecakes
FAQs
Not exactly. You can substitute with similar chocolate wafer cookies or chocolate candy bars if Kit Kat isn’t available. The key is having a chocolate-covered wafer for crunch and flavor.
Regular full-fat cream cheese works best for this recipe. Low-fat versions might make the filling less creamy and potentially less stable. Stick to traditional cream cheese for the richest texture.
A hand mixer or stand mixer is recommended for achieving a smooth, lump-free filling. However, you can use a whisk and some elbow grease if you don’t have an electric mixer. Just ensure the cream cheese is very soft and mix thoroughly.
Use mini muffin liners or generously grease the pan with non-stick cooking spray. This will help ensure easy removal of the mini cheesecakes without breaking them.
Print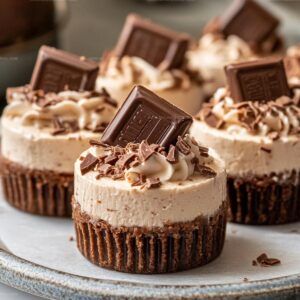
Mini Kit Kat Cheesecakes Recipe
- Total Time: 30 minutes
- Yield: 12 1x
Description
Indulgent mini Kit Kat cheesecakes blend chocolate-covered wafer bars with creamy, velvety cheesecake perfection. Crisp cookie crusts and luscious chocolate layers create an irresistible dessert that promises pure deliciousness in every single bite.
Ingredients
Main Ingredients:
- 2 (8 ounces) cream cheese, softened
- 1 cup heavy whipping cream, whipped to stiff peaks
- 1 cup chopped Kit Kat bars (about 4–5 bars)
Crust Ingredients:
- 1 1/2 cups graham cracker crumbs
- 1/4 cup granulated sugar
- 1/2 cup unsalted butter, melted
Sweetening and Flavoring Ingredients:
- 3/4 cup powdered sugar
- 1 teaspoon vanilla extract
Instructions
- Create a crumbly foundation by combining graham cracker crumbs with sugar, then saturate with melted butter until the mixture resembles damp sand.
- Firmly press the buttery crumb mixture into mini muffin tin cavities, ensuring an even, compact base that reaches slightly up the sides.
- Chill the prepared crusts in the refrigerator for 15 minutes to solidify while preparing the filling.
- Whip cream cheese in a large mixing bowl until completely smooth and free of lumps, using an electric mixer at medium speed.
- Gradually incorporate powdered sugar and vanilla extract, blending until the mixture becomes light and creamy.
- Gently fold whipped cream into the cream cheese mixture, creating a silky and airy texture.
- Carefully fold chopped Kit Kat pieces throughout the filling, distributing evenly to ensure each cheesecake will have chocolate crunch.
- Delicately spoon the Kit Kat-studded filling over the chilled crusts, smoothing the surface with a small offset spatula.
- Refrigerate the mini cheesecakes for 4-6 hours or overnight, allowing them to set completely and develop rich, creamy consistency.
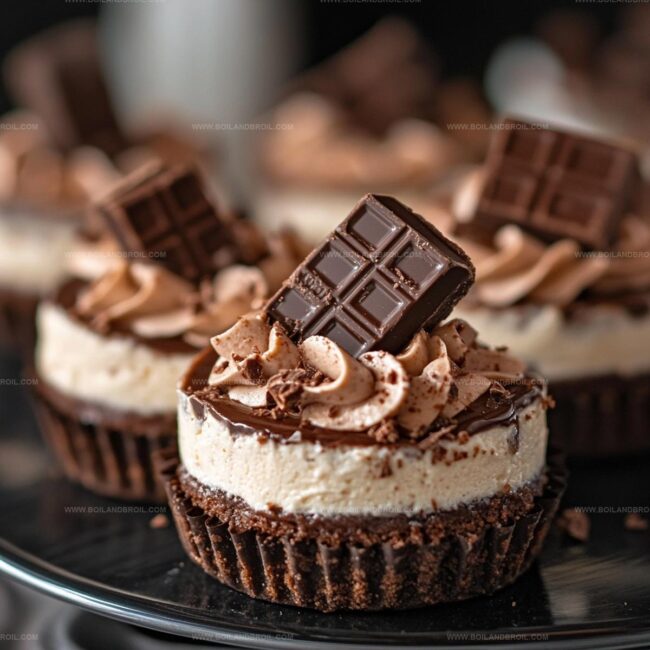
- Before serving, optionally garnish with additional chopped Kit Kat pieces for extra visual appeal and chocolate intensity.
- Serve chilled directly from the refrigerator for the most decadent texture and flavor experience.
Notes
- Crush graham crackers finely to ensure a compact, even crust that holds together perfectly when serving.
- Use room temperature cream cheese to achieve a smoother, lump-free filling that blends seamlessly.
- Fold whipped cream gently to maintain its airy texture and prevent deflating the delicate mixture.
- Chop Kit Kat bars into small, uniform pieces for a consistent chocolate crunch in every bite.
- Prep Time: 30 minutes
- Cook Time: 0 minutes
- Category: Desserts
- Method: Chilling
- Cuisine: American
Nutrition
- Serving Size: 12
- Calories: 292
- Sugar: 22 g
- Sodium: 200 mg
- Fat: 20 g
- Saturated Fat: 10 g
- Unsaturated Fat: 8 g
- Trans Fat: 0 g
- Carbohydrates: 27 g
- Fiber: 1 g
- Protein: 4 g
- Cholesterol: 50 mg
Jack Sullivan
Founder & Culinary Storyteller
Expertise
Single-recipe development with a narrative approach, Culinary storytelling and food history, Seasonal and regional ingredient utilization, Home cooking techniques adapted for modern kitchens
Education
New England Culinary Institute (Montpelier, VT)
Certificate in Culinary Arts
Focused on farm-to-table cooking, sustainable practices, and modern plating techniques.
Asheville-Buncombe Technical Community College
Associate Degree in Culinary Arts
Emphasized Southern Appalachian cuisine and local ingredient sourcing.
Jack grew up surrounded by smoky skillets and handwritten recipes in the mountains of North Carolina. His roots in Appalachian cooking shaped the way he sees food – as something that connects people, tells a story, and holds meaning.
With hands-on training and a background in sustainable, regional cooking, Jack started Boil And Broil to make meaningful meals more accessible. He’s all about one-dish recipes that are simple to follow but rich with flavor and history.