Fresh & Zingy Mini Lemon Cheesecakes Recipe for Sweet Lovers
Crafting delightful mini lemon cheesecakes brings pure joy to any dessert lover’s kitchen.
Sweet and tangy flavors dance together in these adorable bite-sized treats.
Creamy textures melt perfectly on your tongue with each delectable spoonful.
Surprisingly simple ingredients create magic in just a few steps.
Zesty citrus notes complement the rich, smooth cream cheese base.
Light and refreshing, these miniature desserts promise to impress everyone at the table.
You’ll want to savor every single delicious moment of this delightful culinary adventure.
Ingredients for Mini Lemon Cheesecakes
Crust Ingredients:Filling Ingredients:Optional Topping:How to Make Mini Lemon Cheesecakes
Step 1: Warm Up The Oven
Fire up your oven to a cozy 325°F (160°C).
This perfect temperature will help your mini cheesecakes bake evenly and beautifully.
Step 2: Create Crumbly Crust Base
Grab your graham crackers and crush them into fine crumbs.
Mix the crumbs with melted butter until they stick together perfectly.
Press this buttery mixture firmly into the bottom of each muffin tin cup, creating a solid foundation for your mini cheesecakes.
Step 3: Whip Up Creamy Cheesecake Filling
In a large mixing bowl, blend cream cheese and sugar until silky smooth.
Add eggs one by one, stirring gently after each addition.
Then incorporate these ingredients:Blend everything until the mixture looks light and creamy.
Step 4: Fill And Bake Cheesecakes
Carefully spoon the luscious filling over your prepared crusts.
Slide the muffin tin into the preheated oven and bake for 20-25 minutes.
You’ll know they’re ready when the centers look set but still have a gentle jiggle.
Step 5: Chill And Serve
Allow the mini cheesecakes to cool completely at room temperature.
Then transfer them to the refrigerator and let them chill for at least 2 hours.
This helps them firm up and develop a rich, decadent texture.
Serve cold and enjoy your lemony treat!
Tips for Light Mini Lemon Cheesecakes
Storing and Reheating Mini Lemon Cheesecakes
Serving Ideas for Mini Lemon Cheesecakes
Variations on Mini Lemon Cheesecakes
FAQs
Yes, you can substitute graham crackers with digestive biscuits, vanilla wafers, or shortbread cookies for a different flavor and texture.
Avoid overmixing the batter, bake in a water bath, and let them cool gradually at room temperature to minimize cracking.
Absolutely! Use gluten-free graham crackers or almond flour as a crust alternative, and ensure all other ingredients are certified gluten-free.
Yes, you can freeze them for up to 2 months. Wrap each cheesecake individually in plastic wrap and place in an airtight container before freezing.
Mini Lemon Cheesecakes Tiny Zesty Treats
Print
Mini Lemon Cheesecakes Recipe
- Total Time: 40 minutes
- Yield: 12 1x
Description
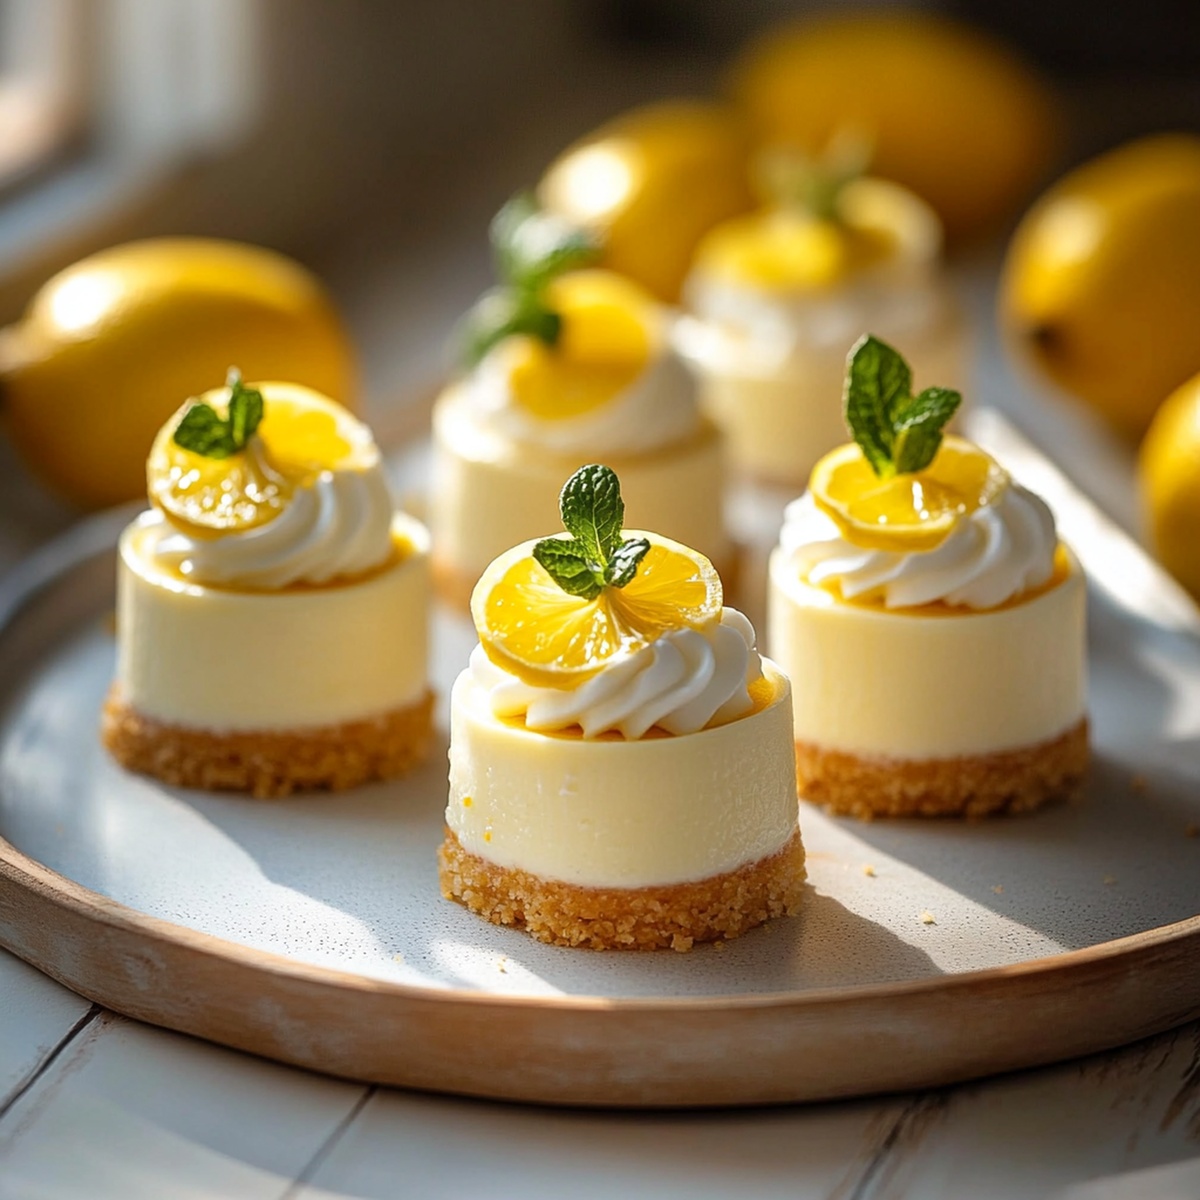
Delightful mini lemon cheesecakes bring zesty sunshine to dessert tables with creamy, tangy perfection. Compact and elegant, these individual treats promise a refreshing finale that will charm guests at any gathering.
Ingredients
Main Ingredients:
- 16 ounces (454 grams) cream cheese, softened
- 2 eggs
- 1/2 cup (100 grams) sugar
Crust Ingredients:
- 1 cup (240 milliliters) graham cracker crumbs
- 1/4 cup (60 milliliters) melted butter
Additional Ingredients:
- 1/4 cup (60 milliliters) sour cream
- 2 tablespoons (30 milliliters) lemon juice
- 1 teaspoon lemon zest
- 1 teaspoon vanilla extract
Instructions
- Preheat the oven to 325F (160C), ensuring the rack is positioned in the center for even baking.
- Crush graham crackers into fine crumbs and blend thoroughly with melted butter, creating a uniform mixture.
- Gently press the cracker mixture into the bottom of each muffin tin cavity, forming a compact base layer.
- In a large mixing bowl, whip cream cheese and sugar until achieving a silky, lump-free consistency.
- Incorporate eggs individually, mixing completely after each addition to maintain a smooth texture.
- Fold in sour cream, freshly squeezed lemon juice, fragrant lemon zest, and pure vanilla extract, blending until harmoniously combined.
- Carefully distribute the creamy filling over the prepared graham cracker crusts, filling each cup approximately three-quarters full.
- Slide the muffin tin into the preheated oven and bake for 20-25 minutes, watching for a slight jiggle in the center that indicates perfect doneness.
- Remove from oven and allow cheesecakes to cool naturally at room temperature for about 30 minutes.
- Transfer to the refrigerator and chill for a minimum of 2 hours to set and develop optimal flavor and texture.
- Before serving, gently remove cheesecakes from the tin and garnish with optional lemon zest or whipped cream if desired.
Notes
- Opt for room temperature ingredients to ensure a smooth, lump-free cheesecake filling that blends perfectly.
- Avoid overmixing the batter, which can incorporate too much air and cause cracking during baking.
- Line muffin tin with paper liners for easy removal and a cleaner presentation of these bite-sized treats.
- Swap graham crackers with gluten-free alternatives like almond flour or crushed gluten-free cookies for a celiac-friendly version.
- Prep Time: 15 minutes
- Cook Time: 25 minutes
- Category: Desserts
- Method: Baking
- Cuisine: American
Nutrition
- Serving Size: 12
- Calories: 220
- Sugar: 10 g
- Sodium: 180 mg
- Fat: 14 g
- Saturated Fat: 8 g
- Unsaturated Fat: 4 g
- Trans Fat: 0 g
- Carbohydrates: 21 g
- Fiber: 1 g
- Protein: 3 g
- Cholesterol: 60 mg
Jack Sullivan
Founder & Culinary Storyteller
Expertise
Single-recipe development with a narrative approach, Culinary storytelling and food history, Seasonal and regional ingredient utilization, Home cooking techniques adapted for modern kitchens
Education
New England Culinary Institute (Montpelier, VT)
Certificate in Culinary Arts
Focused on farm-to-table cooking, sustainable practices, and modern plating techniques.
Asheville-Buncombe Technical Community College
Associate Degree in Culinary Arts
Emphasized Southern Appalachian cuisine and local ingredient sourcing.
Jack grew up surrounded by smoky skillets and handwritten recipes in the mountains of North Carolina. His roots in Appalachian cooking shaped the way he sees food – as something that connects people, tells a story, and holds meaning.
With hands-on training and a background in sustainable, regional cooking, Jack started Boil And Broil to make meaningful meals more accessible. He’s all about one-dish recipes that are simple to follow but rich with flavor and history.