Mint Oreo Bark Recipe That Kids Adore
Chocolate lovers unite over this decadent mint Oreo bark that promises pure indulgence.
Sweet chocolate meets crisp Oreo cookies in a delightful fusion of flavors.
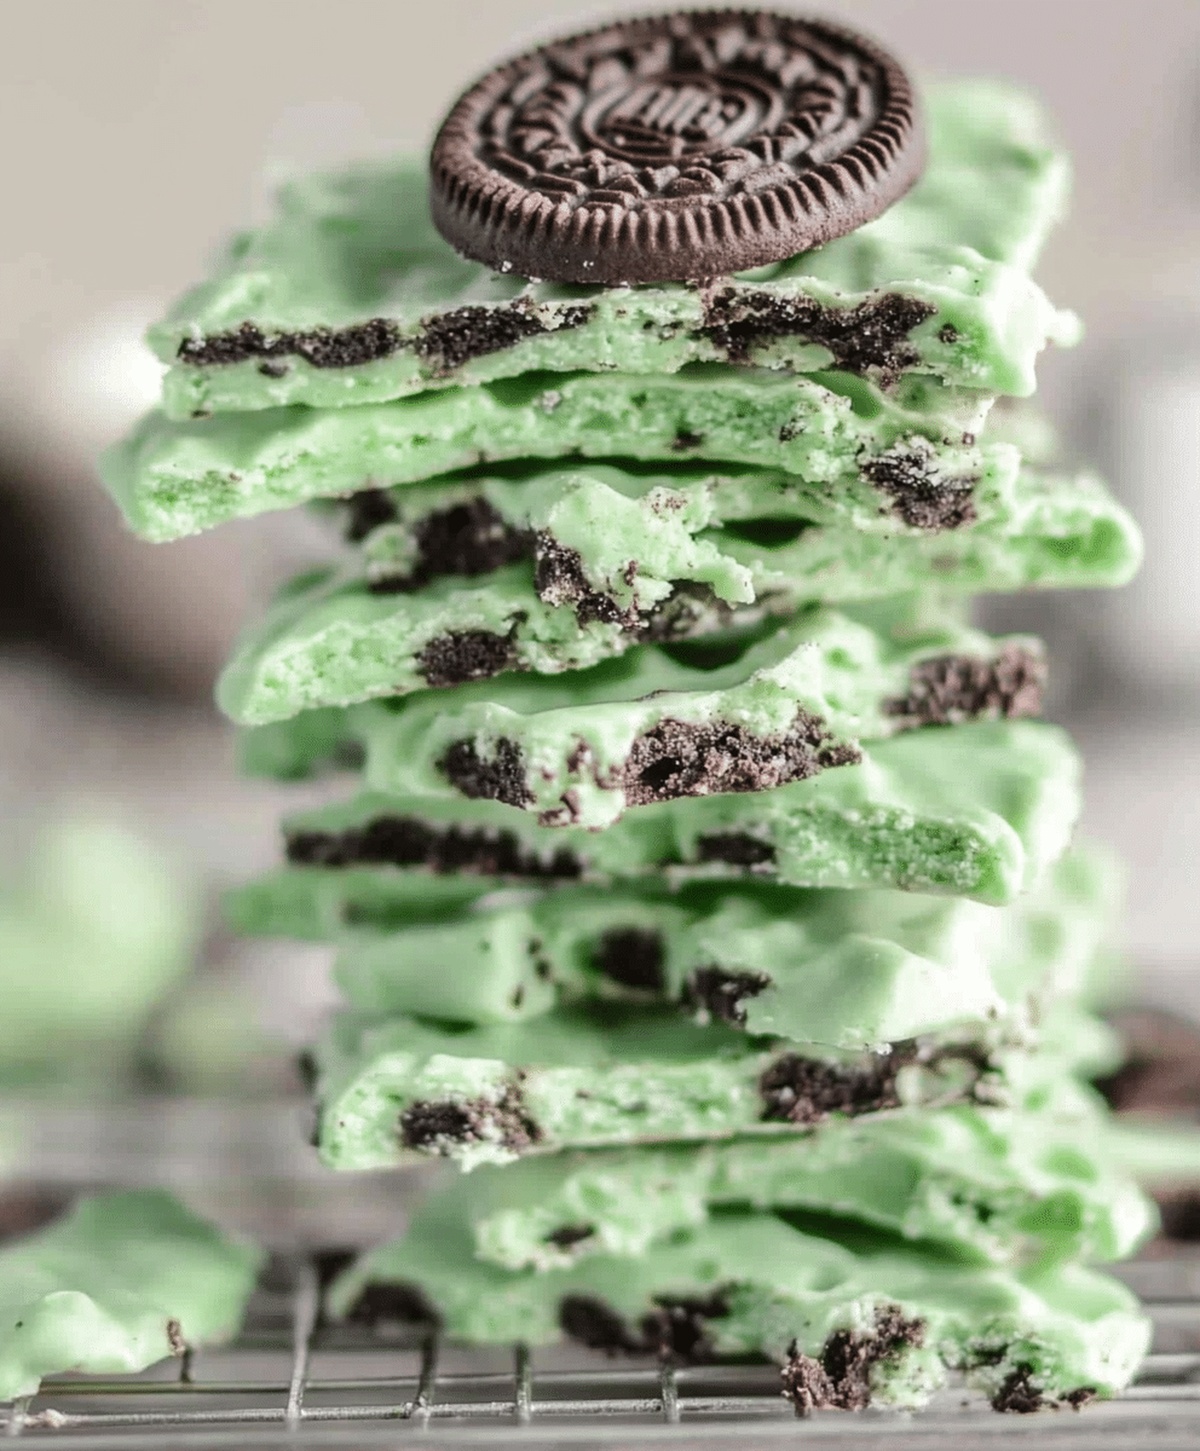
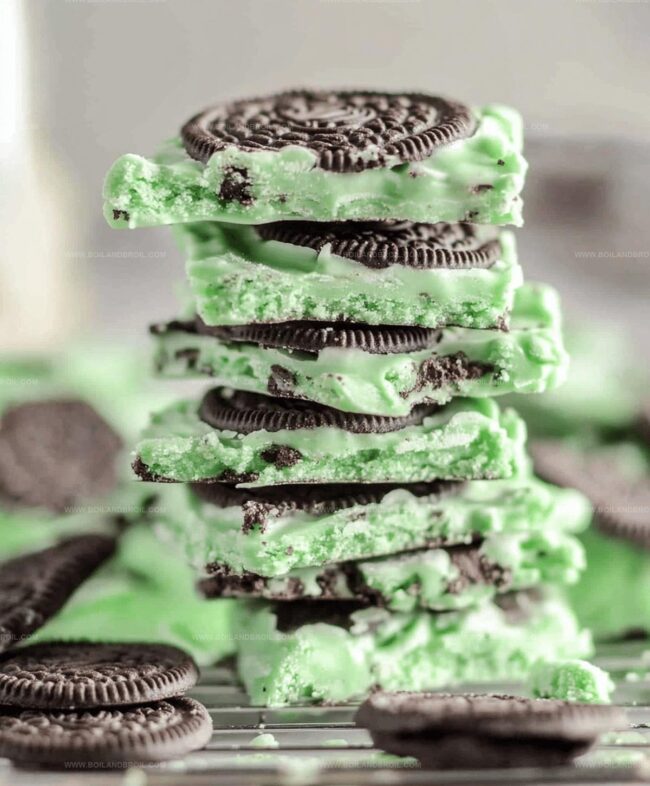
Crushing mint oreos adds a refreshing twist to this simple yet irresistible treat.
Each bite delivers a cool, creamy sensation that melts beautifully on your tongue.
The contrast between smooth chocolate and crunchy cookie pieces creates a textural masterpiece.
Dark and white chocolate layers complement the mint Oreo pieces perfectly.
You’ll want to share this addictive bark with everyone – or keep it all to yourself for a delicious personal moment.
Why Mint Oreo Bark Hits the Mark
Mint Oreo Bark Ingredient Rundown
Chocolate Base:Flavor and Color Enhancers:Crunchy Mix-Ins:Additional Preparation Item:How to Whip Up Mint Oreo Bark
Step 1: Crumble Oreo Cookies
Grab your Oreo cookies and break them into rustic chunks.
Aim for varied sizes to create visual interest and textural excitement.
Some pieces can be larger, while others can be smaller, giving the bark a more artisanal look.
Step 2: Melt White Chocolate
Place white chocolate morsels in a microwave-safe bowl.
Heat in short 30-second bursts, stirring between each interval to ensure smooth melting.
Watch carefully to prevent scorching, as white chocolate can quickly become grainy or burnt.
Step 3: Enhance Flavor and Color
Quickly incorporate mint extract into the melted chocolate.
Add green food coloring drop by drop, mixing thoroughly until you achieve a delightful mint-green hue.
Work swiftly to maintain the chocolate’s smooth consistency.
Step 4: Combine Oreos and Chocolate
Gently fold Oreo chunks into the mint-colored white chocolate.
Ensure each cookie piece gets completely coated, creating a delicious marriage of flavors and textures.
The mixture will look wonderfully messy and enticing.
Step 5: Prepare for Freezing
Line a baking sheet with wax paper.
Pour the chocolate-Oreo mixture onto the sheet, spreading it evenly with a spatula.
Don’t stress about creating a perfect surface – the rustic look is part of the charm.
Step 6: Freeze and Set
Place the baking sheet in the freezer for approximately two hours.
The bark will become firm and solid, transforming into a delectable treat ready for breaking.
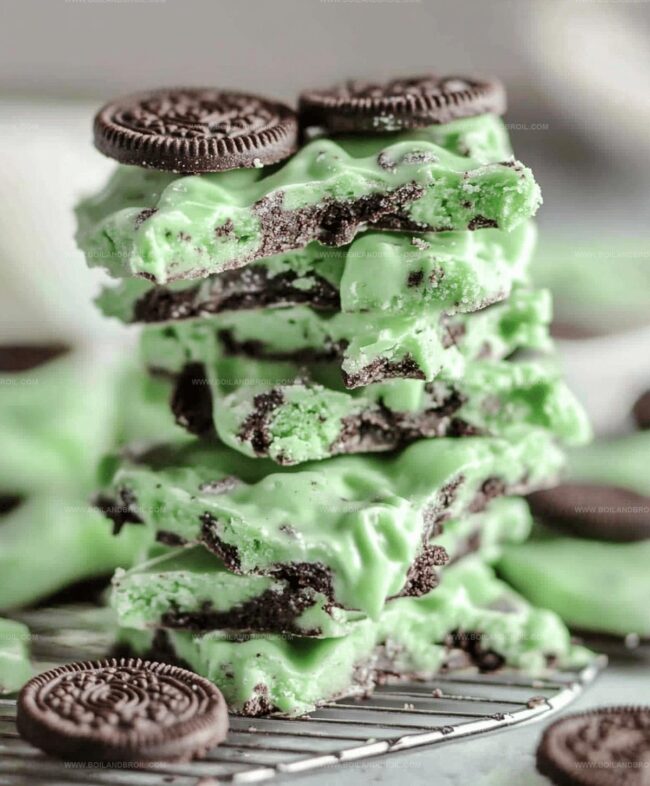
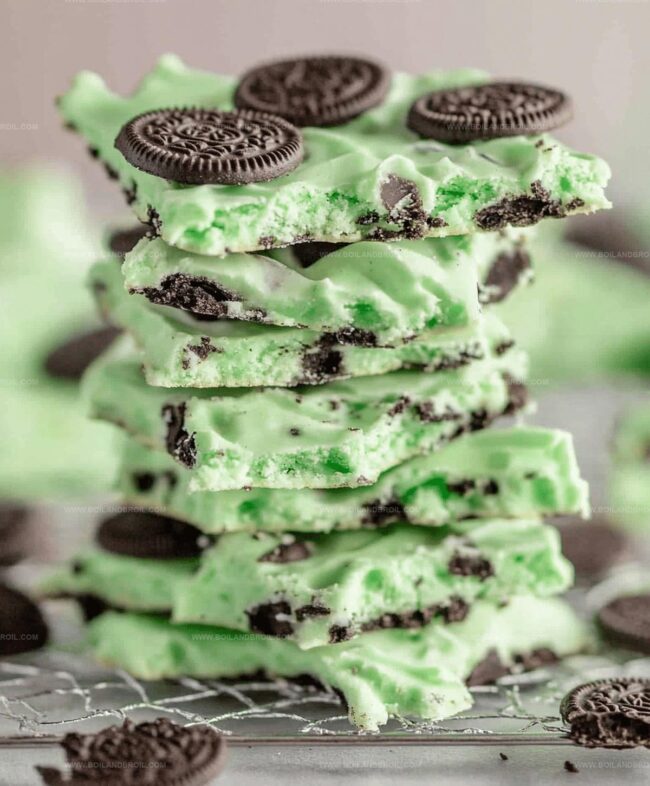
Step 7: Break Into Pieces
Remove the bark from the freezer.
Lift it off the wax paper and use your hands to break it into irregular, free-form pieces.
Each chunk will be a unique, delicious work of art ready to be enjoyed.
Tips for Smooth Mint Bark Making
Storage Help for Mint Oreo Bark
Perfect Pairings for Mint Bark
Pair Mint Oreo Bark with Complementary Flavors
Ideas to Change Up Mint Bark
FAQs
Mint extract adds a refreshing, cool flavor that perfectly complements the sweet white chocolate and Oreo cookies, creating a delightful and unique taste experience.
Absolutely! The green color is purely aesthetic. If you prefer, you can leave it out and still enjoy the same delicious mint flavor.
Break Oreos into rough, uneven chunks by hand. This method ensures you get a variety of sizes, which adds texture and visual interest to the bark.
Melt white chocolate slowly in short 30-second microwave intervals, stirring between each interval. Always use a dry bowl and avoid introducing any water, which can cause the chocolate to become grainy and clump.
Print
Mint Oreo Bark Recipe
- Total Time: 2 hours 15 minutes
- Yield: 12 1x
Description
Creamy mint oreo bark delivers a delightful chocolate sensation that blends cool peppermint with classic cookie crunch. Sweet layers of chocolate and crushed oreos create an irresistible treat you’ll savor in just minutes.
Ingredients
Main Ingredients:
- 24 ounces (680 grams) white morsels
- 1/2 of a 15.5 ounces (440 grams) package of regular Oreos (about 20 cookies)
Flavoring Ingredients:
- 1/4 to 1/2 teaspoons mint extract
Coloring Ingredient:
- Green food coloring
Instructions
- Crush Oreo cookies into varying sizes, ranging from small chunks to larger pieces, ensuring a textured visual appeal and satisfying crunch.
- Select a microwave-safe bowl and gradually melt white chocolate morsels using 30-second intervals, stirring between each heating cycle to prevent scorching and achieve smooth consistency.
- Incorporate mint extract and green food coloring into melted chocolate, adding pigment gradually to reach desired mint-green hue, working swiftly to maintain chocolate’s liquid state.
- Gently fold Oreo chunks into mint-infused white chocolate, ensuring comprehensive coating of each cookie fragment for consistent flavor distribution.
- Transfer mixture onto wax paper-lined pan, spreading evenly with spatula while allowing natural, rustic texture to develop.
- Refrigerate or freeze at 0°F for approximately 120 minutes, enabling complete solidification of chocolate bark.
- Remove hardened bark from freezer, peel away wax paper, and fracture into irregular, artisanal-style pieces using hands, creating an organic, homemade appearance.
Notes
- Customize the mint intensity by adjusting extract quantity, starting with small amounts and tasting as you go for perfect flavor balance.
- Use high-quality white chocolate for smoother melting and richer taste, avoiding chocolate chips which can be harder to melt evenly.
- Create gluten-free version by substituting regular Oreos with gluten-free mint sandwich cookies, maintaining the recipe’s signature crunch and flavor profile.
- Prep Time: 2 hours 10 minutes
- Cook Time: 5 minutes
- Category: Desserts, Snacks
- Method: Blending
- Cuisine: American
Nutrition
- Serving Size: 12
- Calories: 180
- Sugar: 20 g
- Sodium: 50 mg
- Fat: 9 g
- Saturated Fat: 5 g
- Unsaturated Fat: 3 g
- Trans Fat: 0 g
- Carbohydrates: 24 g
- Fiber: 1 g
- Protein: 1 g
- Cholesterol: 0 mg
Clara Thompson
Recipe Developer & Culinary Educator
Expertise
Developing accessible single-serving recipes, Food writing and content creation, Plant-based and allergen-friendly cooking, Culinary education and workshop facilitation
Education
Oregon Culinary Institute (Portland, OR)
Diploma in Culinary Arts
Specialized in plant-based cooking and sustainable kitchen practices.
Portland Community College
Certificate in Food Writing and Media
Focused on recipe writing, food photography, and digital content creation.
Clara’s food journey began with a curiosity for color, texture, and ingredients pulled straight from the garden. Her background in plant-forward cooking and creative writing gives her a unique edge – she makes healthy, flavorful food feel inviting, not intimidating.
She specializes in meals that work for busy lives and different diets, all without sacrificing taste. Clara’s voice comes through in every recipe she writes – clear, kind, and encouraging.