The Famous Nestle Toll House Cookie Recipe Everyone Loves
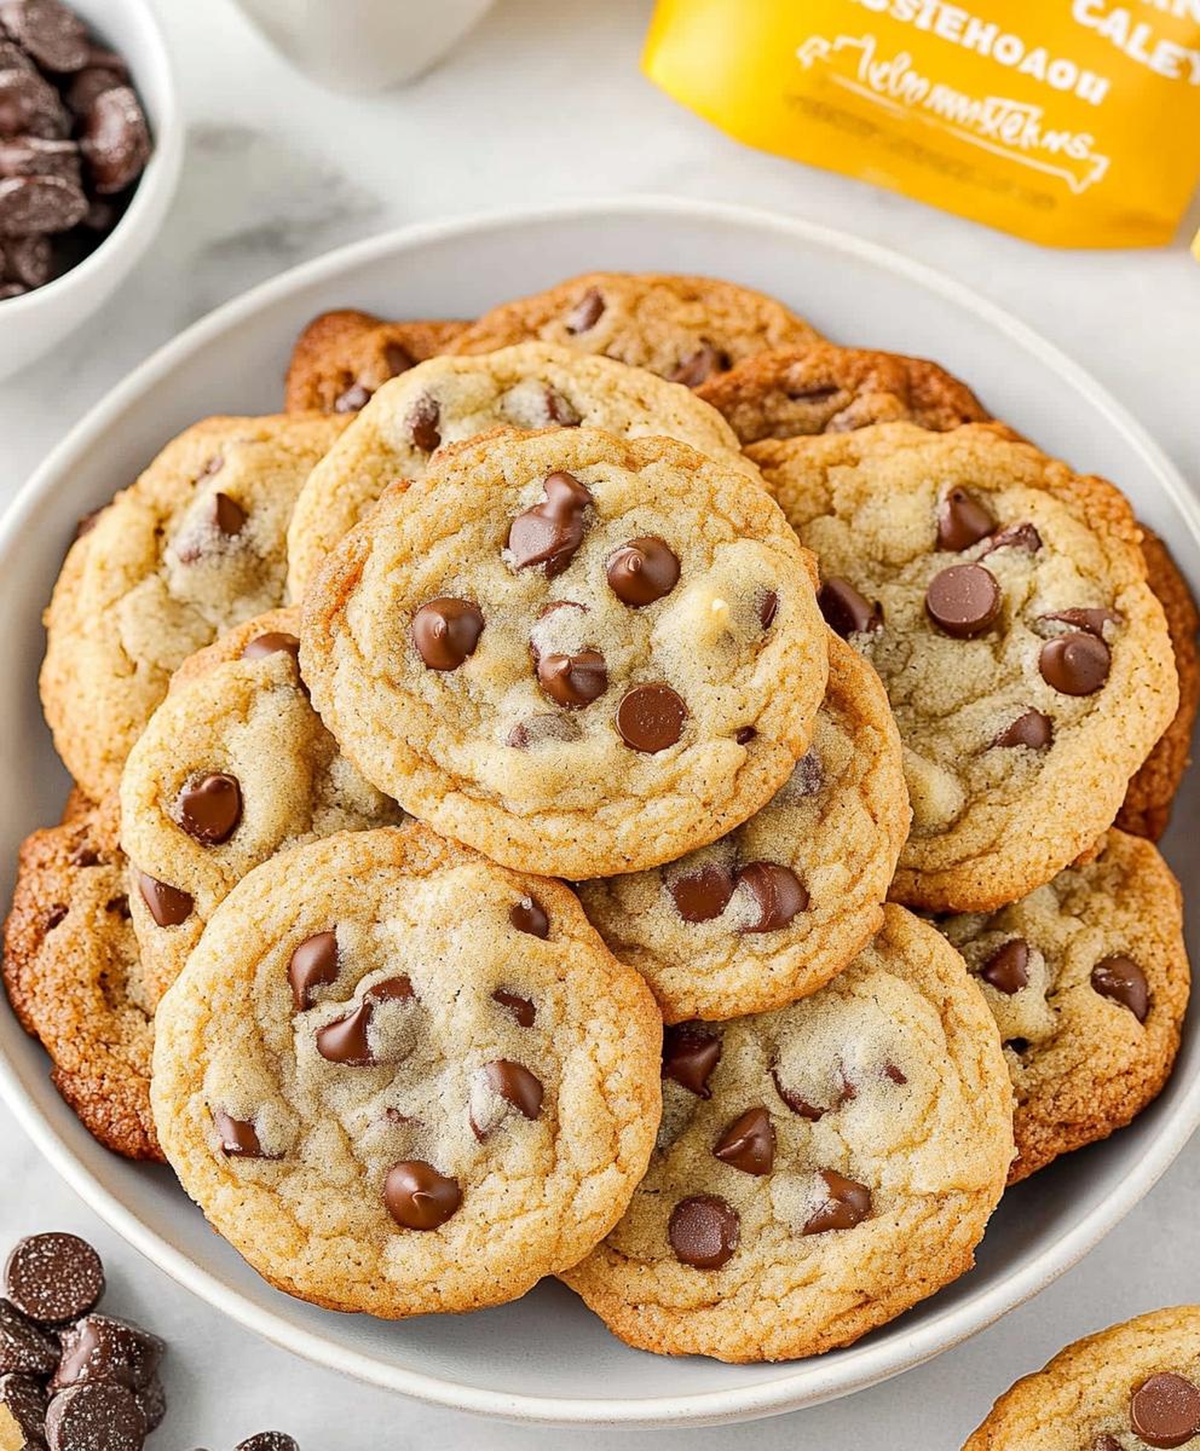
Warm, gooey chocolate chip cookies from the Nestlé Toll House cookie recipe have been a beloved treat for generations.
Classic and comforting, these cookies bring back memories of childhood kitchens and sweet moments.
Every bite promises a perfect balance of buttery dough and rich chocolate morsels.
The recipe combines simple ingredients that create magic in your oven.
Soft, chewy edges with a slightly crisp center make these cookies irresistible.
Bakers of all skill levels can master this timeless classic with ease.
Whip up a batch and watch as smiles spread across faces eager to enjoy these delectable treats.
Why Nestle Toll House Cookies Are Legendary

Ingredients in Toll House Cookie Recipe
Main Ingredients:Wet Ingredients:Leavening and Seasoning:How to Make Nestle Toll House Cookies

Step 1: Preheat Oven
Set your oven to 375F and get ready for cookie magic.
The warm oven will be waiting to transform your dough into golden delights.
Step 2: Mix Creamy Base
Grab a large mixing bowl and blend softened butter, granulated sugar, and brown sugar.
Splash in vanilla extract and whip until the mixture looks light and fluffy like a sweet cloud.
Step 3: Incorporate Eggs
Crack eggs into the mixture one at a time.
Gently mix after each addition to create a smooth, lump-free batter that’s ready for more deliciousness.
Step 4: Introduce Dry Ingredients
Combine these dry ingredients:Stir them into the creamy mixture until everything blends perfectly without creating flour dust in your kitchen.
Step 5: Fold in Chocolate Goodness
Mix in the remaining flour and then gently fold in chocolate chips.
Ensure they’re evenly distributed throughout the dough, creating pockets of chocolatey joy in every bite.
Step 6: Chill the Dough
Cover the dough and let it rest in the refrigerator for 1-24 hours.
This magical pause allows flavors to mingle and helps control cookie spread during baking.
Step 7: Prepare Cookie Drops
Scoop rounded tablespoons of dough onto an ungreased baking sheet.
Space them about 2 inches apart to give each cookie room to become its best self.
Step 8: Bake to Perfection
Slide the baking sheet into the oven and bake for 8-10 minutes.
Watch for those edges to turn a beautiful golden brown – the sweet spot of cookie deliciousness.
Step 9: Initial Cooling
Remove cookies from the oven and let them sit on the baking sheet for a few minutes.
This helps them firm up and prevents immediate crumbling.
Step 10: Complete Cooling
Transfer cookies to wire cooling racks using a spatula.
Allow complete cooling to lock in that perfect texture and flavor.
Step 11: Store and Enjoy
Stash your cookies in an airtight container.
They’ll stay fresh and delicious – if they last long enough to make it to storage!
Pro Tips for Toll House Cookie Dough
How to Store Toll House Cookies Right
What Goes with Toll House Cookies
Nestle Cookie Variations to Try
FAQs
No, butter provides the best flavor and texture. Margarine can alter the taste and make cookies less rich and flavorful.
Chill the dough for at least an hour before baking. This helps the butter solidify and prevents excessive spreading during baking.
You can substitute with light brown sugar or use all granulated sugar, but dark brown sugar adds deeper flavor and moisture to the cookies.
While the original recipe uses Nestle chips, you can use any high-quality chocolate chips. Semi-sweet chips work best for traditional chocolate chip cookies.
Print
Nestle Toll House Cookie Recipe
- Total Time: 30 minutes
- Yield: 24 1x
Description
Nestle Toll House Cookies bring classic American comfort straight from your kitchen, blending rich chocolate chips with buttery, golden dough. Warm, gooey chocolate and crisp edges invite you to savor a timeless treat that promises pure baking joy.
Ingredients
Chocolate Chips:
- 2 cups Nestle Semi Sweet Chocolate Chips
Main Dry Ingredients:
- 2 cups plus 2 tablespoons all-purpose flour
- 1 1/2 teaspoons baking soda
- 1 teaspoon salt
Wet Ingredients and Sugars:
- 1/2 cup (113 grams) butter, softened
- 1/2 cup (100 grams) granulated sugar
- 1 cup (220 grams) dark brown sugar, packed
- 1 teaspoon vanilla extract
- 2 large eggs
Instructions
- Preheat the oven to 375°F (190°C), ensuring the temperature is consistent for optimal baking results.
- In a large mixing bowl, cream together softened butter, granulated sugar, brown sugar, and vanilla extract using an electric mixer until the mixture becomes light and fluffy.
- Incorporate eggs one at a time, mixing thoroughly after each addition to create a smooth, well-blended batter.
- Gradually add half the flour, baking soda, and salt to the wet ingredients, stirring gently to combine without creating flour dust.
- Fold in remaining flour and chocolate chips, mixing until ingredients are evenly distributed and the dough reaches a thick, slightly sticky consistency.
- Refrigerate the dough for 1-24 hours to enhance flavor development and prevent excessive spreading during baking.
- Remove chilled dough and drop rounded tablespoons onto an ungreased baking sheet, spacing each scoop approximately 2 inches apart.
- Bake for 8-10 minutes, watching carefully until edges turn golden brown but centers remain soft.
- Allow cookies to rest on the baking sheet for 2-3 minutes to help them set and become more stable.
- Transfer cookies to a wire cooling rack using a spatula, enabling complete cooling and optimal texture development.
- Store completely cooled cookies in an airtight container to maintain freshness and soft texture.
Notes
- Adjust butter temperature by letting it sit at room temperature for 30-45 minutes, ensuring perfect creamy consistency without melting completely.
- Swap all-purpose flour with gluten-free blend for celiac or gluten-sensitive individuals, maintaining similar texture and taste.
- Control cookie spread by chilling dough longer or using parchment paper, preventing excessive flattening during baking.
- Prep Time: 20 minutes
- Cook Time: 10 minutes
- Category: Desserts, Snacks
- Method: Baking
- Cuisine: American
Nutrition
- Serving Size: 24
- Calories: 150
- Sugar: 10 g
- Sodium: 100 mg
- Fat: 7 g
- Saturated Fat: 4 g
- Unsaturated Fat: 2.5 g
- Trans Fat: 0 g
- Carbohydrates: 21 g
- Fiber: 1 g
- Protein: 2 g
- Cholesterol: 25 mg
Clara Thompson
Recipe Developer & Culinary Educator
Expertise
Developing accessible single-serving recipes, Food writing and content creation, Plant-based and allergen-friendly cooking, Culinary education and workshop facilitation
Education
Oregon Culinary Institute (Portland, OR)
Diploma in Culinary Arts
Specialized in plant-based cooking and sustainable kitchen practices.
Portland Community College
Certificate in Food Writing and Media
Focused on recipe writing, food photography, and digital content creation.
Clara’s food journey began with a curiosity for color, texture, and ingredients pulled straight from the garden. Her background in plant-forward cooking and creative writing gives her a unique edge – she makes healthy, flavorful food feel inviting, not intimidating.
She specializes in meals that work for busy lives and different diets, all without sacrificing taste. Clara’s voice comes through in every recipe she writes – clear, kind, and encouraging.