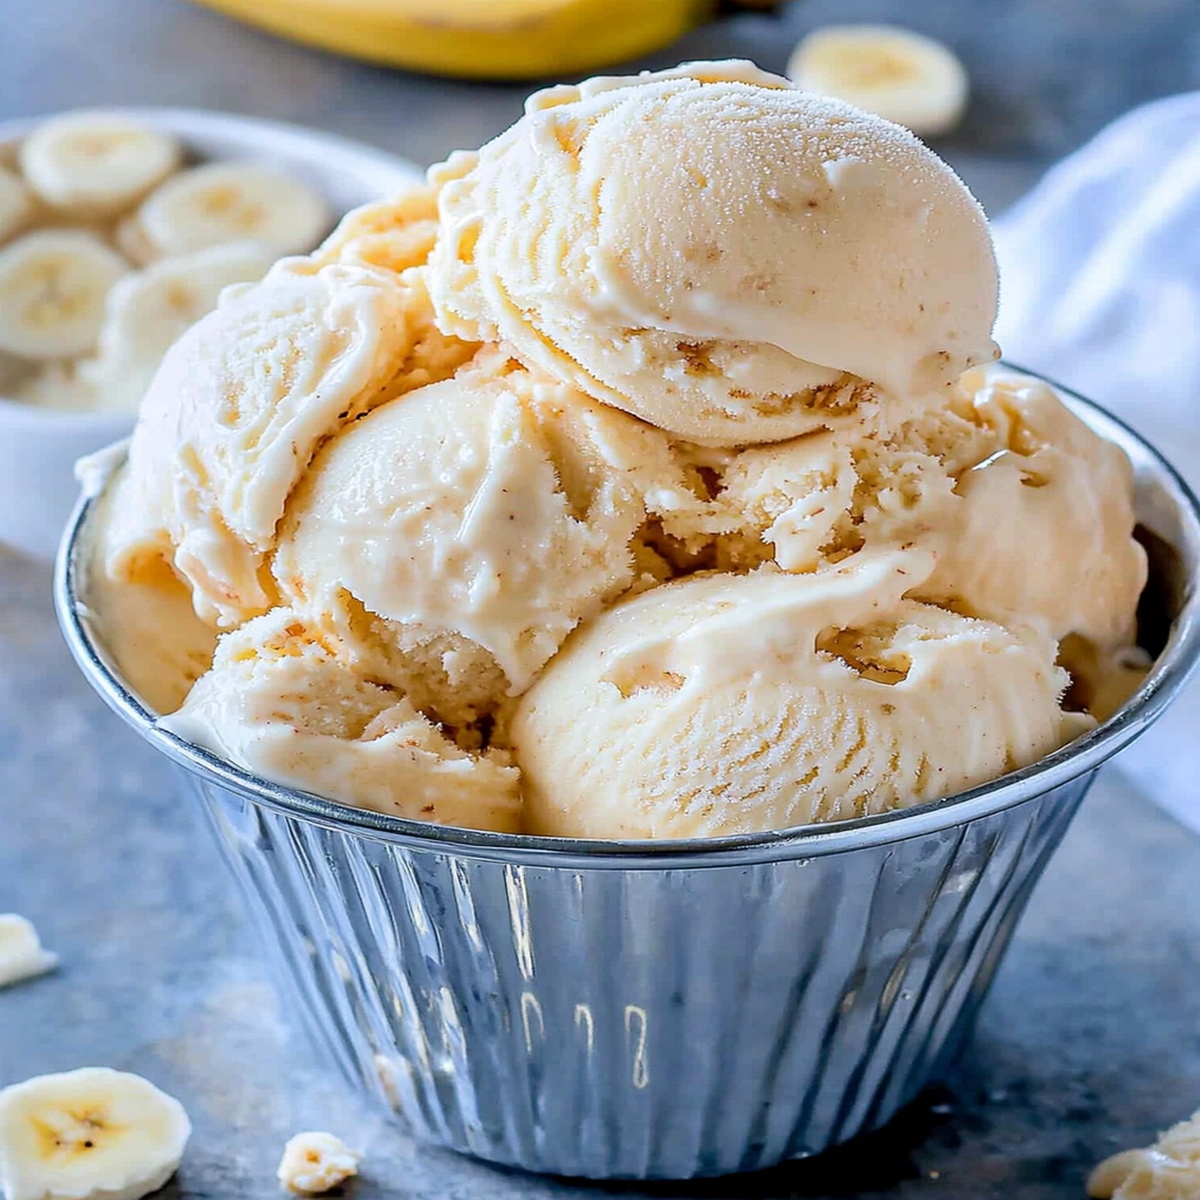
Quick No Churn Banana Ice Cream Recipe for Sweet Summer Joy
Whipping up a creamy banana ice cream without churning sounds like a magical kitchen adventure.
Summer heat calls for something cool and delightful.
Frozen bananas become the secret ingredient in this simple dessert.
Blending ripe, spotty bananas creates a naturally sweet base that melts smoothly on your tongue.
Rich and indulgent flavors emerge from just a few basic ingredients.
Minimal effort delivers maximum satisfaction with this delectable treat.
Grab a spoon and let the cool, velvety goodness transport you to dessert paradise.
Why No Churn Banana Ice Cream Is Pure Bliss
Ingredients You’ll Need for No Churn Banana Ice Cream
Fruit Base:Main Dairy Components:Flavor Enhancers:Step-by-Step Guide to No Churn Banana Ice Cream
Step 1: Prepare Bananas
Grab ripe bananas and slice them into small, bite-sized pieces.
Use a fork or potato masher to transform the bananas into a smooth mixture with some delightful chunks remaining.
Step 2: Whip the Cream
Pull out your electric mixer and a large mixing bowl.
Whip the heavy cream until it develops soft, billowy peaks that hold their shape beautifully.
This typically takes about 3-5 minutes of consistent mixing.
Step 3: Combine Ingredients
Gently fold the mashed bananas into the fluffy whipped cream.
Add these ingredients:Blend everything together with a light touch, ensuring the ingredients are perfectly incorporated without deflating the cream.
Step 4: Freeze the Mixture
Pour the creamy mixture into an airtight container.
Smooth the top with a spatula to create an even surface.
Place the container in the freezer and let it set for at least 4 hours or until it reaches a solid consistency.
Step 5: Serve and Savor
Remove the ice cream from the freezer and let it sit at room temperature for about 5 minutes.
This brief rest will make scooping easier.
Grab your favorite ice cream scoop and dive into your homemade banana paradise.
Top with extra banana slices or a drizzle of caramel if you’re feeling extra indulgent.
Pro Tips to Master No Churn Banana Ice Cream
How to Store No Churn Banana Ice Cream Properly
Best Pairings for No Churn Banana Ice Cream
Variations to Try with No Churn Banana Ice Cream
FAQs
Yes, frozen bananas work perfectly! In fact, they create an even creamier texture and help the ice cream freeze faster.
While an electric mixer is easiest, you can use a whisk and some arm strength. Just be prepared for a good workout and slightly longer whipping time.
Riper bananas provide more natural sweetness and deeper flavor. If your bananas are less ripe, you can add an extra tablespoon of sweetened condensed milk to enhance sweetness.
When stored in an airtight container, this no-churn banana ice cream will stay delicious for up to 2 weeks. Just make sure to cover it well to prevent freezer burn.
Print
No Churn Banana Ice Cream Recipe
- Total Time: 10 minutes
- Yield: 4 1x
Description
Creamy, dreamy No Churn Banana Ice Cream promises sweet summer satisfaction without an ice cream maker. Cool comfort awaits with minimal ingredients and effortless preparation you can whip up in minutes.
Ingredients
Main Ingredients:
- 3 ripe bananas (approximately 300 grams/10.6 ounces)
- 1 cup heavy cream (240 milliliters/8 fluid ounces)
- 1 cup sweetened condensed milk (300 grams/10.6 ounces)
Flavor Enhancers:
- 1 teaspoon vanilla extract (5 milliliters/0.17 fluid ounces)
Instructions
- Carefully select perfectly ripened bananas, ensuring they are soft and have dark speckles, indicating optimal sweetness.
- Using a sharp knife, slice bananas into uniform small chunks, creating consistent texture for smooth blending.
- Mash bananas thoroughly with a fork, leaving subtle banana fragments to enhance natural flavor profile.
- Utilize electric mixer to whip heavy cream until delicate, billowy peaks emerge, approximately 3-4 minutes at medium-high speed.
- Delicately incorporate mashed bananas into whipped cream, maintaining airy texture while creating rich, creamy consistency.
- Pour sweetened condensed milk and vanilla extract into mixture, gently folding ingredients until harmoniously combined.
- Select freezer-safe container with tight-sealing lid, ensuring minimal air exposure to prevent ice crystal formation.
- Spread mixture evenly, smoothing surface with spatula for uniform freezing and professional presentation.
- Freeze for 4-6 hours at 0°F, allowing ice cream to solidify completely while preserving velvety texture.
- Prior to serving, remove from freezer and allow 3-5 minutes resting time at room temperature for effortless scooping.
Notes
- Freeze bananas in advance to create a creamier, smoother texture without ice crystals forming.
- Use overripe bananas with brown spots for maximum natural sweetness and intense banana flavor.
- Experiment with mix-ins like chopped nuts, chocolate chips, or caramel swirls to customize the ice cream and add extra excitement.
- For a dairy-free version, substitute coconut cream for heavy cream and use dairy-free condensed milk alternative to make the recipe vegan-friendly.
- Prep Time: 10 minutes
- Cook Time: 0 minutes
- Category: Desserts, Snacks
- Method: Freezing
- Cuisine: American
Nutrition
- Serving Size: 4
- Calories: 335
- Sugar: 30g
- Sodium: 50mg
- Fat: 22g
- Saturated Fat: 14g
- Unsaturated Fat: 8g
- Trans Fat: 0g
- Carbohydrates: 38g
- Fiber: 2g
- Protein: 4g
- Cholesterol: 80mg
Jack Sullivan
Founder & Culinary Storyteller
Expertise
Single-recipe development with a narrative approach, Culinary storytelling and food history, Seasonal and regional ingredient utilization, Home cooking techniques adapted for modern kitchens
Education
New England Culinary Institute (Montpelier, VT)
Certificate in Culinary Arts
Focused on farm-to-table cooking, sustainable practices, and modern plating techniques.
Asheville-Buncombe Technical Community College
Associate Degree in Culinary Arts
Emphasized Southern Appalachian cuisine and local ingredient sourcing.
Jack grew up surrounded by smoky skillets and handwritten recipes in the mountains of North Carolina. His roots in Appalachian cooking shaped the way he sees food – as something that connects people, tells a story, and holds meaning.
With hands-on training and a background in sustainable, regional cooking, Jack started Boil And Broil to make meaningful meals more accessible. He’s all about one-dish recipes that are simple to follow but rich with flavor and history.