
The Best No-Bake Coconut Cream Balls Recipe for Sweet Snacking
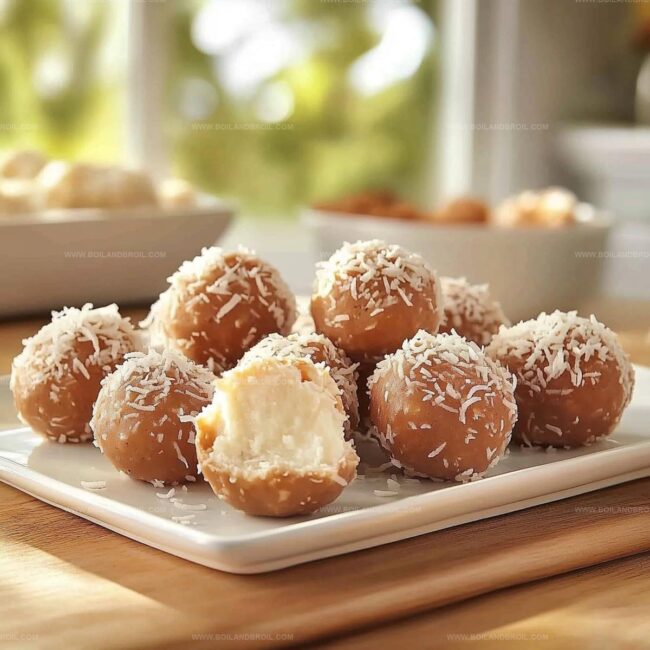
Whipping up delightful no-bake coconut cream balls can transform an ordinary afternoon into a sweet escape.
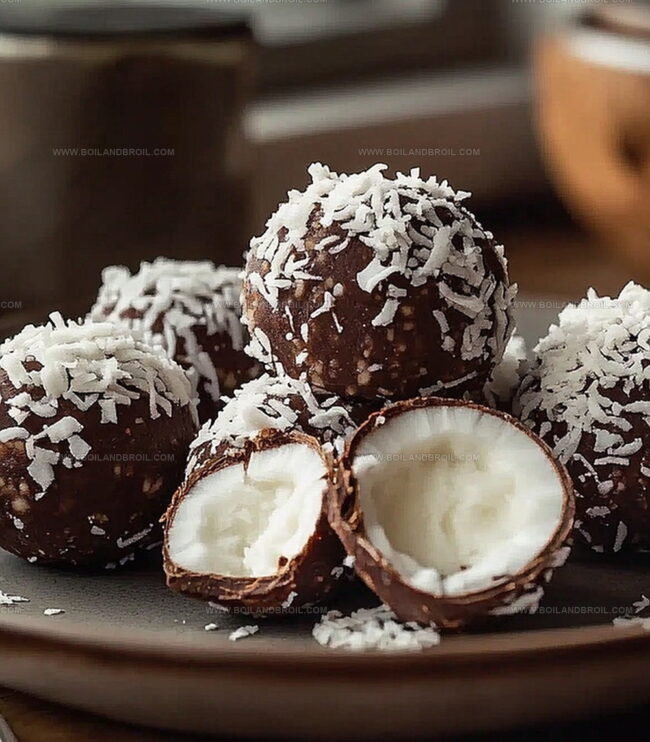
Creamy textures and tropical flavors dance together in this simple treat.
Minimal ingredients mean maximum enjoyment for anyone craving something special.
Cool kitchen techniques meet delectable dessert magic without turning on the oven.
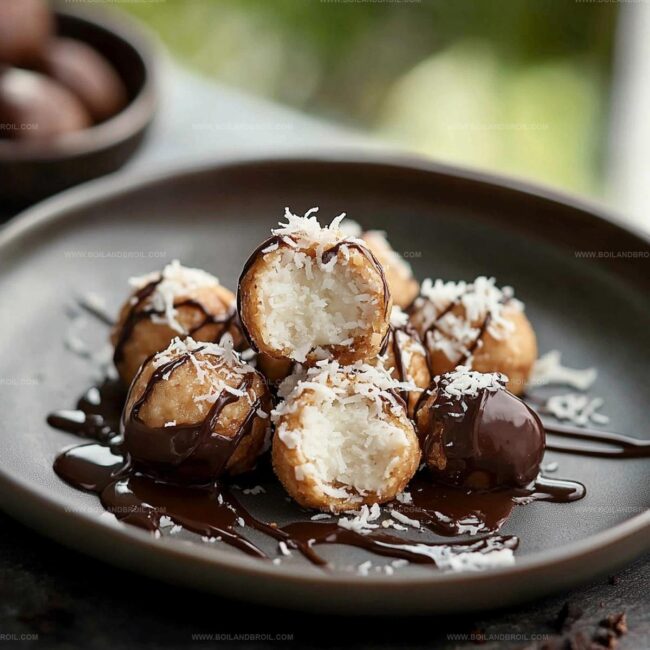
Each bite promises a burst of coconut goodness that melts smoothly across your palate.
Smooth preparation steps make these balls perfect for spontaneous dessert lovers.
You’ll find yourself falling in love with this effortless recipe that brings tropical happiness right to your plate.
No-Bake Coconut Cream Balls Overview
Ingredients for Coconut Cream Balls
How to Make No-Bake Coconut Cream Balls
Step 1: Blend Coconut Delight
Grab a mixing bowl and toss in shredded coconut, powdered sugar, softened butter, and vanilla extract.
Use a spatula or your hands to mix everything until the ingredients become a smooth, cohesive mixture that holds together easily.
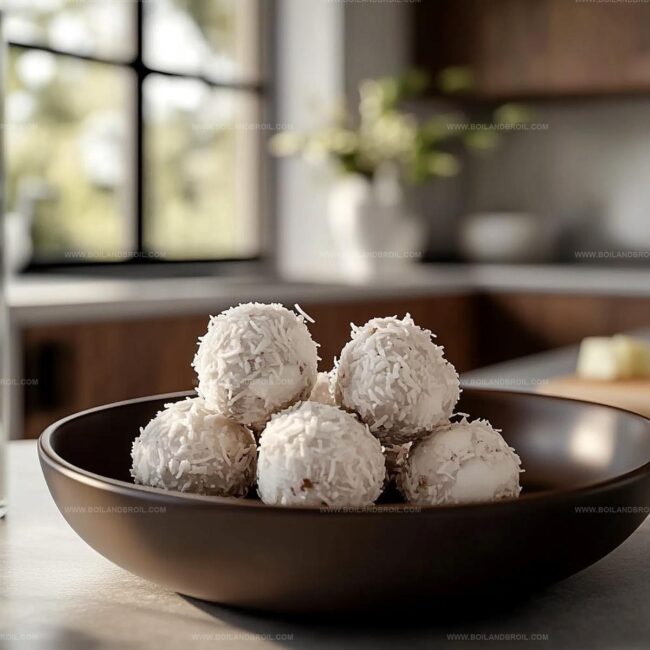
Step 2: Shape Creamy Treats
Take small portions of the mixture and roll them gently between your palms to create bite-sized spheres.
Aim for consistent 1-inch balls and place each one carefully on a parchment-lined baking sheet.
Step 3: Chill and Set
Transfer the baking sheet with your coconut balls to the refrigerator.
Let them rest and firm up for at least 30 minutes, which helps them maintain their perfect round shape and enhances their delightful texture.
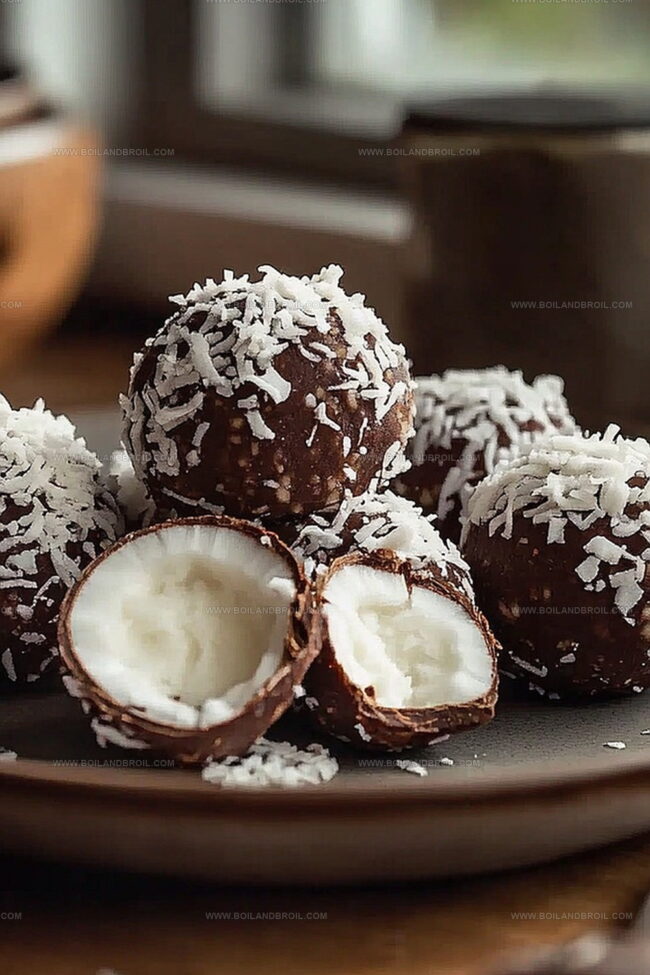
Step 4: Decorate with Chocolate
Melt chocolate using a double boiler or microwave.
Once smooth, you can either:Step 5: Serve and Store
Remove the coconut cream balls from the refrigerator and serve immediately.
Store any leftovers in an airtight container in the refrigerator for up to one week.
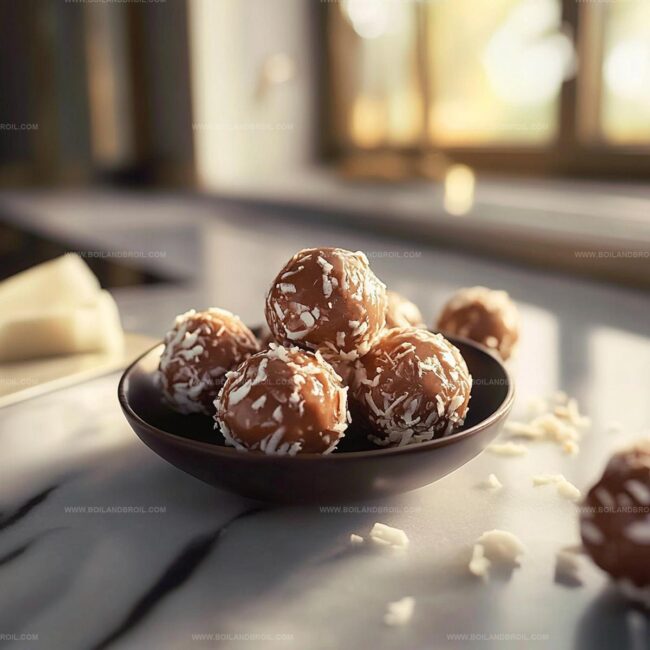
These delectable treats are perfect for spontaneous snacking or sharing with friends.
Tips for Creamy Coconut Treats
Storing Coconut Cream Balls Properly
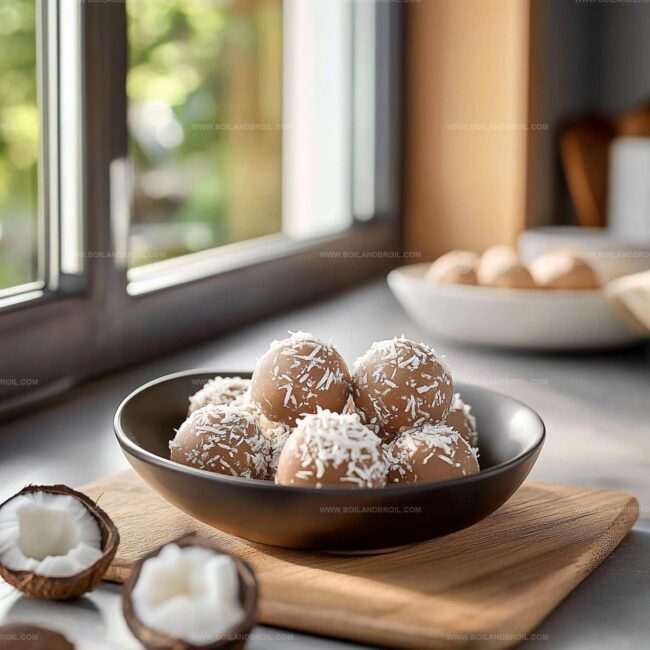
Serving Suggestions for Coconut Balls
Pair Creamy Coconut Delights with Complementary Flavors
Variations on Coconut Cream Balls
FAQs
These balls contain dairy (butter) and sugar, so they’re not vegan or sugar-free. People with dairy allergies should avoid them or use dairy-free butter alternatives.
They can stay fresh in an airtight container in the refrigerator for up to 7 days. Always ensure they’re properly sealed to maintain their texture and flavor.
Yes, these no-bake coconut cream balls are perfect for preparing in advance. You can make them 1-2 days before your event and keep them chilled until serving.
No special equipment is required. You’ll just need a mixing bowl, measuring cups, and your hands to roll the balls. A parchment-lined baking sheet helps with easy cleanup and preventing sticking.
Print
No-Bake Coconut Cream Balls Recipe
- Total Time: 15 minutes
- Yield: 12 1x
Description
Creamy no-bake coconut cream balls dance with sweet tropical flavors, blending smooth textures and irresistible coconut charm. Delightful bites invite you to savor quick, elegant dessert magic without turning on the oven.
Ingredients
Coconut Ingredients:
- 2 cups sweetened shredded coconut
Sweetening Ingredients:
- 1 cup powdered sugar
Supporting Ingredients:
- 1/2 cup (113 grams) unsalted butter, softened
- 1/2 teaspoon vanilla extract
Optional Topping:
- Melted chocolate for drizzling or dipping
Instructions
- In a spacious mixing bowl, blend shredded coconut, powdered sugar, softened butter, and vanilla extract until the ingredients form a cohesive, uniform mixture that holds together easily.
- Using clean hands or a small cookie scoop, carefully shape the coconut mixture into compact, round spheres approximately 1-inch in diameter, ensuring each ball is tightly compressed.
- Arrange the formed balls on a parchment-lined baking sheet, maintaining slight separation between each piece to prevent sticking.
- Transfer the baking sheet to the refrigerator and allow the coconut cream balls to firm up for 30-45 minutes, which will help them maintain their shape and enhance their texture.
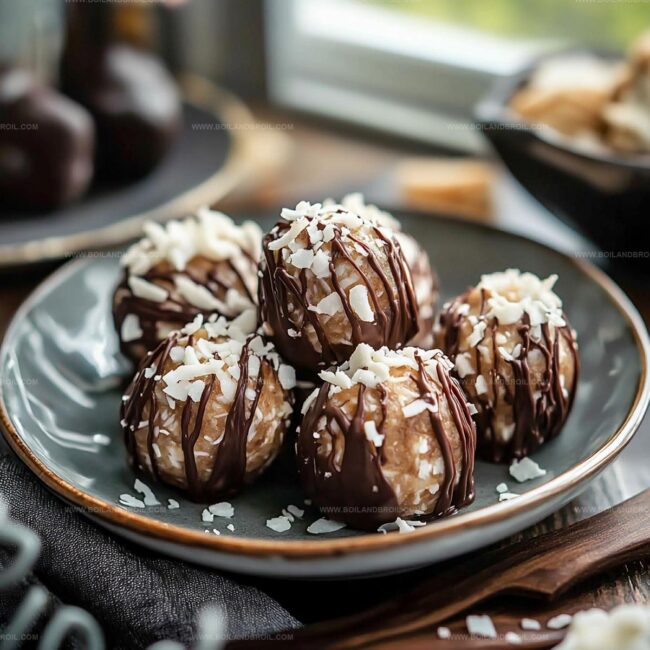
- For an elegant presentation, melt chocolate using a double boiler or microwave at 50% power in 30-second intervals, stirring between each interval until smooth and glossy.
- Drizzle the melted chocolate over the chilled coconut balls or completely immerse each ball for a more decadent coating, using a fork to allow excess chocolate to drip off.
- Return the chocolate-covered balls to the refrigerator for an additional 10-15 minutes to allow the chocolate to set completely.
- Store the coconut cream balls in an airtight container in the refrigerator for up to one week, separating layers with parchment paper to prevent sticking.
Notes
- Texture matters most when mixing ingredients, so ensure the butter is softened but not melted to maintain the perfect consistency for rolling.
- For a healthier version, swap powdered sugar with monk fruit sweetener or stevia to reduce overall sugar content.
- Chilling the mixture before forming balls helps prevent sticky hands and creates more compact, uniform treats.
- Customize by adding finely chopped nuts or rolling balls in cocoa powder for extra flavor complexity and visual appeal.
- Prep Time: 15 minutes
- Cook Time: 0 minutes
- Category: Snacks, Desserts
- Method: Rolling
- Cuisine: American
Nutrition
- Serving Size: 12
- Calories: 150
- Sugar: 12 g
- Sodium: 30 mg
- Fat: 9 g
- Saturated Fat: 6 g
- Unsaturated Fat: 3 g
- Trans Fat: 0 g
- Carbohydrates: 18 g
- Fiber: 1 g
- Protein: 1 g
- Cholesterol: 20 mg
Jack Sullivan
Founder & Culinary Storyteller
Expertise
Single-recipe development with a narrative approach, Culinary storytelling and food history, Seasonal and regional ingredient utilization, Home cooking techniques adapted for modern kitchens
Education
New England Culinary Institute (Montpelier, VT)
Certificate in Culinary Arts
Focused on farm-to-table cooking, sustainable practices, and modern plating techniques.
Asheville-Buncombe Technical Community College
Associate Degree in Culinary Arts
Emphasized Southern Appalachian cuisine and local ingredient sourcing.
Jack grew up surrounded by smoky skillets and handwritten recipes in the mountains of North Carolina. His roots in Appalachian cooking shaped the way he sees food – as something that connects people, tells a story, and holds meaning.
With hands-on training and a background in sustainable, regional cooking, Jack started Boil And Broil to make meaningful meals more accessible. He’s all about one-dish recipes that are simple to follow but rich with flavor and history.