Joyful No-Bake Easter Fudge Recipe for Sweet Spring Celebrations
Creamy no-bake Easter fudge brings sweet memories of childhood celebrations right to your kitchen counter.
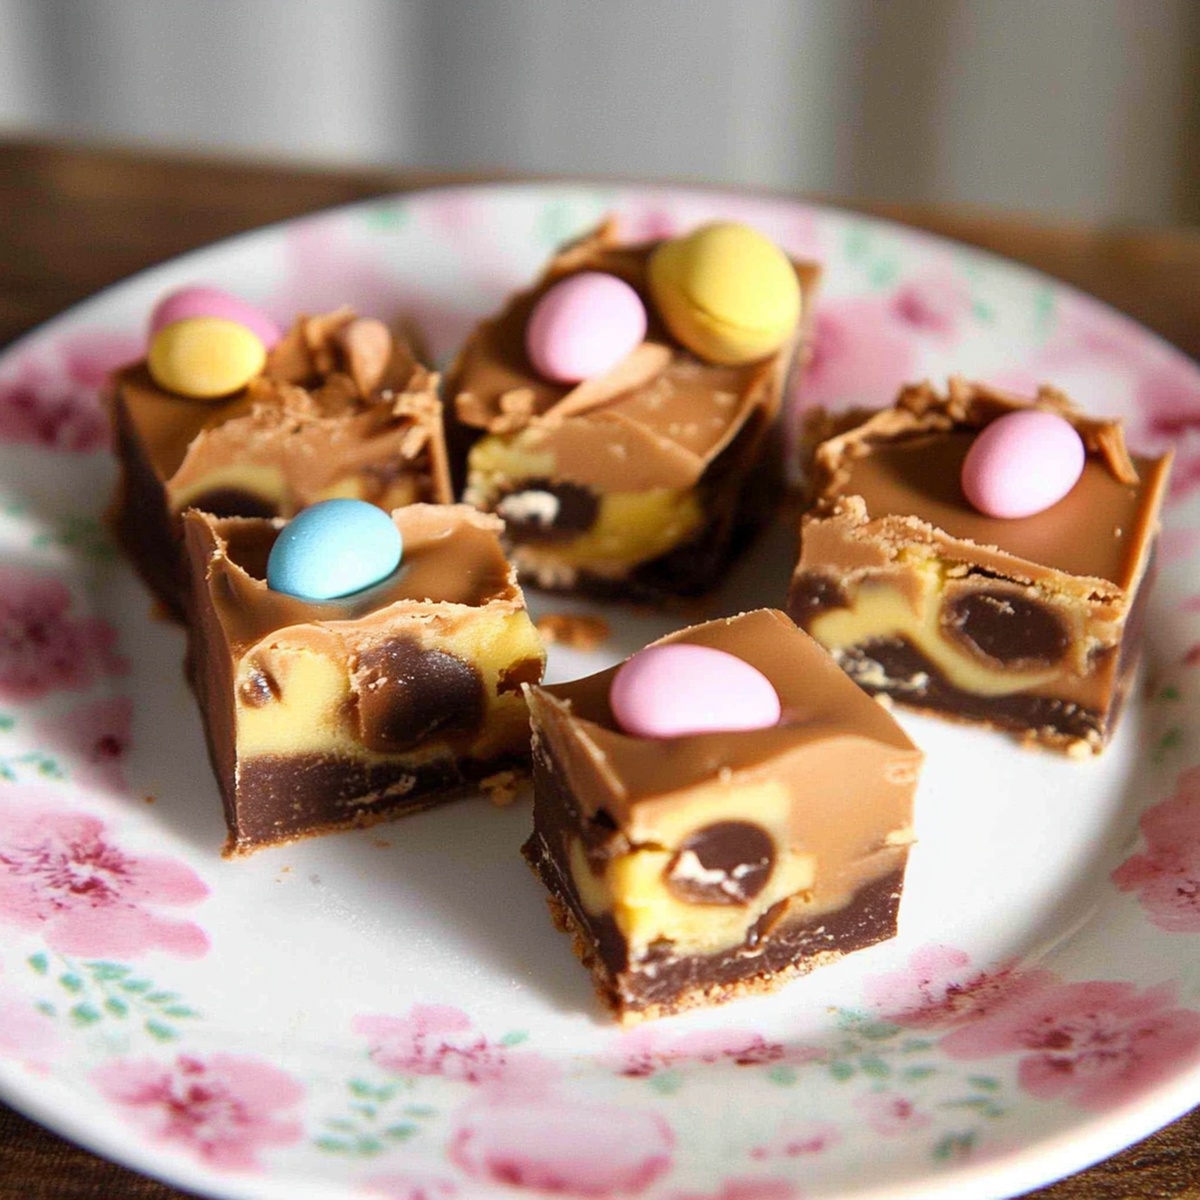
Pastel colors and marshmallow softness make this treat irresistible for everyone.
Chocolate lovers will adore how simple ingredients combine into a delectable dessert.
Quick preparation means you can whip up this delightful confection in minutes.
Rich flavors melt together without requiring any complicated cooking techniques.
Kids can even help mix and decorate these festive squares.
An easy recipe that promises smiles and joy awaits you.
One bite will transport you to springtime happiness.
No-Bake Easter Fudge: Springtime Sweetness

Pantry Checklist for Easter Fudge
Base Ingredients:Decorative Ingredients:Preparation Ingredient:No-Fuss Steps to Make Easter Fudge

Step 1: Prepare Baking Vessel
Cover an 8×8-inch baking pan completely with parchment paper, ensuring the edges hang over for easy removal later.
Smooth out any wrinkles to create a flat surface.
Step 2: Create Chocolate Base
Grab a medium saucepan and set it over low heat.
Gently melt together:Stir continuously until the mixture becomes silky smooth and completely blended, with no lumps visible.
Step 3: Incorporate Creamy Sweetness
Pour sweetened condensed milk into the chocolate mixture.
Whisk thoroughly until everything combines into a rich, glossy consistency that looks absolutely irresistible.
Step 4: Add Festive Flair
Mix half of the colorful sprinkles directly into the fudge mixture.
Pour the entire mixture into the prepared pan, using a spatula to spread it evenly across the surface.
Step 5: Decorate and Chill
Sprinkle the remaining festive sprinkles on top of the fudge, creating a vibrant and playful design.
Place the pan in the refrigerator and let it set for at least 2 hours until the fudge becomes firm and solid.
Step 6: Slice and Serve
Remove the fudge from the refrigerator.
Using the parchment paper edges, lift the entire block out of the pan.
Cut into small, bite-sized squares using a sharp knife.
Serve and enjoy your delightful Easter treat!
Pro Tips for Silky, No-Bake Fudge
Storing and Serving Your Easter Fudge
Perfect Pairings for Easter Fudge
Fun Flavor Twists on Easter Fudge
FAQs
You’ll need chocolate chips, butter, sweetened condensed milk, and colorful sprinkles. These simple ingredients create a delicious and festive no-bake dessert.
Absolutely! You can use milk, dark, or white chocolate chips depending on your preference. Each type will give the fudge a unique flavor and richness.
The fudge can be kept in an airtight container in the refrigerator for up to 7 days. Make sure to keep it cool to maintain its smooth texture and prevent melting.
Yes, it’s perfect for kids! They can help add sprinkles and watch the chocolate melt. It’s a simple, fun recipe that doesn’t require using an oven, making it safe for children to participate.
Print
No-Bake Easter Fudge Recipe
- Total Time: 20 minutes
- Yield: 16 1x
Description
Sweet chocolate bliss meets Easter magic in this no-bake Easter fudge, a delightful confection that whisks chocolate lovers straight to dessert paradise. Simple ingredients and minimal effort create a festive treat you’ll crave long after the holiday celebrations end.
Ingredients
Main Ingredients:
- 1 can (14 ounces / 396 grams) sweetened condensed milk
- 2 cups chocolate chips (semi-sweet or milk chocolate)
- 1/4 cup (56 grams) unsalted butter
Additional Decorative Ingredients:
- Easter-themed sprinkles
Instructions
- Prepare a square baking dish by lining it completely with parchment paper, ensuring edges are covered for easy removal.
- Create a smooth chocolate base by gently melting butter and chocolate chips together in a saucepan over low heat, stirring continuously to prevent burning.
- Incorporate sweetened condensed milk into the melted chocolate mixture, whisking until the texture becomes uniform and glossy.
- Gently fold half of the colorful sprinkles into the chocolate mixture, distributing them evenly throughout the fudge base.
- Pour the chocolate mixture into the prepared parchment-lined dish, using a spatula to spread it into a consistent layer.
- Artfully scatter the remaining sprinkles across the surface, pressing them lightly to ensure they adhere to the fudge.
- Chill the fudge in the refrigerator for approximately 2 hours, or until the mixture becomes completely firm and set.
- Remove the fudge from the refrigerator and lift it out of the pan using the parchment paper edges.
- Using a sharp knife, cut the chilled fudge into neat, uniform squares for serving.
Notes
- Swap chocolate chips for white chocolate or dark chocolate to create different flavor variations and match personal preferences.
- Ensure low and slow melting of chocolate prevents burning and maintains smooth texture, using double boiler method if possible.
- For gluten-free version, carefully check sprinkles and chocolate chips to confirm they are certified gluten-free.
- Add extra festive touch by using seasonal or themed sprinkles matching holiday or celebration color scheme.
- Prep Time: 10 minutes
- Cook Time: 10 minutes
- Category: Desserts, Snacks
- Method: No-Bake
- Cuisine: American
Nutrition
- Serving Size: 16
- Calories: 240
- Sugar: 22 g
- Sodium: 50 mg
- Fat: 12 g
- Saturated Fat: 7 g
- Unsaturated Fat: 4 g
- Trans Fat: 0 g
- Carbohydrates: 32 g
- Fiber: 1 g
- Protein: 2 g
- Cholesterol: 15 mg
Jack Sullivan
Founder & Culinary Storyteller
Expertise
Single-recipe development with a narrative approach, Culinary storytelling and food history, Seasonal and regional ingredient utilization, Home cooking techniques adapted for modern kitchens
Education
New England Culinary Institute (Montpelier, VT)
Certificate in Culinary Arts
Focused on farm-to-table cooking, sustainable practices, and modern plating techniques.
Asheville-Buncombe Technical Community College
Associate Degree in Culinary Arts
Emphasized Southern Appalachian cuisine and local ingredient sourcing.
Jack grew up surrounded by smoky skillets and handwritten recipes in the mountains of North Carolina. His roots in Appalachian cooking shaped the way he sees food – as something that connects people, tells a story, and holds meaning.
With hands-on training and a background in sustainable, regional cooking, Jack started Boil And Broil to make meaningful meals more accessible. He’s all about one-dish recipes that are simple to follow but rich with flavor and history.