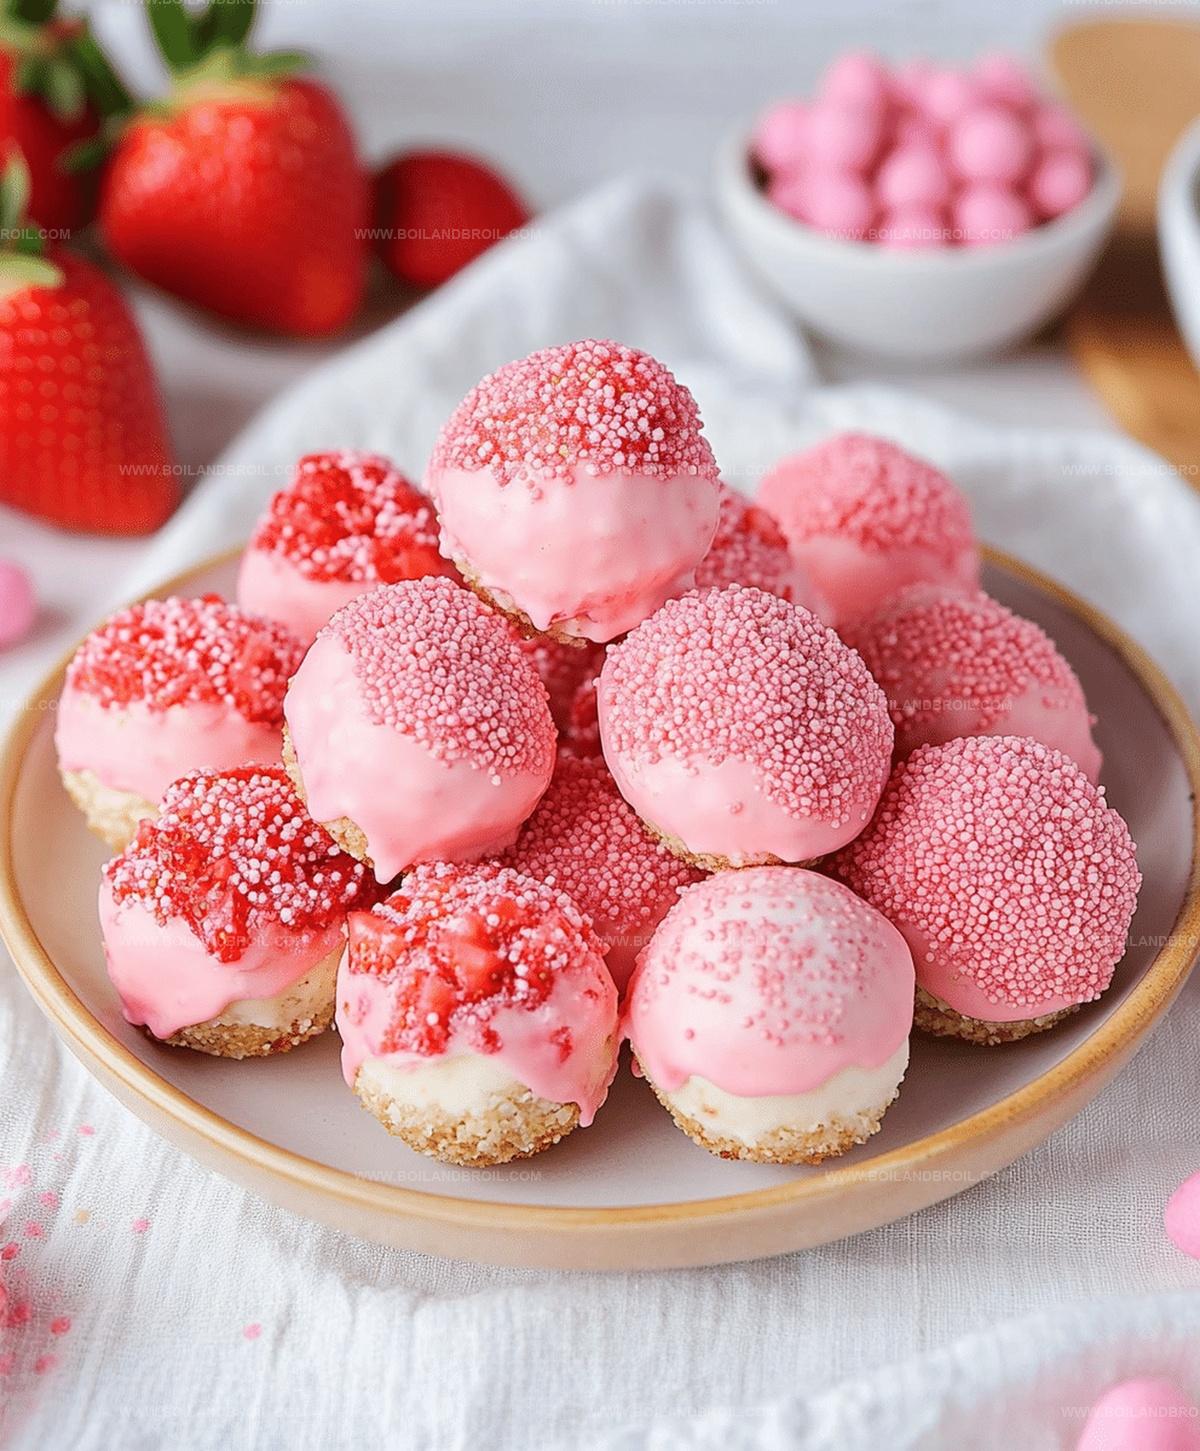
Heavenly No-bake Strawberry Cheesecake Bites Recipe For Beginners
Sweet summer days call for no-bake strawberry cheesecake bites that melt in your mouth and spark pure joy.
Creamy, luscious textures combine with fresh strawberry essence in these delightful miniature treats.
Each bite delivers a perfect balance of tangy cream cheese and bright fruit flavors.
The simple recipe requires minimal ingredients and zero oven time, making these little desserts a breeze to prepare.
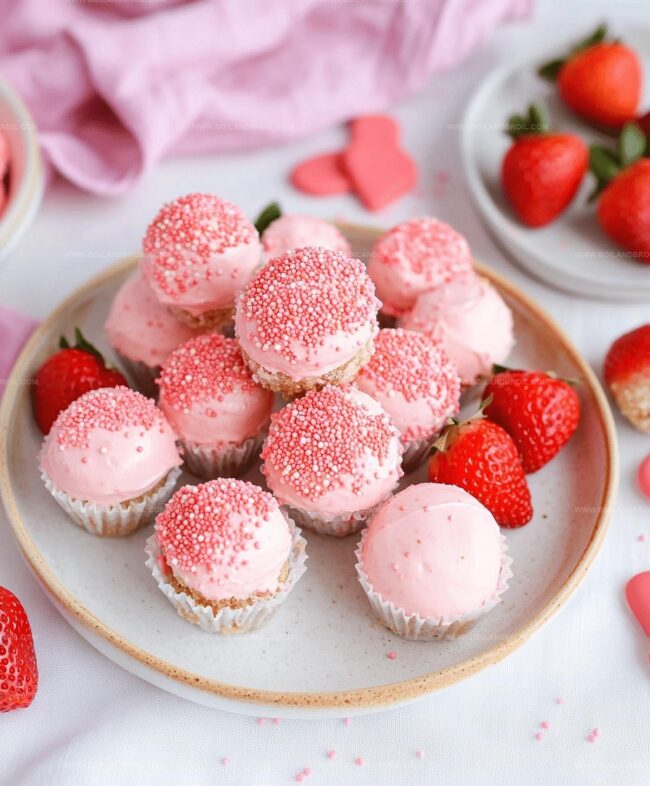
Chilled and silky smooth, these cheesecake bites offer a refreshing escape from traditional heavy desserts.
Cool and elegant, they dress up any gathering with minimal effort.
Indulge in these irresistible morsels that promise to become your new favorite summer dessert.
Why These Cheesecake Bites Are Perfect for No-Bake Days
What You’ll Need for Strawberry Cheesecake Bites
Main Ingredients:
Cream Cheese Base:Dry Ingredients:Coating and Decoration:Preparation Surface:How to Make These Bites Without an Oven
Step 1: Whip Cream Cheese Smooth
Beat the softened cream cheese in a mixing bowl until it becomes completely smooth and free of lumps.
Add salt and vanilla extract, then mix thoroughly to combine all ingredients.
Step 2: Blend Cake Mix Into Dough
Gradually incorporate the dry cake mix into the cream cheese mixture.
The initial texture will appear crumbly, but continue mixing until the ingredients transform into a thick, uniform dough.
Step 3: Chill Dough
Transfer the dough to a covered bowl and refrigerate for a minimum of two hours, though overnight chilling is recommended.
This resting period helps the dough become firmer and easier to handle.
Step 4: Shape Cheesecake Balls
Use a cookie scoop or spoon to portion out tablespoon-sized dough portions.
Roll each portion into a perfect ball.
If the dough feels sticky, lightly dust your hands with powdered sugar.
Arrange the balls on a parchment-lined baking sheet.
Step 5: Melt Chocolate Coating
Prepare the chocolate coating by melting almond bark or pink melting wafers.
Use the microwave method with 30-second intervals, stirring between each burst until smooth.
Alternatively, utilize a double boiler for more precise temperature control.
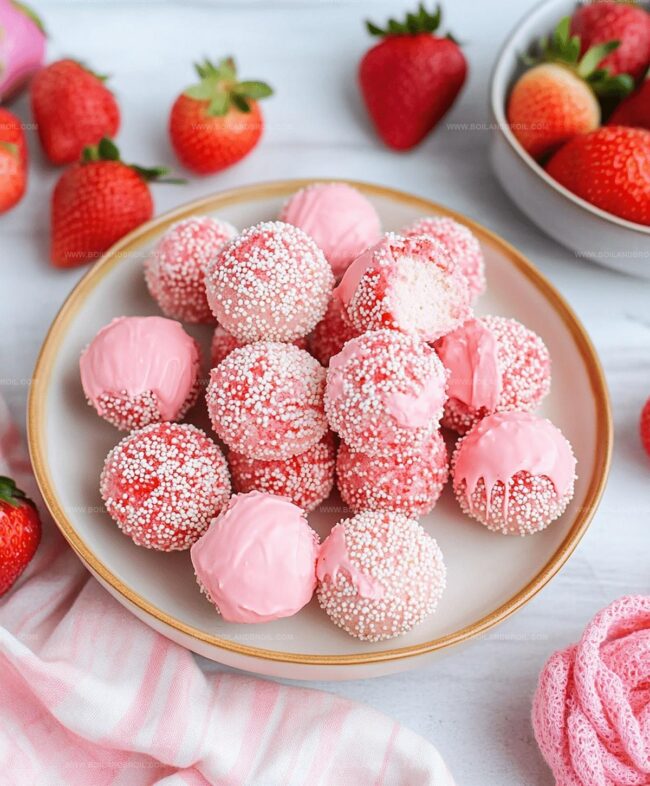
Step 6: Dip and Decorate
Carefully dip each cheesecake ball into the melted chocolate using a toothpick or fork.
Gently tap to remove excess coating.
Return the coated balls to the parchment paper and immediately sprinkle with decorative toppings while the chocolate remains tacky.
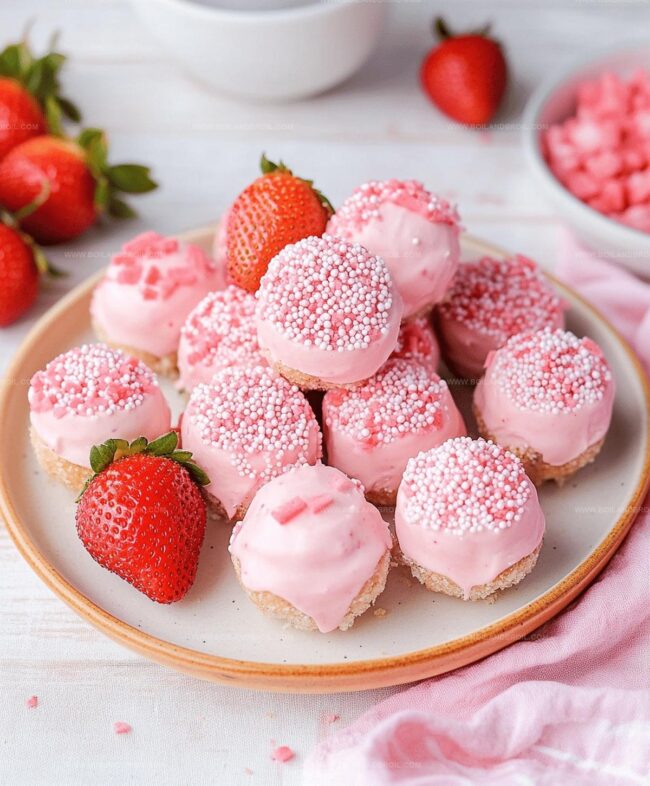
Step 7: Set and Finish
Allow the chocolate-covered cheesecake bites to harden at room temperature.
For faster setting, place them in the refrigerator for 10-15 minutes.
For an elegant touch, drizzle with melted white chocolate as a final garnish.
Tips for Smooth Layers and Easy Assembly
How to Keep No-Bake Cheesecake Bites Fresh
Great Pairings for These Bite-Sized Treats
Fun Variations for Cheesecake Bite Flavors
FAQs
Cake mix adds sweetness, texture, and helps bind the cheesecake bite ingredients together without using additional flour or sugar.
Absolutely! Vanilla, strawberry, or white cake mix work perfectly and can create fun flavor variations for your cheesecake bites.
Chill the dough in the refrigerator for at least two hours, which helps firm it up. If still sticky, lightly dust your hands with powdered sugar while rolling the balls.
White chocolate chips or regular chocolate melting wafers can be great substitutes. Just ensure they melt smoothly and coat the cheesecake bites evenly.
Print
No-bake Strawberry Cheesecake Bites Recipe
- Total Time: 2 hours 15 minutes
- Yield: 12 1x
Description
Delightful no-bake strawberry cheesecake bites bring summer’s sweetness to your dessert table with minimal effort. Creamy, fruity morsels melt in your mouth, offering a perfect blend of indulgence and freshness that will satisfy sweet cravings instantly.
Ingredients
Main Ingredients:
- 13.25 ounces (375 grams) strawberry cake mix
- 8 ounces (226 grams) cream cheese, softened
- 12 ounces (340 grams) almond bark or pink melting wafers
Flavoring and Seasoning:
- 1 teaspoon fine sea salt
- 1 teaspoon clear vanilla extract
Decorative Ingredients:
- white chocolate, optional
- Valentines Day festive sprinkles, optional
Instructions
- Whip the softened cream cheese until velvety and lump-free. Incorporate salt and vanilla extract, blending thoroughly to ensure a uniform texture.
- Gradually fold in the dry cake mix, initially creating a crumbly consistency. Continue mixing until the mixture transforms into a cohesive, dense dough.
- Refrigerate the prepared dough for a minimum of two hours, preferably overnight. Chilling allows the mixture to solidify, facilitating easier ball formation.
- Utilize a cookie scoop to portion consistent dough balls. If the mixture proves sticky, lightly dust hands with powdered sugar. Arrange formed spheres on a parchment-lined tray.
- Melt almond bark or pink melting wafers using microwave technique: heat in 30-second intervals, stirring between each session until completely smooth. A double boiler provides an alternative melting method for more precise temperature control.
- Employ a toothpick or fork to immerse each cheesecake sphere into melted chocolate. Gently tap to remove excess coating. Return dipped bites to parchment paper and immediately garnish with sprinkles while coating remains tacky.
- Allow chocolate coating to solidify at room temperature, or expedite the process by refrigerating for 10-15 minutes. For an elevated presentation, consider drizzling with contrasting white chocolate.
Notes
- Ensure cream cheese is at room temperature for smooth, lump-free mixing to create a perfect cheesecake bite texture.
- Use powdered sugar sparingly when rolling dough to prevent sticking without making the mixture too dry or dense.
- Chill the cheesecake bites thoroughly before coating to help them maintain shape and prevent crumbling during the chocolate dipping process.
- Prep Time: 2 hours
- Cook Time: 15 minutes
- Category: Desserts, Snacks
- Method: Chilling
- Cuisine: American
Nutrition
- Serving Size: 12
- Calories: 150
- Sugar: 10g
- Sodium: 150mg
- Fat: 7g
- Saturated Fat: 4g
- Unsaturated Fat: 2g
- Trans Fat: 0g
- Carbohydrates: 19g
- Fiber: 0g
- Protein: 2g
- Cholesterol: 25mg
Clara Thompson
Recipe Developer & Culinary Educator
Expertise
Developing accessible single-serving recipes, Food writing and content creation, Plant-based and allergen-friendly cooking, Culinary education and workshop facilitation
Education
Oregon Culinary Institute (Portland, OR)
Diploma in Culinary Arts
Specialized in plant-based cooking and sustainable kitchen practices.
Portland Community College
Certificate in Food Writing and Media
Focused on recipe writing, food photography, and digital content creation.
Clara’s food journey began with a curiosity for color, texture, and ingredients pulled straight from the garden. Her background in plant-forward cooking and creative writing gives her a unique edge – she makes healthy, flavorful food feel inviting, not intimidating.
She specializes in meals that work for busy lives and different diets, all without sacrificing taste. Clara’s voice comes through in every recipe she writes – clear, kind, and encouraging.