Creamy No-bake Strawberry Cheesecake Jars Recipe for Beginners
Creamy, dreamy no-bake strawberry cheesecake jars deliver a delightful twist on a classic dessert.
Summer’s sweetest berries blend perfectly with rich cream cheese in this simple treat.
The layered dessert comes together without ever touching an oven, making it ideal for warm days.
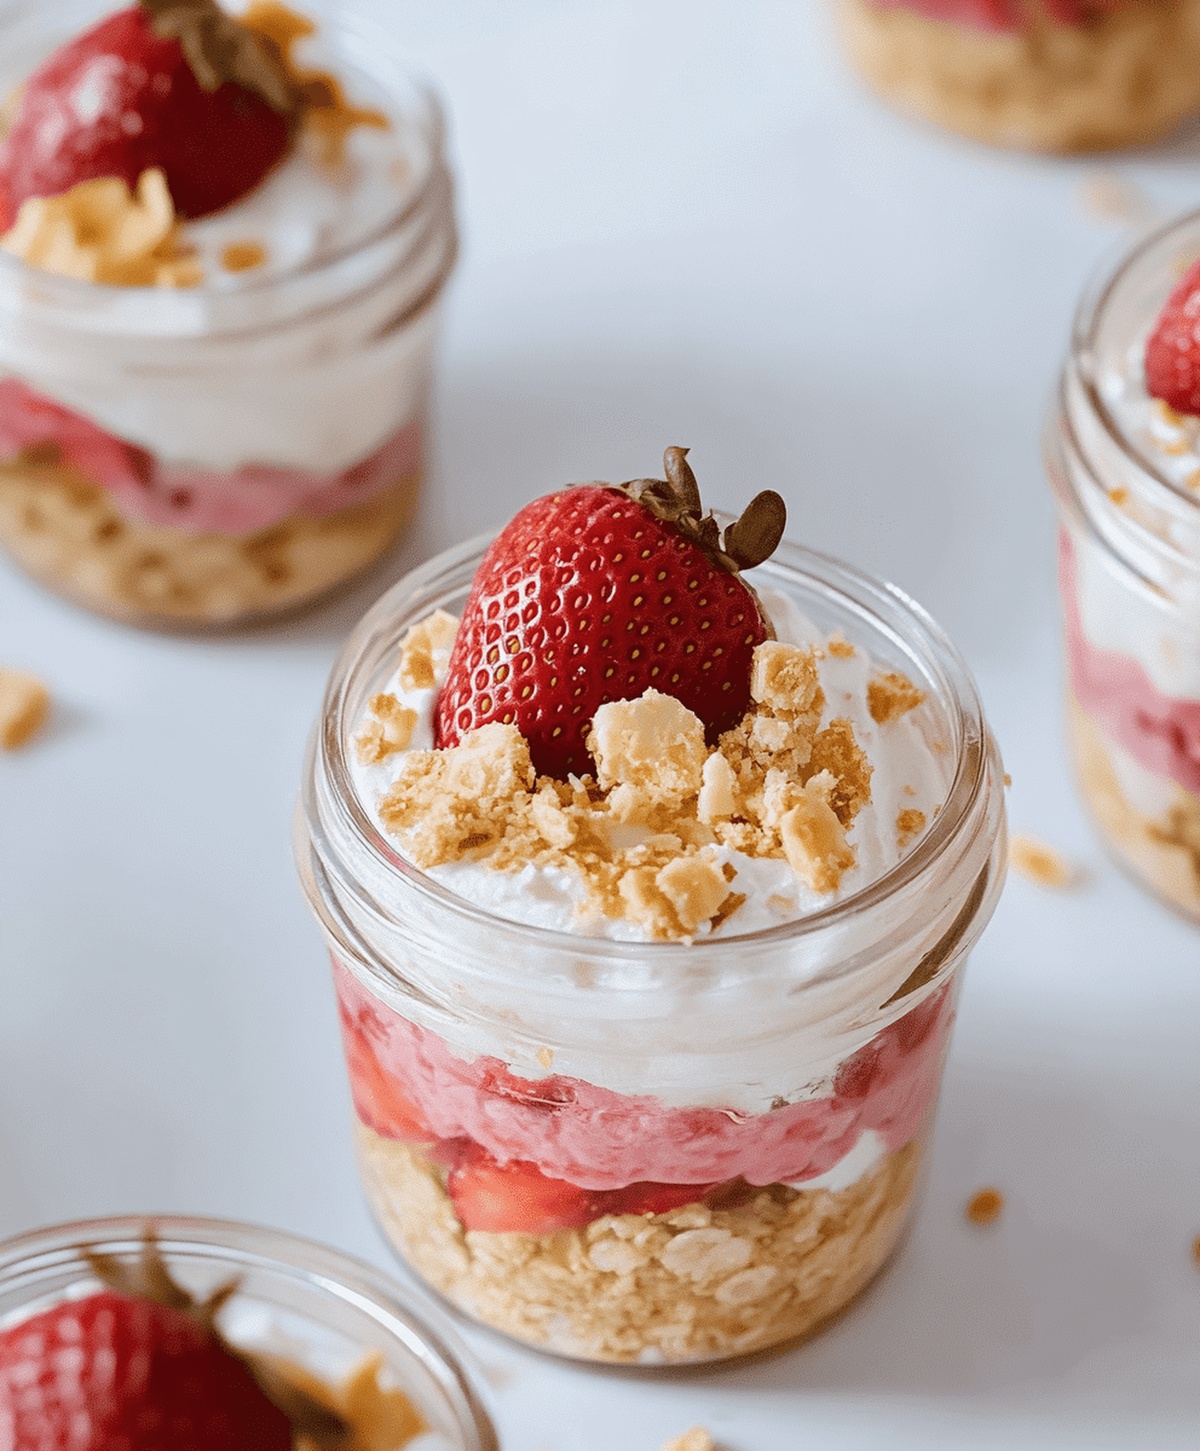
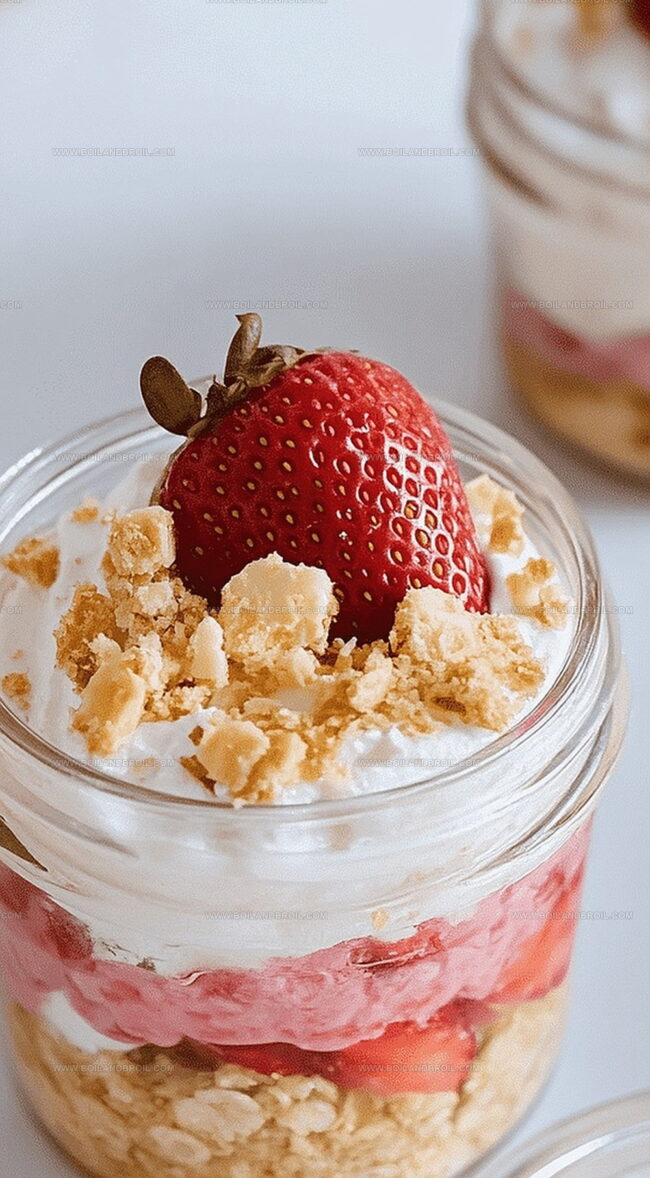
Smooth, velvety cheesecake filling nestles between crumbly graham cracker base and fresh strawberry topping.
Each spoonful promises a burst of fruity freshness and decadent texture.
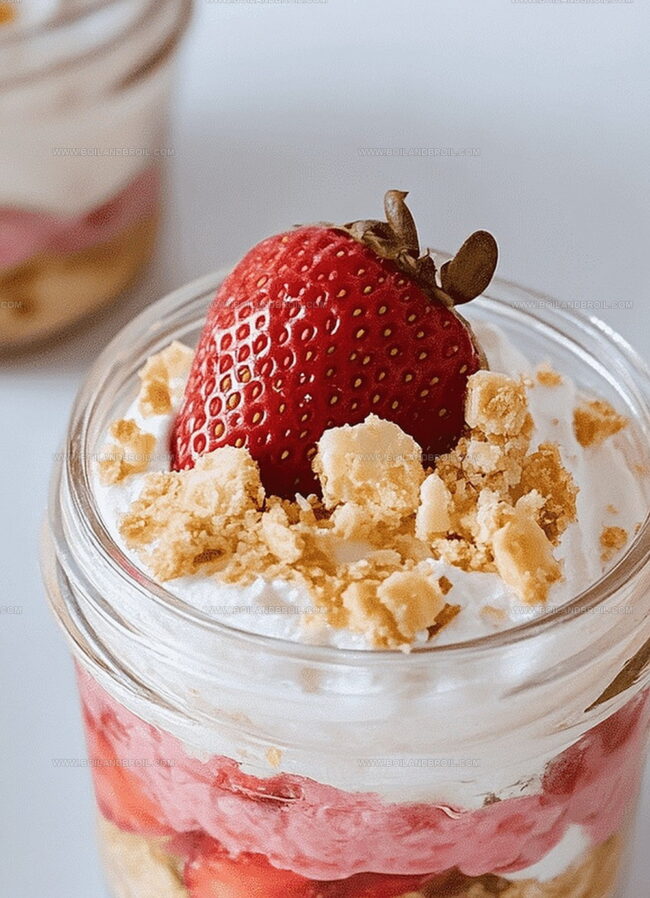
Portable and elegant, these individual jars transform an ordinary dessert into a stunning presentation.
You’ll fall in love with this effortless recipe that looks and tastes like a gourmet masterpiece.
Why These Cheesecake Jars Are Great for Gatherings
What’s in These No-Bake Strawberry Cheesecake Jars
Base Ingredients:Filling Ingredients:Fruit Ingredients:How to Assemble Cheesecake Jars Without Baking
Step 1: Crush Cracker Base
Break vanilla wafers into a food processor.
Pulse until finely ground.
Pour melted butter and blend until mixture slightly clumps together.
Distribute crumbs into individual jars, pressing gently with a spoon.
Create a loose, even layer.
Refrigerate jars while preparing next component.
Step 2: Whip Creamy Filling
In a large mixing bowl, combine:Beat ingredients until smooth and silky.
Add vanilla extract, fresh lemon zest, and lemon juice.
Mix thoroughly.
Gently fold in whipped topping and diced strawberries.
Maintain light, airy texture during mixing.
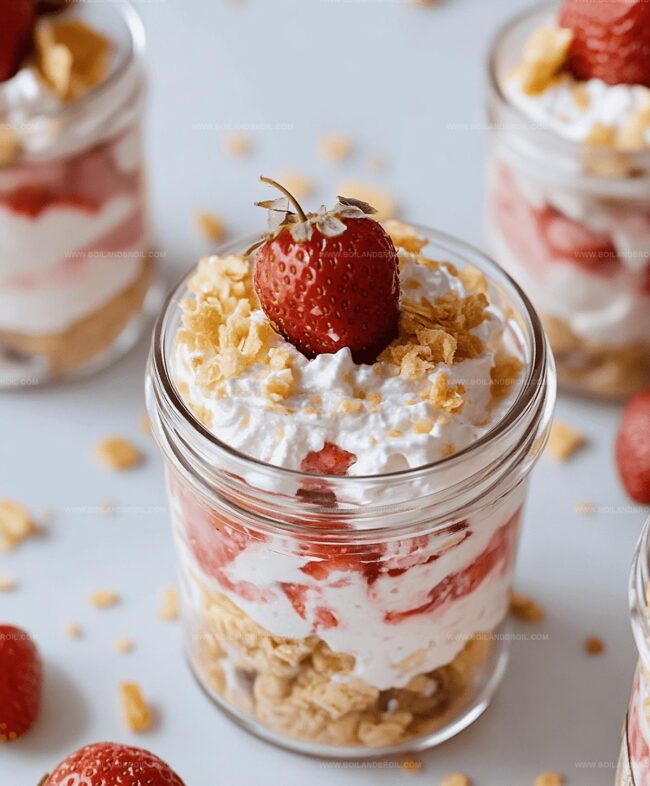
Step 3: Create Delightful Layers
Remove chilled jars from refrigerator.
Spoon cheesecake filling into each jar, spreading evenly.
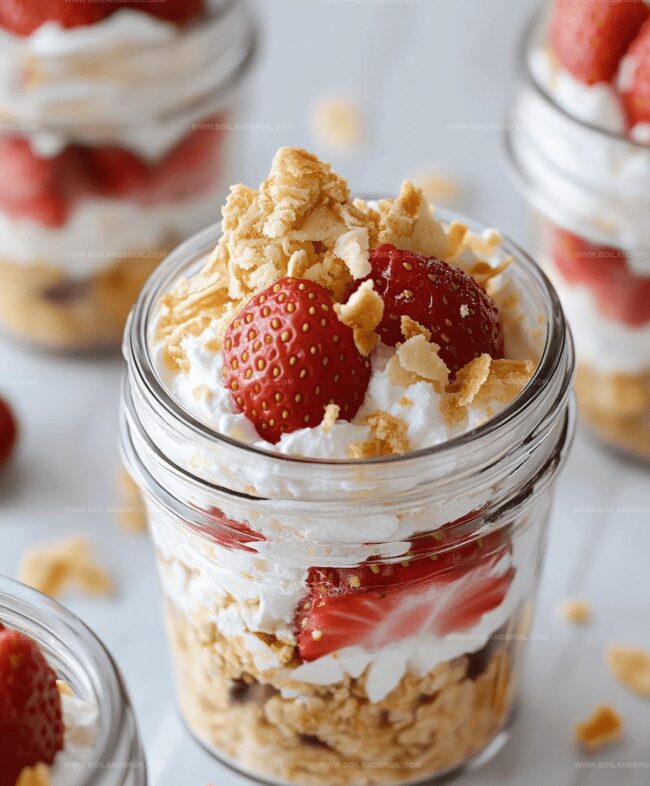
Add fresh strawberry pieces.
Repeat layering process until all ingredients are used.
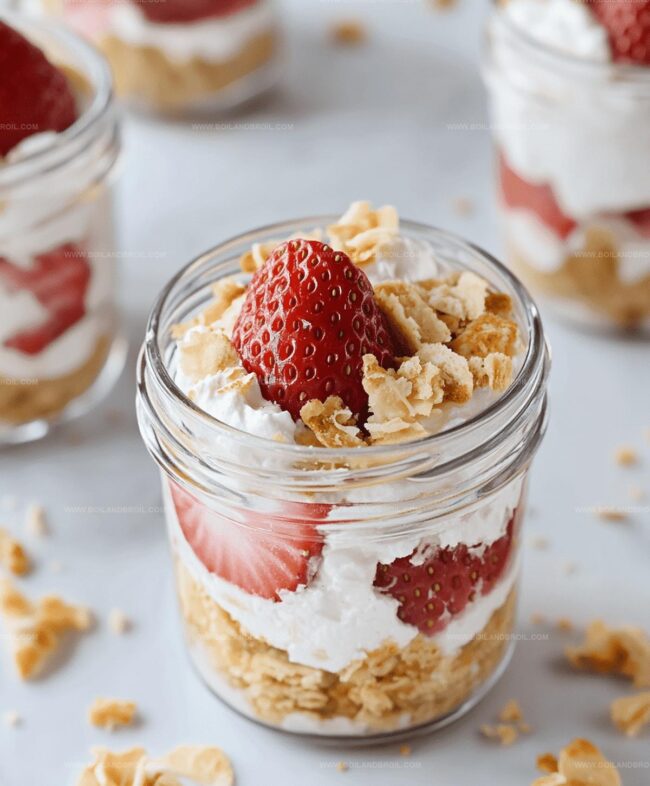
Build beautiful, colorful layers that showcase each component.
Step 4: Chill and Enjoy
Cover jars with lids.
Refrigerate for 1-2 hours or overnight.
When ready to serve, present chilled dessert jars.
Provide spoons for guests to dig into these delectable treats.
Perfect for summer gatherings or personal indulgence.
Tips for Clean Layers and Sweet Flavor
How to Store These Cheesecake Cups Well
Toppings and Pairings for Cheesecake Jars
Fun Flavors and Jar Layer Ideas to Try
FAQs
Fresh strawberries work best. They provide better texture and flavor. Frozen strawberries can make the dessert too watery, so it’s recommended to use ripe, fresh strawberries for this no-bake cheesecake.
Absolutely! Graham crackers or digestive biscuits are excellent alternatives to vanilla wafers. Just ensure they’re crushed finely and mixed with melted butter to create a stable crumb base.
Greek yogurt adds tanginess and helps create a lighter, less dense cheesecake filling. If unavailable, you can substitute with regular plain yogurt or sour cream, though the texture might slightly change.
These no-bake cheesecake jars will stay fresh in the refrigerator for 3-4 days when stored in sealed jars. Just keep them chilled and covered to maintain their best quality and prevent absorption of other refrigerator odors.
Print
No-bake Strawberry Cheesecake Jars Recipe
- Total Time: 20 minutes
- Yield: 8 1x
Description
Sweet, creamy no-bake strawberry cheesecake jars blend silky cream cheese with fresh berries in portable mason jar perfection. Summer desserts reach new heights with this simple, elegant treat you’ll savor spoonful by delightful spoonful.
Ingredients
Main Ingredients:
- 4 cups strawberries (hulled and quartered)
- 8 ounces (226 grams) cream cheese (reduced-fat, softened)
- 1 1/2 cups (340 grams) whipped topping
- 1/2 cup (120 grams) plain greek yogurt
Base/Crust Ingredients:
- 8 ounces (226 grams) vanilla wafers
- 3 tablespoons (45 milliliters) unsalted butter (melted)
Flavoring and Seasoning Ingredients:
- 1/4 cup (50 grams) granulated sugar
- 1/2 teaspoon vanilla extract
- 1 teaspoon lemon juice
- Zest of 1 lemon
Additional Items:
- 8 (8-ounce) mason jars
Instructions
- Pulverize vanilla wafers in a food processor until they transform into fine, sandy crumbs. Integrate melted butter and pulse until the mixture becomes slightly cohesive, creating a fragrant base mixture.
- Distribute the crumb mixture evenly across individual jars, allocating approximately 2 tablespoons per container. Gently press the crumbs using a spoon, ensuring a loose, not compacted layer. Refrigerate the jars while preparing the filling.
- In a mixing bowl, whip softened cream cheese, Greek yogurt, and sugar until achieving a silky, uniform consistency. Incorporate vanilla, lemon zest, and lemon juice, blending thoroughly to enhance the flavor profile.
- Delicately fold whipped topping into the cream cheese mixture, maintaining its light, airy texture. Gently integrate diced strawberries, preserving the filling’s delicate structure.
- Remove chilled jars from refrigerator. Layer 2-3 tablespoons of cheesecake filling, spreading evenly across the crumb base. Add a complementary layer of fresh strawberry pieces.
- Repeat layering process, alternating between cheesecake filling and strawberries until all ingredients are utilized, creating visually appealing stratified dessert jars.
- Securely seal jars with lids and refrigerate for 1-2 hours (or overnight for advanced preparation). Serve thoroughly chilled, allowing guests to indulge in the multi-textured dessert experience.
Notes
- Select wafers carefully for optimal texture, ensuring they’re crisp and fresh to create a perfect crumbly base that enhances the overall dessert experience.
- Consider using low-fat cream cheese and Greek yogurt to create a lighter version without sacrificing the creamy, indulgent taste of the original recipe.
- Adjust sweetness by reducing sugar for those watching their intake, or swap with natural sweeteners like honey or stevia for a healthier alternative.
- Prep Time: 20 minutes
- Cook Time: 0 minutes
- Category: Desserts, Snacks
- Method: None
- Cuisine: American
Nutrition
- Serving Size: 8
- Calories: 250
- Sugar: 12 g
- Sodium: 150 mg
- Fat: 10 g
- Saturated Fat: 5 g
- Unsaturated Fat: 4 g
- Trans Fat: 0 g
- Carbohydrates: 36 g
- Fiber: 2 g
- Protein: 4 g
- Cholesterol: 25 mg
Clara Thompson
Recipe Developer & Culinary Educator
Expertise
Developing accessible single-serving recipes, Food writing and content creation, Plant-based and allergen-friendly cooking, Culinary education and workshop facilitation
Education
Oregon Culinary Institute (Portland, OR)
Diploma in Culinary Arts
Specialized in plant-based cooking and sustainable kitchen practices.
Portland Community College
Certificate in Food Writing and Media
Focused on recipe writing, food photography, and digital content creation.
Clara’s food journey began with a curiosity for color, texture, and ingredients pulled straight from the garden. Her background in plant-forward cooking and creative writing gives her a unique edge – she makes healthy, flavorful food feel inviting, not intimidating.
She specializes in meals that work for busy lives and different diets, all without sacrificing taste. Clara’s voice comes through in every recipe she writes – clear, kind, and encouraging.