Fresh No-Bake Strawberry Crunch Cheesecake Recipe You’ll Love
Creamy cheesecake meets a delightful no-bake strawberry crunch sensation that will make taste buds dance with pure joy.
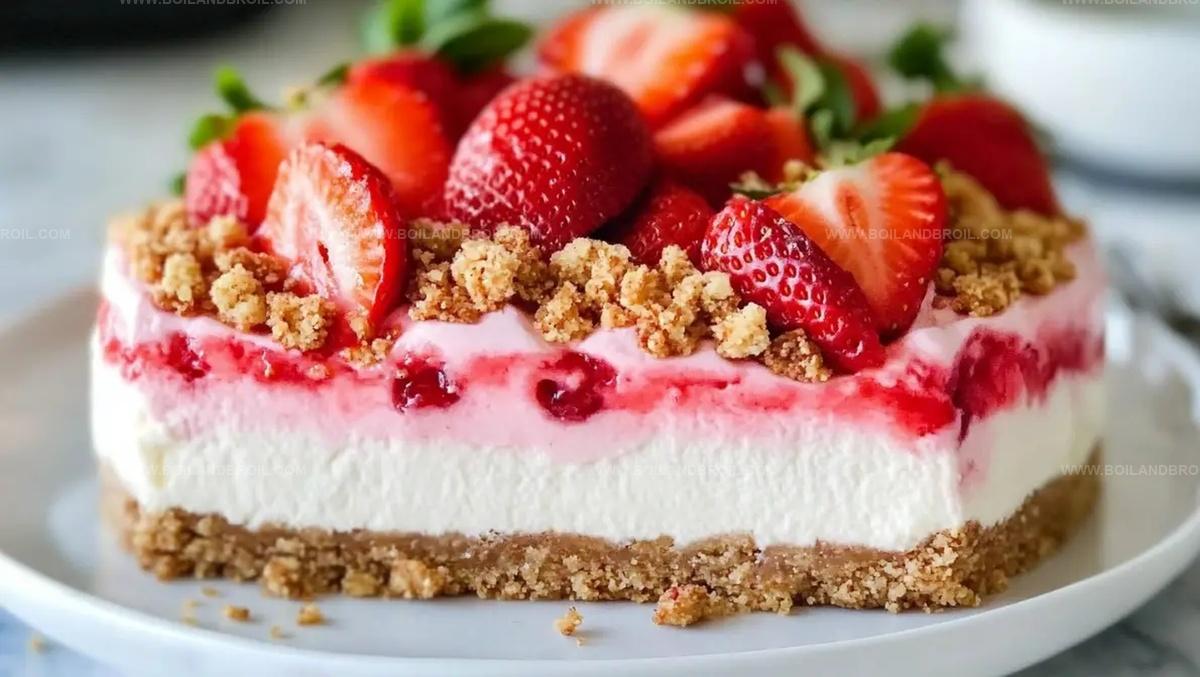
Summer’s sweetest dessert beckons with layers of luscious flavor.
Ripe strawberries blend seamlessly with a crisp, golden graham cracker base.
Silky cream cheese creates a luxurious backdrop for this stunning treat.
Each forkful promises a perfect balance of textures and vibrant fruit essence.
Cool and refreshing, this dessert delivers a knockout punch of deliciousness that transforms an ordinary moment into something extraordinary.
Prepare to indulge in a dessert that celebrates simplicity and decadence in one spectacular dish.
What Makes This Strawberry Crunch Cheesecake Special
What You’ll Need for No-Bake Strawberry Cheesecake
Crust Base:Cheesecake Filling:Topping and Decoration:How to Make Strawberry Crunch Cheesecake
Step 1: Prepare The Cookie Crust
Grab vanilla cream cookies and crush them into fine, sandy crumbs.
Melt butter and mix thoroughly with the cookie crumbs until evenly coated.
Press the mixture firmly into a greased 10-inch springform pan, creating a smooth, compact base.
Pop the crust into the freezer for 15 minutes to set and firm up.
Step 2: Create Strawberry Jello Liquid
Dissolve strawberry jello in boiling water, stirring until completely blended.
Allow the mixture to cool down to room temperature, ensuring it won’t melt the other ingredients.
Step 3: Whip Cream Cheese Base
In a large mixing bowl, beat softened cream cheese with granulated sugar.
Blend until the mixture becomes smooth, creamy, and free of lumps.
Step 4: Prepare Whipped Cream
Whip heavy cream with powdered sugar using an electric mixer.
Continue whipping until stiff, glossy peaks form, which indicates the perfect consistency.
Step 5: Combine Filling Ingredients
Gently fold the whipped cream into the cream cheese mixture.
Slowly add the cooled strawberry jello, incorporating it carefully.
Crush strawberry wafer cookies and fold them into the filling for added texture and flavor.
Step 6: Layer The Cheesecake
Spread half of the filling over the prepared crust.
Place in the freezer for 15 minutes to partially set.
Add the remaining filling and smooth the top evenly.
Step 7: Create Crunchy Topping
Crush the remaining cookies and wafers.
Optional: Add food coloring for a vibrant look.
Sprinkle the crumbs over the cheesecake and press lightly to adhere.
Step 8: Chill And Set
Refrigerate the cheesecake for at least 4 hours, allowing it to set completely and develop rich flavors.
Step 9: Decorate And Serve
Just before serving, pipe decorative whipped topping swirls on top for an elegant finishing touch.
Tips for a Smooth No-Bake Cheesecake
Storage Tips for Strawberry Crunch Cheesecake
Pairing Ideas for Strawberry Crunch Cake
Fun Styles of Strawberry Crunch Cheesecake
FAQs
The key ingredients include vanilla cream cookies, strawberry jello, cream cheese, heavy cream, strawberry wafer cookies, and butter. These create the base, crust, and filling of the delicious dessert.
Yes, this no-bake cheesecake is perfect for beginners. It doesn’t require baking, uses simple ingredients, and involves basic mixing and chilling techniques that even novice cooks can easily master.
Absolutely! This cheesecake needs to be refrigerated for at least 4 hours, making it an excellent make-ahead dessert. You can prepare it a day before serving, which actually helps the flavors meld together.
The cheesecake is ready when it’s firm to the touch and has been chilled for at least 4 hours. When you remove it from the refrigerator, it should hold its shape and not be wobbly when gently shaken.
Print
Slow Cooker Pork Chops Recipe
- Total Time: 3 hours 15 minutes
- Yield: 4 1x
Description
Juicy slow cooker pork chops dance with rich garlic and herb flavors, promising a comforting meal that melts in your mouth. Home cooks will savor this simple yet elegant dish that brings restaurant-quality goodness straight to your dinner table.
Ingredients
Proteins:
- 4 boneless pork loin chops (about 1 inch thick)
Seasonings and Spices:
- 1 kosher salt (to taste)
- 1 freshly ground black pepper (to taste)
- 3 tablespoons (45 milliliters) all-purpose flour
Flavor Enhancers:
- 1/4 cup (60 milliliters) whole-grain mustard
- 2 tablespoons (30 milliliters) honey
- 1 small shallot, sliced into rings
- 1 large Pink Lady or Fuji apple, cored and chopped into 1/2-inch chunks
- 1 tablespoon (15 milliliters) water
Serving Suggestion:
- Cooked grits
- Buttered rice
Instructions
- Arrange pork chops on a baking sheet, generously seasoning both surfaces with salt and pepper for enhanced flavor.
- Carefully dust each chop with flour, gently tapping to remove excess, then let rest momentarily to create a light coating.
- Whisk together mustard, honey, and water in the slow cooker, creating a vibrant, glossy sauce base.
- Disperse shallot rings and apple pieces throughout the liquid, ensuring they are thoroughly coated and distributed evenly.
- Spread the aromatic mixture across the bottom of the slow cooker, creating a flavorful bed for the meat.
- Delicately position seasoned pork chops atop the sauce, allowing them to nestle into the apple-shallot mixture.
- Secure the lid and slow cook on LOW temperature for 3 hours, allowing the meat to become incredibly tender and infused with sauce.
- Gently transfer pork chops to serving plates, lavishing them with the warm, caramelized apple-shallot sauce.
- Accompany the dish with creamy grits or buttered rice to complete this comforting and rustic meal.
Notes
- Choose thick-cut, bone-in pork chops for maximum tenderness and flavor retention during slow cooking.
- Pat chops completely dry before seasoning to ensure better flour adherence and crispy exterior.
- Skip flour dredging for gluten-free version by using cornstarch or omitting coating entirely.
- Customize sauce sweetness by adjusting honey levels or substituting with maple syrup for deeper flavor profile.
- Allow extra cooking time if using thicker pork chops, checking internal temperature reaches 145°F for food safety.
- Enhance sauce complexity by adding a splash of apple cider vinegar or white wine for tangy undertones.
- Swap apples with pears for subtle variation in fruit sweetness and texture.
- Prep Time: 15 minutes
- Cook Time: 3 hours
- Category: Dinner, Lunch
- Method: Slow Cooking
- Cuisine: American
Nutrition
- Serving Size: 4
- Calories: 320
- Sugar: 8g
- Sodium: 450mg
- Fat: 12g
- Saturated Fat: 4g
- Unsaturated Fat: 6g
- Trans Fat: 0g
- Carbohydrates: 34g
- Fiber: 2g
- Protein: 24g
- Cholesterol: 80mg
Clara Thompson
Recipe Developer & Culinary Educator
Expertise
Developing accessible single-serving recipes, Food writing and content creation, Plant-based and allergen-friendly cooking, Culinary education and workshop facilitation
Education
Oregon Culinary Institute (Portland, OR)
Diploma in Culinary Arts
Specialized in plant-based cooking and sustainable kitchen practices.
Portland Community College
Certificate in Food Writing and Media
Focused on recipe writing, food photography, and digital content creation.
Clara’s food journey began with a curiosity for color, texture, and ingredients pulled straight from the garden. Her background in plant-forward cooking and creative writing gives her a unique edge – she makes healthy, flavorful food feel inviting, not intimidating.
She specializes in meals that work for busy lives and different diets, all without sacrificing taste. Clara’s voice comes through in every recipe she writes – clear, kind, and encouraging.