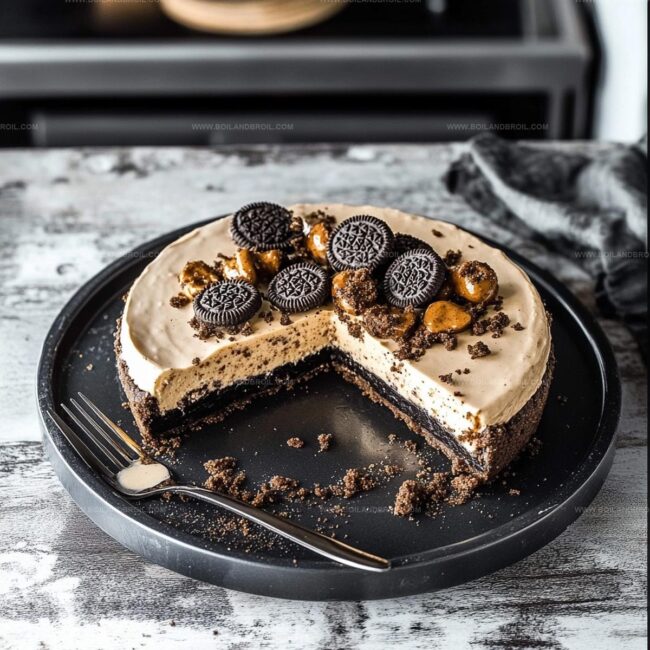
Dreamy Oreo Peanut Butter Cup No-Bake Cheesecake Recipe
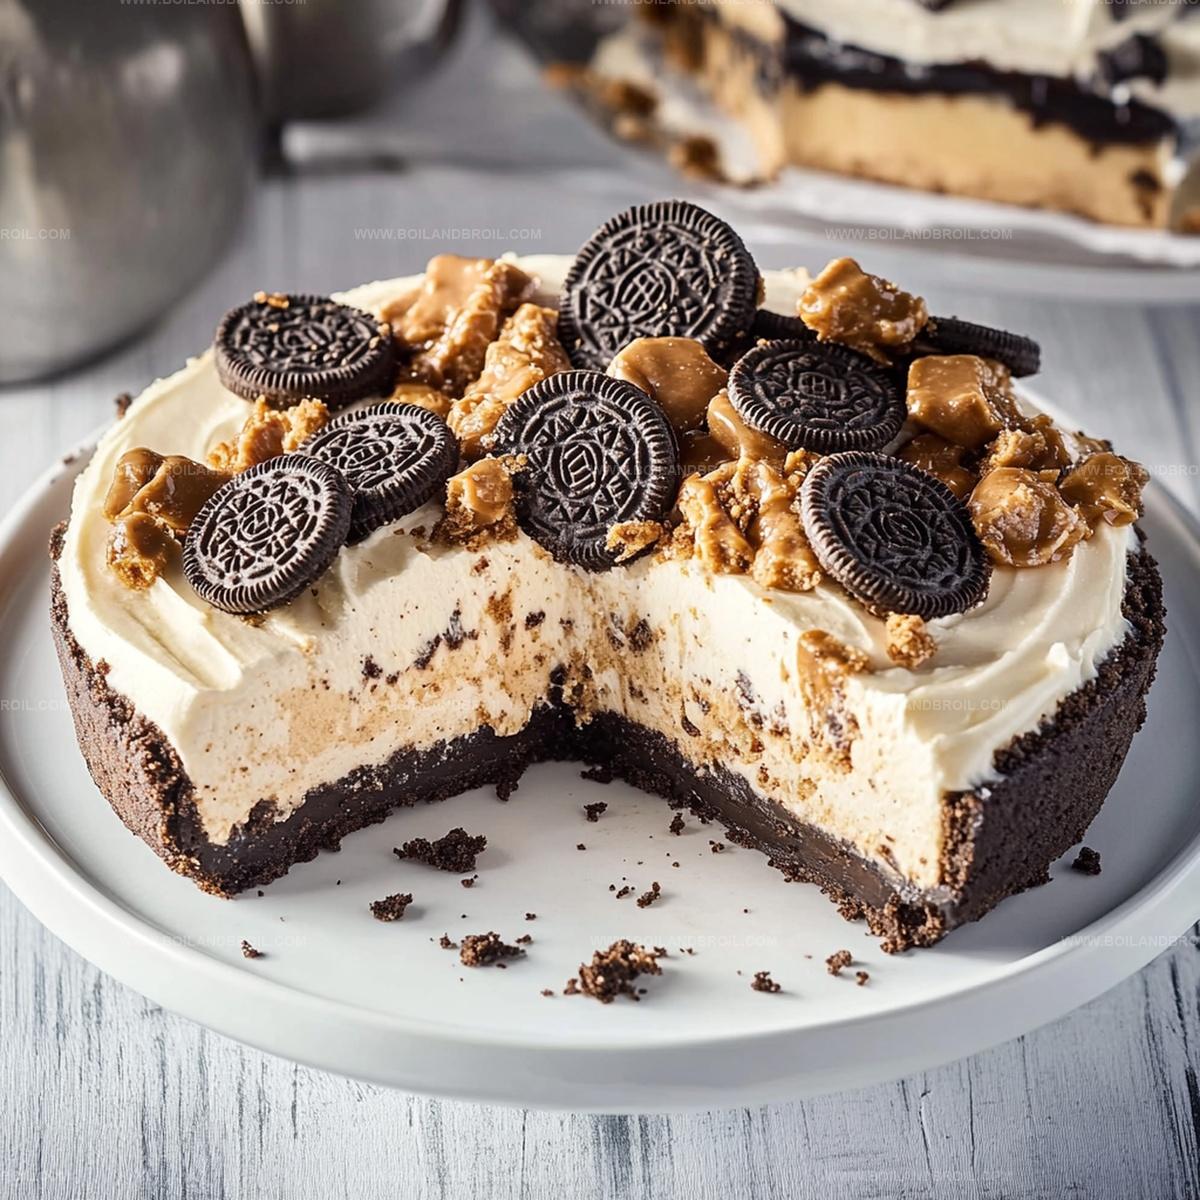
Creamy Oreo peanut butter cup no-bake cheesecake brings together two epic dessert favorites in one mind-blowing treat.
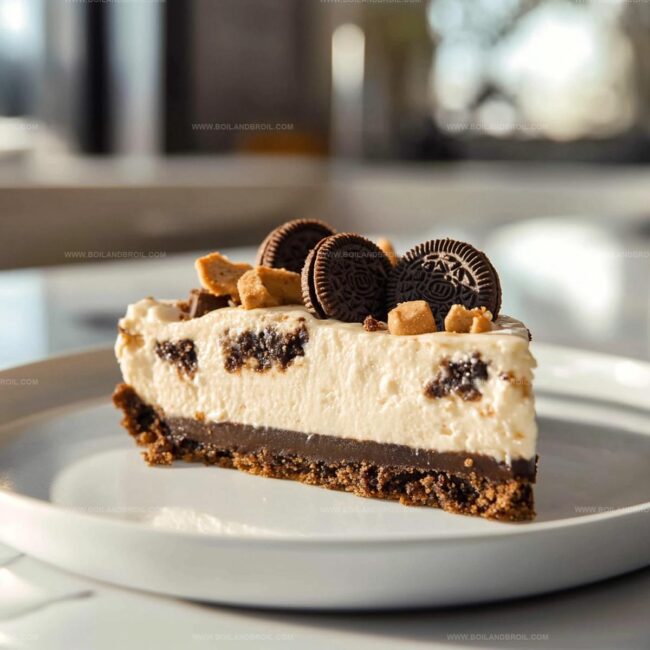
Chocolate cookie crumbs form a delectable base for this decadent delight.
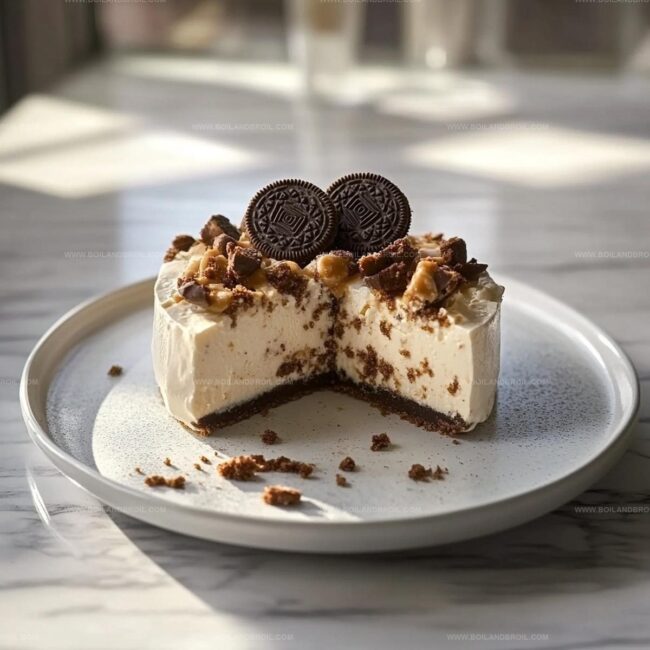
Smooth cream cheese blends perfectly with rich peanut butter, creating a luxurious filling.
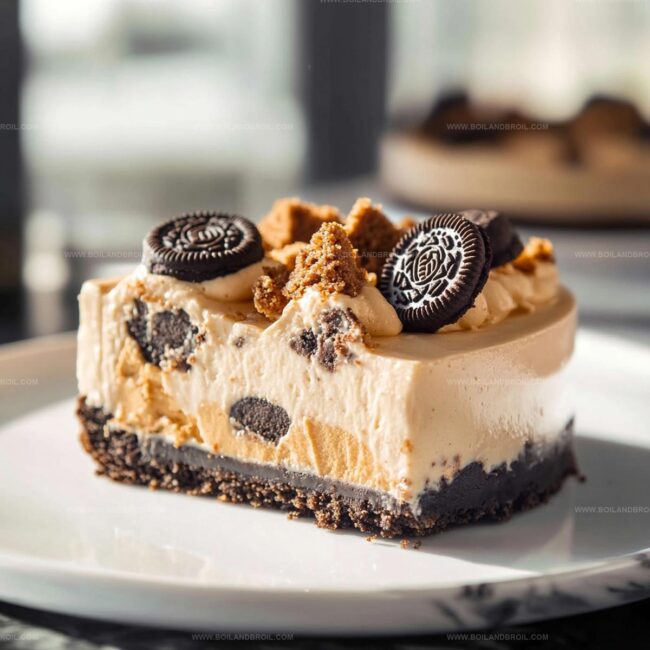
Cool and silky textures mingle with crunchy cookie bits and chocolate chunks.
Minimal kitchen effort produces maximum flavor excitement in this crowd-pleasing dessert.
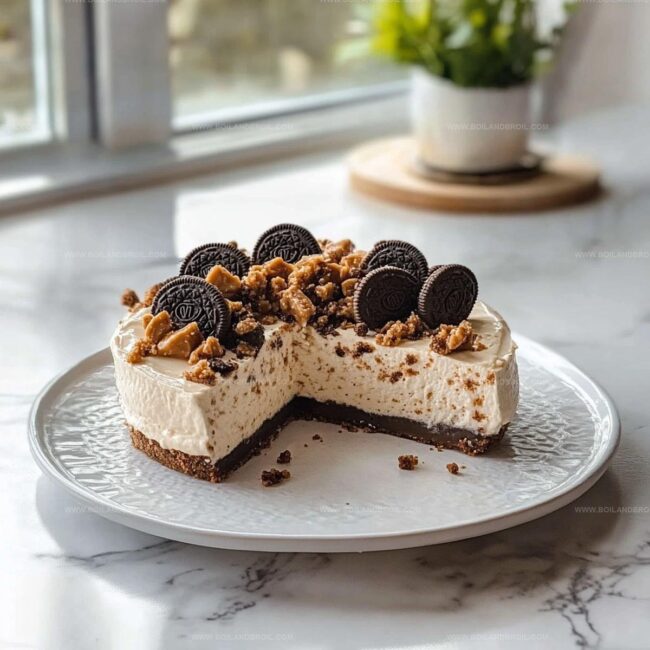
Chilled and set, each slice promises pure indulgence that melts effortlessly on your tongue.
You’ll want to share this sweet masterpiece with everyone you know – but maybe keep a slice just for yourself.
What Makes This Oreo PB Cheesecake So Addictive
Ingredients for Oreo Peanut Butter Cheesecake
Putting Together This No-Bake Oreo Cheesecake
Step 1: Craft the Crumbly Crust
Grab your food processor and pulse Oreo cookies into fine crumbs.
Pour in melted butter and mix until the mixture resembles wet sand.
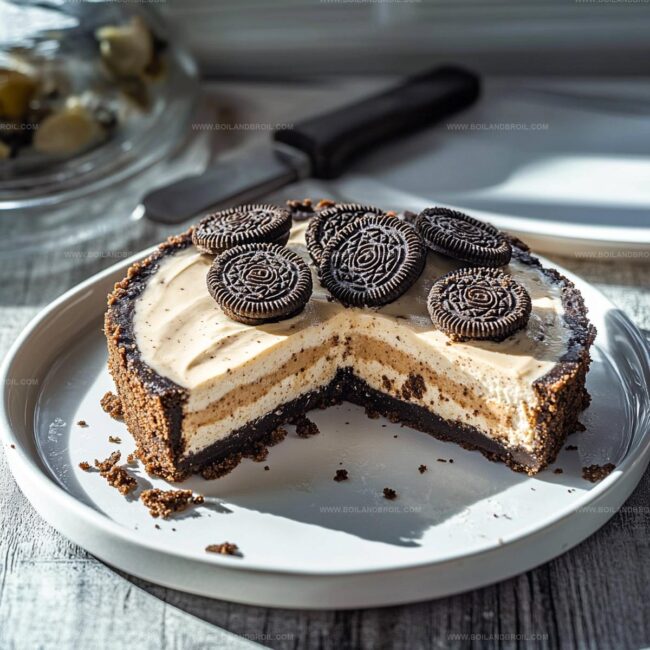
Transfer the crumb blend into a springform pan and press firmly to create an even base.
Pop the pan into the refrigerator to let the crust firm up while you prepare the filling.
Step 2: Create the Creamy Filling
In a large mixing bowl, beat cream cheese until silky smooth and free of lumps.
Add peanut butter, blending until fully incorporated.
Gently mix in:Fold in whipped cream with a light touch to maintain the airy texture.
Step 3: Layer and Chill the Cheesecake
Carefully spread the luscious filling over the chilled crust, ensuring an even surface.
Cover the pan with plastic wrap and refrigerate for at least 4 hours, allowing the cheesecake to set completely.
Step 4: Decorate and Serve
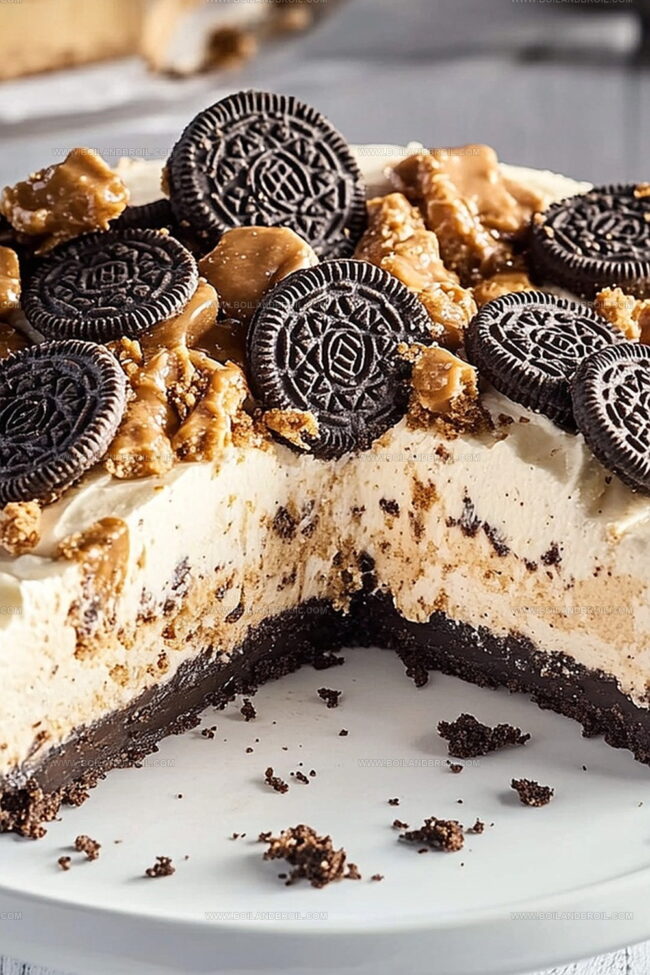
Sprinkle crushed Oreos across the top of the cheesecake.
Scatter mini peanut butter cups for extra decadence.
Optional: Drizzle chocolate sauce in a zigzag pattern.
Slice and serve directly from the refrigerator for the ultimate creamy experience.
No-Bake Oreo Cheesecake Tips to Try
Store and Chill Oreo Peanut Butter Cheesecake Right
Pairings That Go with Oreo Cheesecake
Savor Sweet Harmony: Perfect Pairings
Twists on the Oreo PB Cheesecake Combo
FAQs
Yes, you can substitute regular cream cheese with reduced-fat cream cheese. However, the texture and richness might be slightly different from the original recipe.
You’ll need a 9-inch springform pan and an electric mixer. A food processor helps crush the Oreos, but you can also use a rolling pin to crush them manually.
Since this is a no-bake cheesecake, cracking isn’t typically an issue. Ensure your ingredients are at room temperature and mix gently to avoid incorporating too much air.
No, this recipe contains peanut butter and is not safe for those with nut allergies. You would need to make significant substitutions to make it nut-free.
Print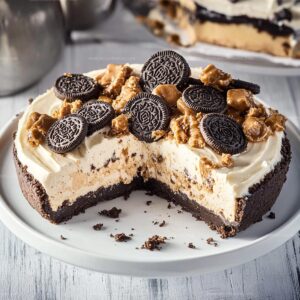
Oreo Peanut Butter Cup No-Bake Cheesecake Recipe
- Total Time: 30 minutes
- Yield: 10 1x
Description
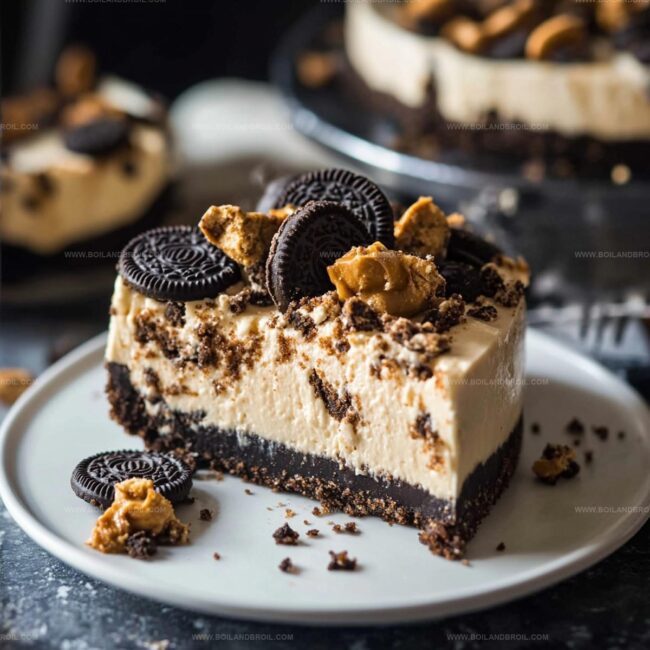
Indulgent Oreo peanut butter cup no-bake cheesecake delivers a heavenly blend of chocolate and creamy richness. Chocolate cookie crust and smooth filling promise pure dessert bliss for lovers of sweet, irresistible treats.
Ingredients
Main Ingredients:
- 25 Oreo cookies, crushed
- 45 Oreo cookies, crushed
- 1 cup creamy peanut butter
- 16 ounces (453 grams) cream cheese, softened
- 1 cup whipped cream
- Mini peanut butter cups, for garnish
Binding and Sweetening Ingredients:
- 1/2 cup (113 grams) unsalted butter, melted
- 1 cup powdered sugar
Flavoring Ingredients:
- 1 teaspoon vanilla extract
- Chocolate sauce (optional)
Instructions
- Pulverize Oreo cookies into fine crumbs, blending thoroughly with melted butter until the mixture resembles wet sand.
- Press the cookie mixture firmly into the bottom of a 9-inch springform pan, creating an even, compact layer. Chill in the refrigerator for 15 minutes to solidify.
- Using an electric mixer, whip cream cheese until silky and free of lumps at room temperature.
- Incorporate peanut butter, powdered sugar, and vanilla extract into the cream cheese, mixing until the texture becomes smooth and uniform.
- Gently fold whipped cream into the peanut butter mixture, maintaining a light, airy consistency without deflating the volume.
- Transfer the creamy filling onto the chilled Oreo crust, carefully spreading it to create an even surface using a spatula.
- Refrigerate the cheesecake for a minimum of 4 hours, preferably overnight, allowing it to set completely and develop rich flavors.
- Before serving, garnish the top with roughly chopped Oreo cookies and miniature peanut butter cups for added texture and visual appeal.
- Optional: Drizzle with chocolate sauce for an extra decadent touch. Slice and serve directly from the refrigerator to maintain its firm texture.
Notes
- Crush Oreos finely for a smoother, more uniform crust that holds together perfectly when sliced.
- Use room temperature cream cheese to ensure a silky, lump-free filling that blends seamlessly.
- Fold whipped cream gently to maintain its airy texture and prevent deflating the mixture.
- Chill the cheesecake overnight for maximum flavor development and firmer consistency.
- Prep Time: 30 minutes
- Cook Time: 0 minutes
- Category: Desserts
- Method: Refrigerating
- Cuisine: American
Nutrition
- Serving Size: 10
- Calories: 440
- Sugar: 30 g
- Sodium: 230 mg
- Fat: 30 g
- Saturated Fat: 14 g
- Unsaturated Fat: 12 g
- Trans Fat: 0 g
- Carbohydrates: 37 g
- Fiber: 1 g
- Protein: 7 g
- Cholesterol: 45 mg
Jack Sullivan
Founder & Culinary Storyteller
Expertise
Single-recipe development with a narrative approach, Culinary storytelling and food history, Seasonal and regional ingredient utilization, Home cooking techniques adapted for modern kitchens
Education
New England Culinary Institute (Montpelier, VT)
Certificate in Culinary Arts
Focused on farm-to-table cooking, sustainable practices, and modern plating techniques.
Asheville-Buncombe Technical Community College
Associate Degree in Culinary Arts
Emphasized Southern Appalachian cuisine and local ingredient sourcing.
Jack grew up surrounded by smoky skillets and handwritten recipes in the mountains of North Carolina. His roots in Appalachian cooking shaped the way he sees food – as something that connects people, tells a story, and holds meaning.
With hands-on training and a background in sustainable, regional cooking, Jack started Boil And Broil to make meaningful meals more accessible. He’s all about one-dish recipes that are simple to follow but rich with flavor and history.