Playful PB&J Cheesecake Recipe: Classic Flavors, Dreamy Twist
Childhood memories dance with creamy peanut butter & jelly cheesecake in this delightful dessert adventure.
Sweet nostalgia meets sophisticated baking techniques for an irresistible treat.
Smooth cream cheese blends perfectly with nutty richness and fruity jam swirls.
Each bite promises a playful balance between comfort and elegance.
classic sandwich flavors get a luxurious makeover in this decadent cheesecake.
Rich layers promise pure indulgence that connects generations through shared culinary joy.
Prepare to experience a dessert that transforms simple ingredients into something extraordinary.
Peanut Butter & Jelly Cheesecake Overview
Ingredients Needed for PB & Jelly Cheesecake
Preparing Peanut Butter & Jelly Cheesecake

Step 1: Create the Crunchy Cookie Base
Fire up your oven to a cozy 325F.
Grab your graham crackers and crush them into fine crumbs.
Melt some butter and mix it with the cracker crumbs and a sprinkle of sugar.
Press this magical mixture into the bottom of a springform pan, creating a solid foundation for your cheesecake.
Pop it in the oven for 10 minutes to set, then let it cool down and get ready for the next stage.
Step 2: Whip Up the Creamy Filling
Grab your electric mixer and beat the cream cheese until it’s silky smooth.
Add sugar and keep mixing.
Introduce peanut butter for that nostalgic childhood flavor, then fold in some tangy sour cream and a splash of vanilla.
The secret is to add eggs one at a time, blending gently until everything comes together in a dreamy, creamy mixture.
Step 3: Bake to Perfection
Pour your luscious filling over the cooled crust.
Set the pan in a water bath to ensure even baking and prevent cracks.
Slide it into the oven at 325F and bake for about 50 minutes.
You’ll know it’s ready when the center has a slight jiggle, like a gentle dance.
After baking, turn off the oven and leave the door slightly open, letting the cheesecake cool slowly for an hour.
Step 4: Chill and Add the Jelly Surprise
Transfer the cheesecake to the refrigerator and let it rest for at least 4 hours.
When it’s completely chilled, warm your favorite jelly with a tiny bit of water to make it spreadable.
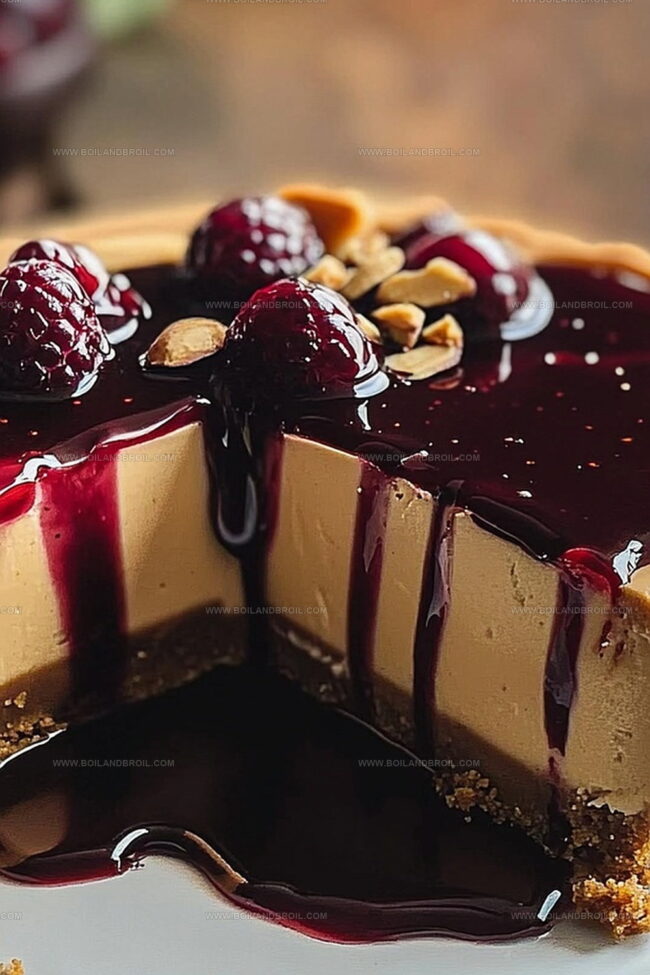
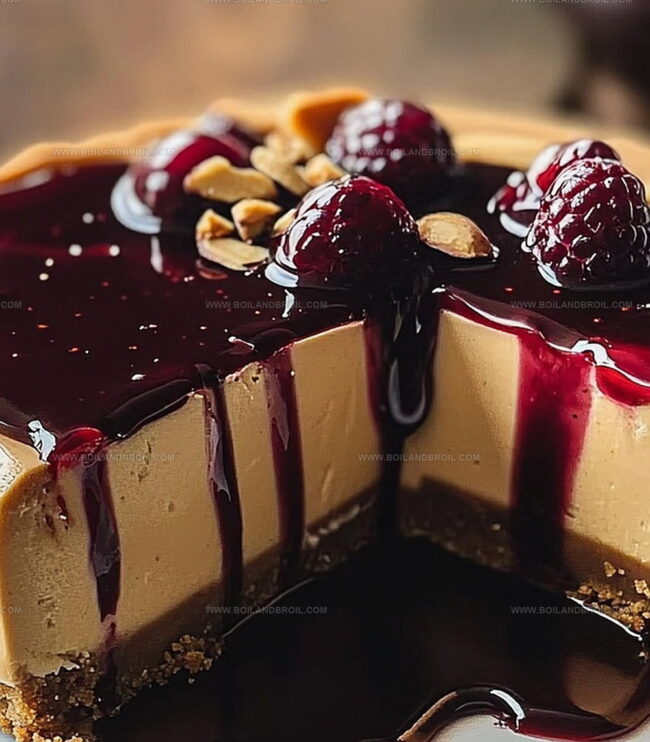
Carefully spread a layer of jelly across the top, creating a vibrant, fruity crown.
Step 5: Slice and Serve with Joy
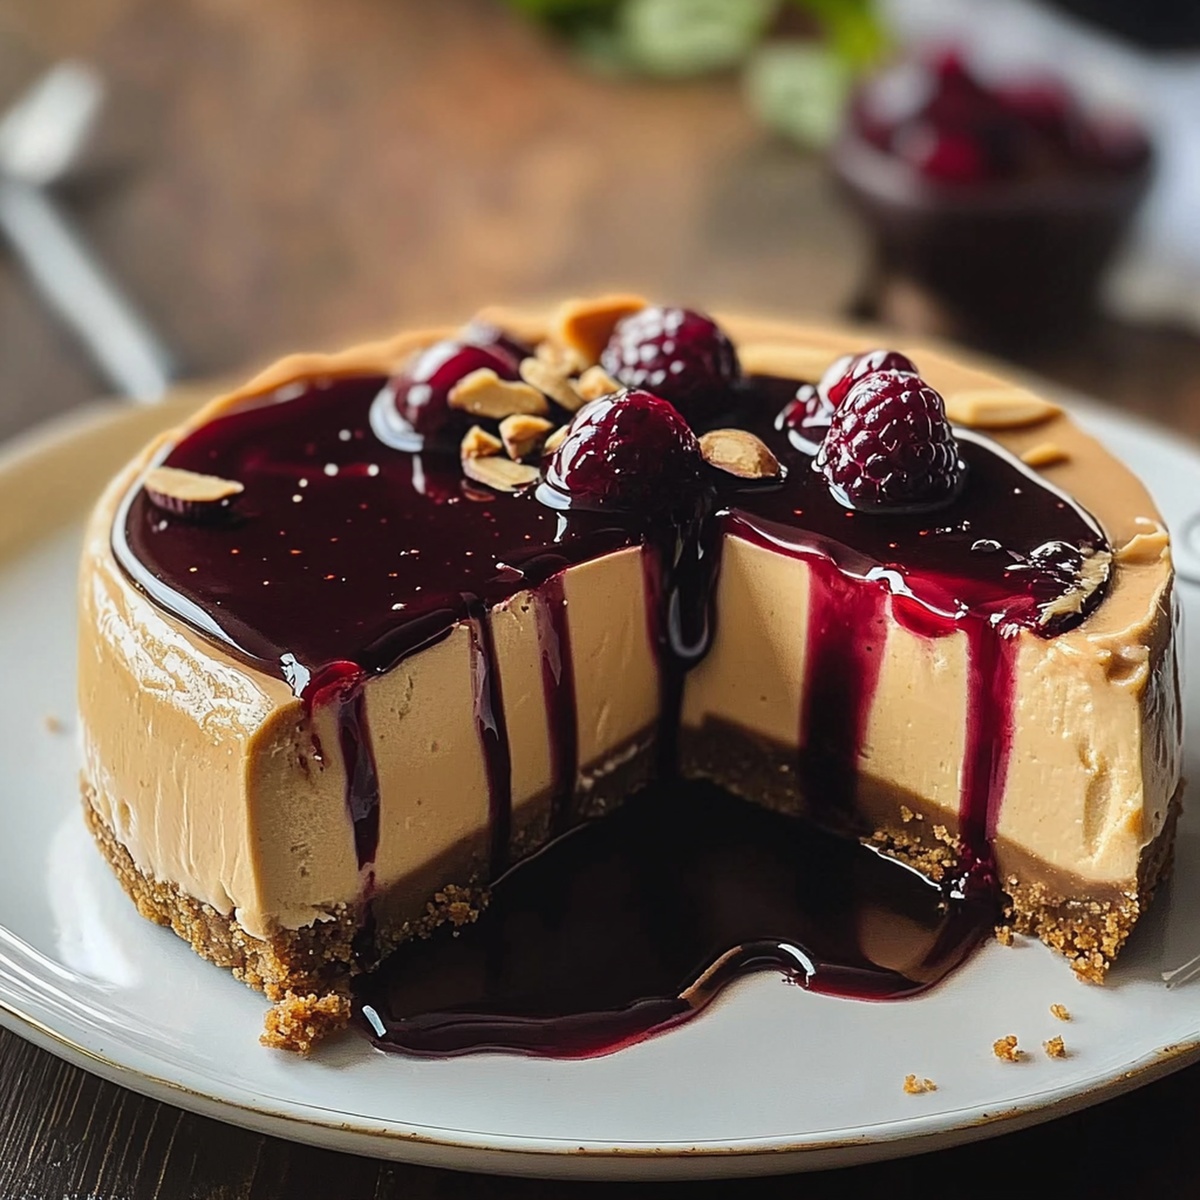
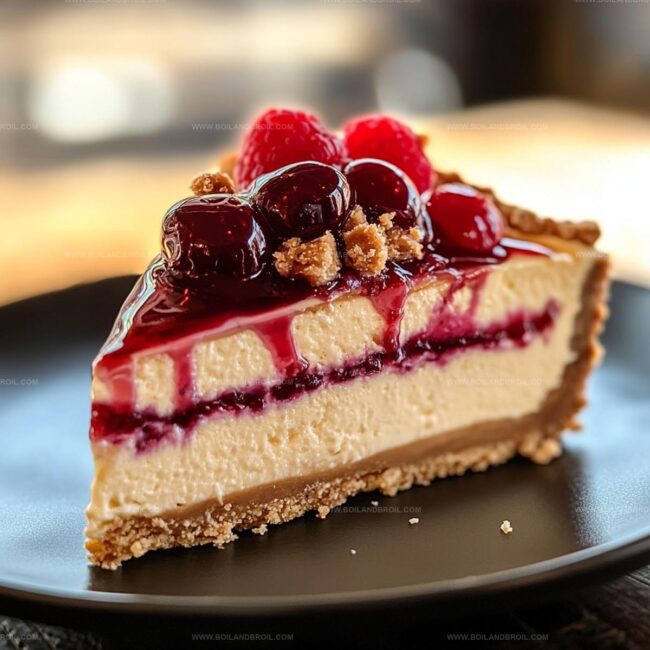
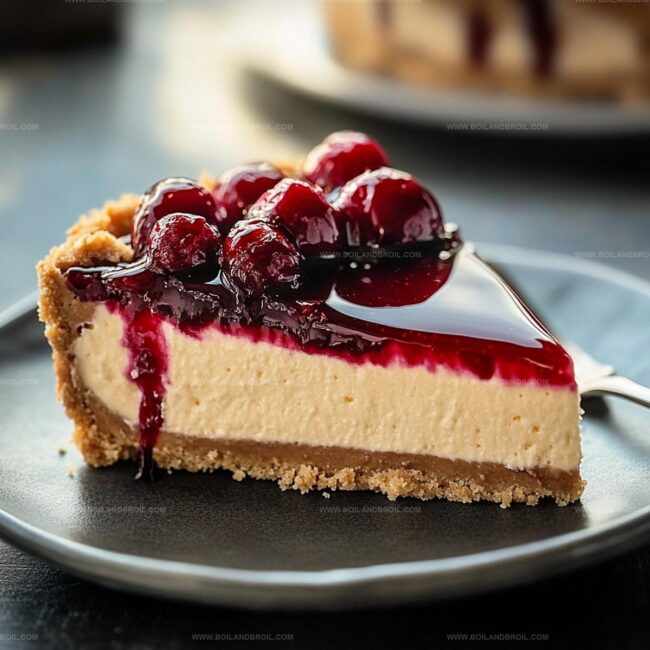
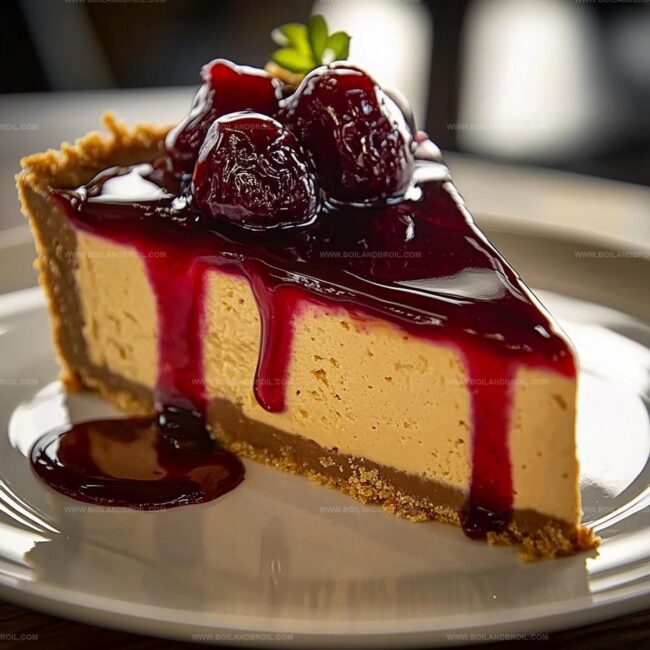
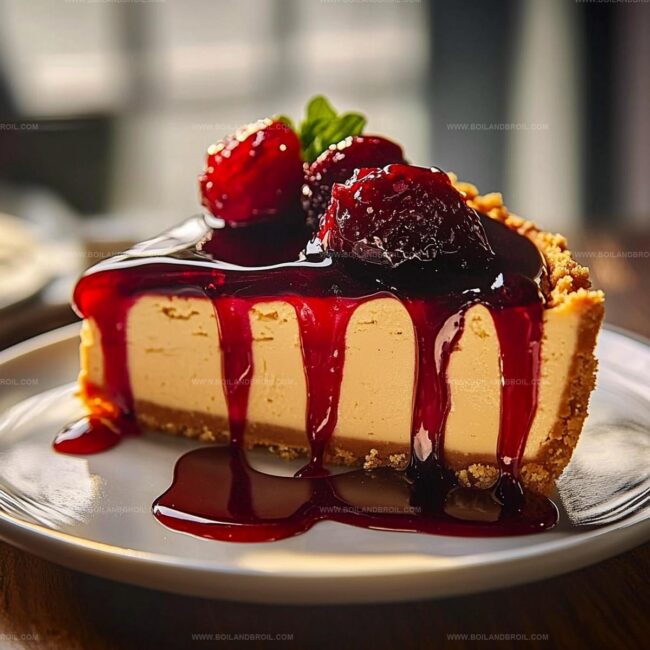
Remove the springform pan sides, slice into beautiful wedges, and serve this nostalgic dessert that brings together the classic PB&J flavors in an unexpected, luxurious way.
Each bite is a trip down memory lane with a gourmet twist!
Helpful Tips for PB & Jelly Cheesecake

How to Store and Reheat PB & Jelly Cheesecake
Pairing Suggestions for Peanut Butter & Jelly Cheesecake
Creative Spins on PB & Jelly Cheesecake
FAQs
The key ingredients are cream cheese, peanut butter, graham cracker crumbs, eggs, sugar, sour cream, vanilla extract, and jelly.
Yes, the water bath helps prevent cracks and ensures even baking by creating a more gentle, consistent heat around the cheesecake.
Grape or strawberry jelly works best, but you can experiment with other flavors like raspberry or cherry to match your preference.
The center should be slightly jiggly but not liquid when you gently shake the pan, and the edges should be set. This typically takes about 50 minutes of baking.
Print
PB&J Cheesecake Recipe
- Total Time: 1 hour 20 minutes
- Yield: 8 1x
Description
Creamy Philadelphia cream cheese meets nostalgic PB&J Cheesecake in this dreamy dessert. Childhood memories blend seamlessly with gourmet sophistication, inviting you to savor each luscious, playful bite of pure comfort.
Ingredients
Main Ingredients:
- 24 ounces (680 grams) cream cheese, softened
- 1 cup (240 grams) creamy peanut butter
- 3 large eggs
- 3/4 cup (150 grams) granulated sugar
Crust Ingredients:
- 1 1/2 cups (180 grams) graham cracker crumbs
- 6 tablespoons (85 grams) unsalted butter, melted
- 2 tablespoons (25 grams) sugar
Garnish and Flavoring:
- 1/2 cup (120 grams) sour cream
- 1/2 cup (160 grams) strawberry or grape jelly
- 1 tablespoon (15 milliliters) water (to thin, if needed)
- 1 teaspoon (5 milliliters) vanilla extract
Instructions
- Craft a graham cracker foundation by blending crumbs with melted butter and sugar, pressing firmly into a springform pan. Bake at 325F for 10 minutes, creating a golden, crisp base, then allow to cool completely.
- In a mixing bowl, whip cream cheese and sugar until velvety smooth. Incorporate creamy peanut butter, tangy sour cream, and rich vanilla extract, blending until uniform in texture.
- Introduce eggs one at a time, gently folding into the mixture, ensuring each is fully integrated without overmixing to maintain a luxurious, silky consistency.
- Transfer the luscious filling onto the prepared crust, spreading evenly with a spatula. Position the pan in a water bath and bake at 325F for approximately 50 minutes, watching for a slight wobble in the center.
- After baking, crack the oven door open and let the cheesecake rest for one hour, allowing it to cool gradually and prevent surface cracking.
- Refrigerate the cheesecake for a minimum of 4 hours, enabling it to set and develop a dense, creamy texture.
- Warm the jelly with a splash of water to create a spreadable consistency. Delicately drizzle and spread the jelly across the chilled cheesecake’s surface.
- Slice and serve chilled, revealing a decadent dessert that marries nostalgic flavors of peanut butter and jelly in an elegant cheesecake form.
Notes
- Swap graham crackers with gluten-free alternatives like almond flour or crushed gluten-free cookies for a celiac-friendly version.
- Reduce sugar content by using natural sweeteners like stevia or monk fruit for a lower-calorie dessert option.
- Create a smoother texture by ensuring cream cheese is at room temperature before mixing to prevent lumps and achieve a silky consistency.
- Prevent cracks by avoiding overmixing eggs and using a water bath during baking, which helps distribute heat evenly and maintain moisture.
- Prep Time: 20 minutes
- Cook Time: 1 hour
- Category: Desserts
- Method: Baking
- Cuisine: American
Nutrition
- Serving Size: 8
- Calories: 410
- Sugar: 22 g
- Sodium: 290 mg
- Fat: 30 g
- Saturated Fat: 12 g
- Unsaturated Fat: 18 g
- Trans Fat: 0 g
- Carbohydrates: 34 g
- Fiber: 1 g
- Protein: 8 g
- Cholesterol: 75 mg
Jack Sullivan
Founder & Culinary Storyteller
Expertise
Single-recipe development with a narrative approach, Culinary storytelling and food history, Seasonal and regional ingredient utilization, Home cooking techniques adapted for modern kitchens
Education
New England Culinary Institute (Montpelier, VT)
Certificate in Culinary Arts
Focused on farm-to-table cooking, sustainable practices, and modern plating techniques.
Asheville-Buncombe Technical Community College
Associate Degree in Culinary Arts
Emphasized Southern Appalachian cuisine and local ingredient sourcing.
Jack grew up surrounded by smoky skillets and handwritten recipes in the mountains of North Carolina. His roots in Appalachian cooking shaped the way he sees food – as something that connects people, tells a story, and holds meaning.
With hands-on training and a background in sustainable, regional cooking, Jack started Boil And Broil to make meaningful meals more accessible. He’s all about one-dish recipes that are simple to follow but rich with flavor and history.