Heavenly Peanut Butter Blossoms Recipe – Sweet Holiday Magic
Crafting delightful peanut butter blossoms brings pure joy to any kitchen adventure.
Sweet memories flood back with each chocolatey kiss nestled atop a soft cookie.
Childhood treats always spark warm conversations around family gatherings.
Perfectly balanced between rich chocolate and creamy peanut butter, these cookies promise instant smiles.
Baking becomes a playful exploration of comfort and nostalgia.
Simple ingredients create magic when mixed with love and care.
You can transform ordinary moments into something extraordinary with just a few easy steps.
Brace yourself for a delectable journey that will make everyone’s taste buds dance with delight.
FAQs
These cookies are super easy and beginner-friendly. The recipe requires basic ingredients and simple mixing techniques that even kids can help prepare.
Natural peanut butter might make the dough too oily. Stick with traditional creamy peanut butter for the best texture and consistent results.
Hershey’s Kisses are the classic choice, but you can experiment with milk, dark, or even caramel-filled kisses for variety. Just unwrap and press them into warm cookies immediately after baking.
Chill the dough for 30 minutes before rolling and baking. This helps maintain the cookie’s shape and prevents excessive spreading during baking.
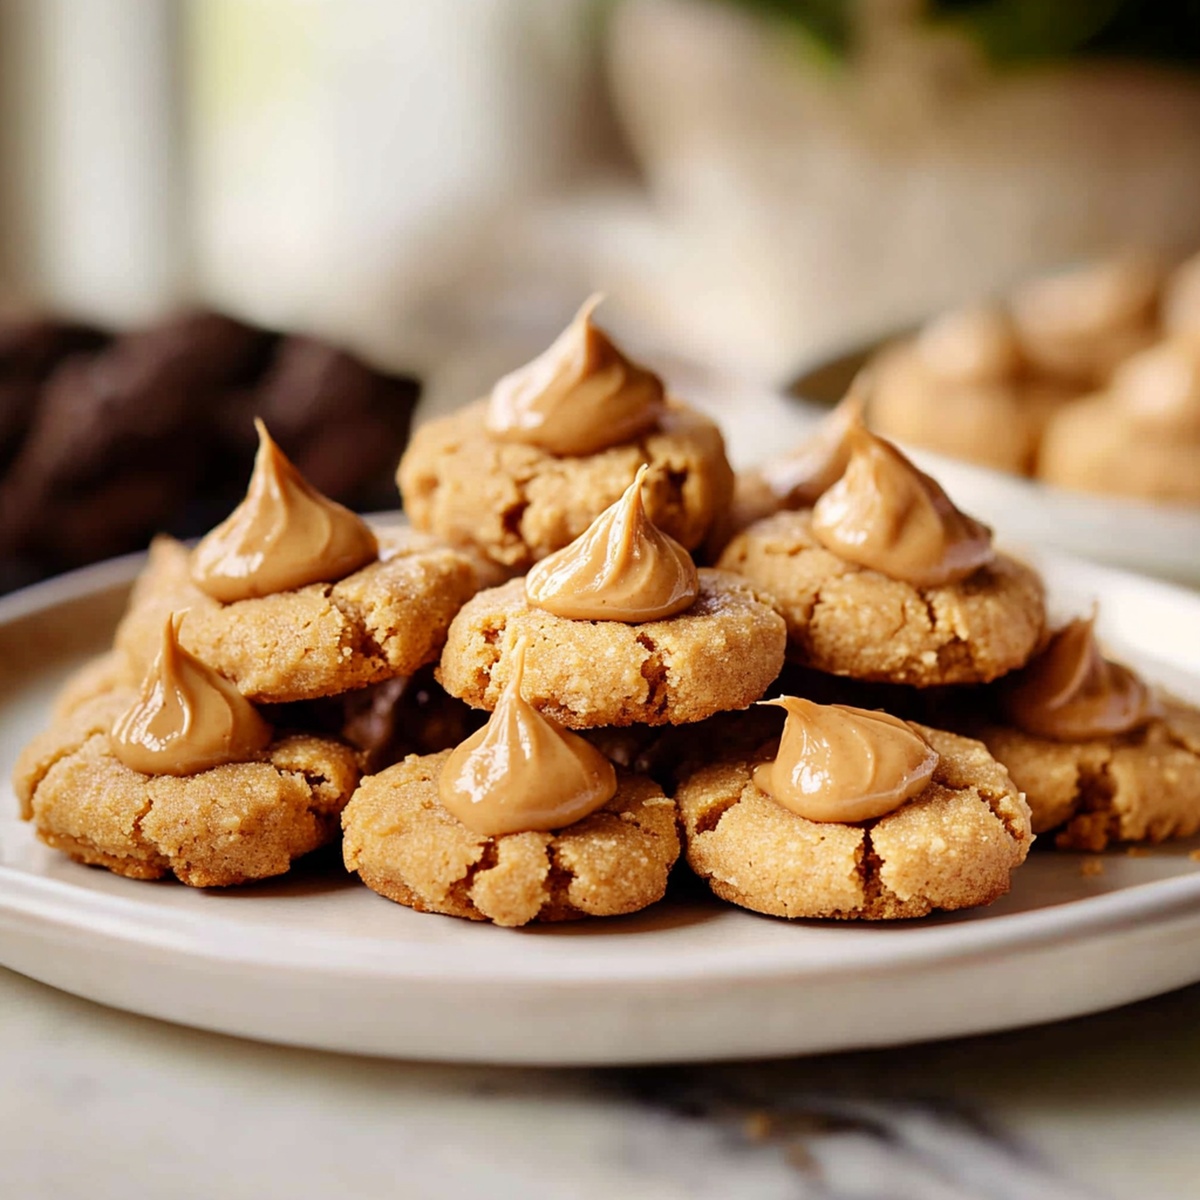
Peanut Butter Blossoms Sweet Bite of Nostalgia
Ingredients for Peanut Butter Blossoms
Main Ingredients:Dry Ingredients:Flavor Enhancers:How to Bake Peanut Butter Blossoms
Step 1: Warm Up the Oven
Set your oven to a toasty 350°F (175°C), creating the perfect environment for baking delightful cookies.
Step 2: Create the Cookie Dough Magic
In a mixing bowl, combine these yummy ingredients:Whisk and blend everything until the mixture becomes silky smooth and well incorporated.
Step 3: Shape Delectable Cookie Balls
Gently roll the dough into cute little balls, each about the size of a small walnut.
Place these adorable dough balls onto a parchment-lined baking sheet, giving them some breathing room between each one.
Step 4: Bake to Golden Perfection
Slide the baking sheet into the preheated oven and let the cookies transform.
Bake for 8-10 minutes until they develop a beautiful golden-brown color and look absolutely irresistible.
Step 5: Add the Chocolate Kiss Surprise
The moment these cookies emerge from the oven, quickly press a chocolate kiss right into the center of each warm cookie.
The heat will help the chocolate nestled perfectly into the soft cookie surface.
Step 6: Cool and Enjoy
Allow the cookies to cool completely on the baking sheet.
This waiting period helps them set and become wonderfully delicious.
Once cooled, these peanut butter blossoms are ready to be devoured and shared with friends and family.
Tips for Soft Peanut Butter Blossoms
Storing and Reheating Peanut Butter Blossoms
Best Pairings for Peanut Butter Blossoms
Fun Variations on Peanut Butter Blossoms
Print
Peanut Butter Blossoms Recipe
- Total Time: 25 minutes
- Yield: 24 1x
Description
Irresistible chocolate-kissed peanut butter blossoms deliver classic American cookie charm with their signature chocolate center. Crumbly, sweet perfection beckons dessert lovers to savor each delightful bite, promising comfort and nostalgic delight in every crunch.
Ingredients
Main Ingredients:
- 1 cup (240 ml) peanut butter
- 1 cup (200 g) granulated sugar
- 1 egg
Baking Agents:
- 1/2 teaspoon baking soda
- 1 teaspoon vanilla extract
Topping:
- 24 Hershey’s Kisses (unwrapped)
Instructions
- Prepare workspace by heating oven to precise 350°F and positioning rack in center for uniform baking.
- Blend peanut butter mixture thoroughly, whisking sugar, egg, vanilla extract, and baking soda until achieving silky, consistent texture without lumps.
- Craft uniform dough spheres approximately one inch in diameter, ensuring consistent size for even cooking.
- Arrange cookie rounds on parchment-lined baking sheet, spacing them slightly apart to prevent merging during baking.
- Roast cookies for 8-10 minutes, watching for subtle golden edges indicating perfect doneness.
- Remove from oven and immediately indent center of each warm cookie by gently pressing chocolate kiss, allowing residual heat to slightly melt chocolate’s base.
- Transfer cookies to wire cooling rack, permitting complete temperature reduction to solidify chocolate and set cookie structure.
- Once fully cooled, serve or store in airtight container to maintain freshness and soft texture.
Notes
- Soften the peanut butter at room temperature for easier mixing and smoother dough consistency.
- Use natural peanut butter with no added sugar for a less sweet, more nutty flavor profile.
- Chill the dough for 30 minutes before rolling to prevent sticky hands and create more uniform cookies.
- For gluten-free option, substitute all-purpose flour with almond or gluten-free flour blend without compromising texture.
- Prep Time: 15 minutes
- Cook Time: 10 minutes
- Category: Desserts, Snacks
- Method: Baking
- Cuisine: American
Nutrition
- Serving Size: 24
- Calories: 138
- Sugar: 6 g
- Sodium: 30 mg
- Fat: 7 g
- Saturated Fat: 1.5 g
- Unsaturated Fat: 5 g
- Trans Fat: 0 g
- Carbohydrates: 16 g
- Fiber: 0.5 g
- Protein: 3.5 g
- Cholesterol: 10 mg
Jack Sullivan
Founder & Culinary Storyteller
Expertise
Single-recipe development with a narrative approach, Culinary storytelling and food history, Seasonal and regional ingredient utilization, Home cooking techniques adapted for modern kitchens
Education
New England Culinary Institute (Montpelier, VT)
Certificate in Culinary Arts
Focused on farm-to-table cooking, sustainable practices, and modern plating techniques.
Asheville-Buncombe Technical Community College
Associate Degree in Culinary Arts
Emphasized Southern Appalachian cuisine and local ingredient sourcing.
Jack grew up surrounded by smoky skillets and handwritten recipes in the mountains of North Carolina. His roots in Appalachian cooking shaped the way he sees food – as something that connects people, tells a story, and holds meaning.
With hands-on training and a background in sustainable, regional cooking, Jack started Boil And Broil to make meaningful meals more accessible. He’s all about one-dish recipes that are simple to follow but rich with flavor and history.