Gooey Peanut Butter Brownies Recipe: Sweet Treat Triumph
Chocolate and peanut butter swirl together in these decadent peanut butter brownies that promise pure indulgence.
Rich, fudgy layers create a dessert everyone craves with wild enthusiasm.
Each bite delivers an intense chocolate experience punctuated by creamy peanut butter ribbons.
The recipe balances sweetness and depth in ways that spark serious dessert excitement.
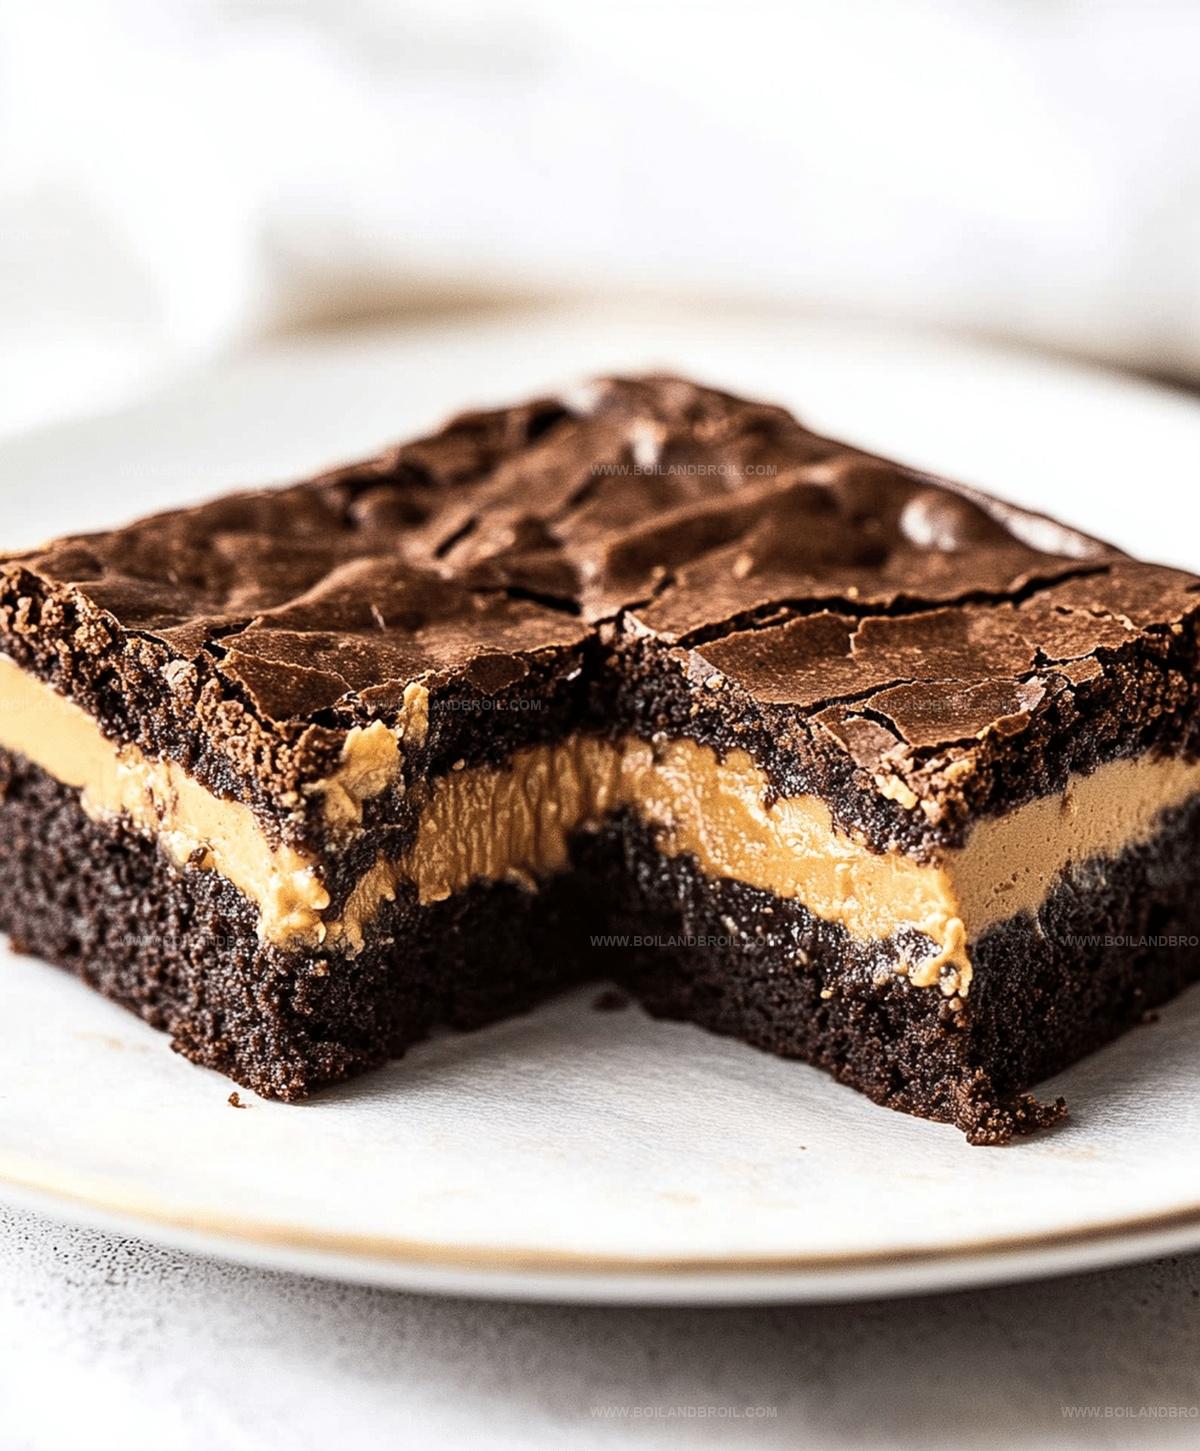
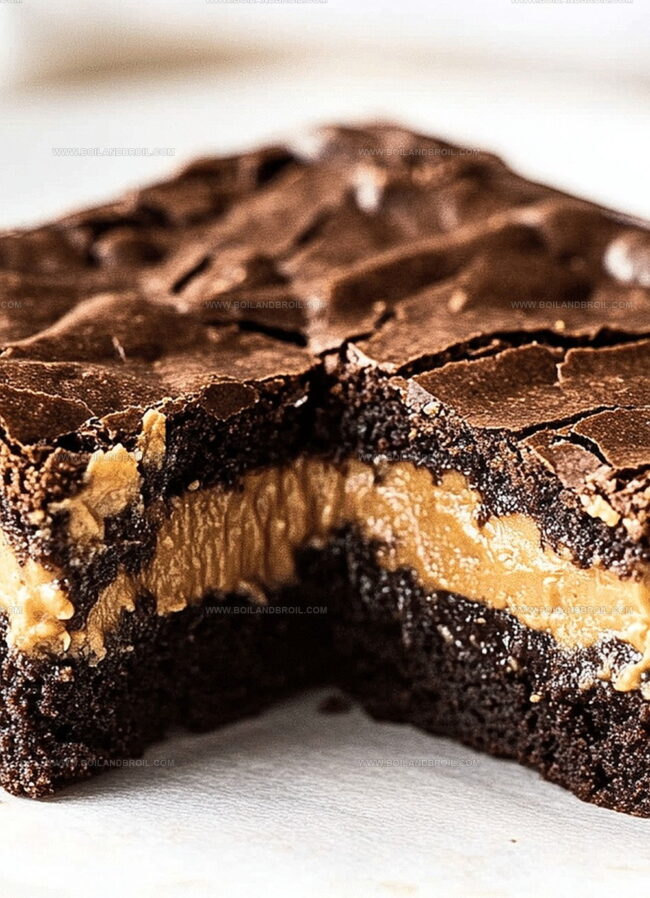
Tender and moist brownies emerge from the oven with a glossy, crackly top that hints at the deliciousness within.
These brownies transform an ordinary afternoon into a celebration of flavor.
Prepare to fall in love with a dessert that satisfies every chocolate and peanut butter dream.
What Makes Peanut Butter Brownies Amazing
Ingredients for PB Brownies
Base Ingredients:Creamy Filling Ingredients:Topping Ingredients:Steps to Make Peanut Butter Brownies
Step 1: Prepare the Baking Space
Warm up your oven to 350°F.
Line a 9×9 inch baking pan with parchment paper and give it a light grease coating.
This trick ensures easy removal and prevents sticking.
Step 2: Create the Brownie Base
Mix the brownie batter according to package instructions.
Pour about two-thirds of the batter into the prepared pan.
Use a spatula to spread the mixture evenly, creating a smooth foundation for your delicious treat.
Step 3: Whip Up the Peanut Butter Filling
In a mixing bowl, combine:Beat the ingredients until they become smooth and creamy.
If the mixture feels too thick, add a splash of milk to achieve the right consistency.
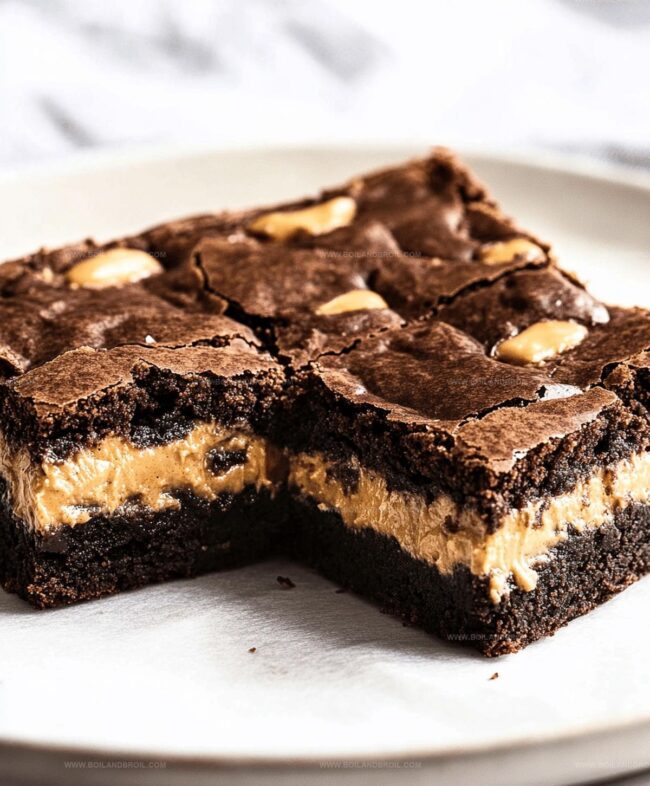
Drop spoonfuls of the peanut butter mixture over the brownie base, allowing for a rustic, swirled appearance.
Step 4: Layer and Marble the Brownies
Drizzle the remaining brownie batter over the peanut butter layer.
Gently swirl with a spatula to create a beautiful marbled effect.
Don’t worry about perfect coverage – the uneven pattern adds character to your brownies.
Step 5: Bake to Perfection
Slide the pan into the preheated oven.
Bake for approximately 30 minutes.
Check doneness by inserting a toothpick into the center – it should come out clean.
Allow the brownies to cool completely in the pan.
Step 6: Craft the Chocolate Ganache
Heat heavy cream in the microwave until very hot but not boiling.
Pour the cream over chopped chocolate in a bowl.
Cover and let sit for a few minutes, then stir until the mixture becomes smooth and glossy.
Step 7: Finish and Chill
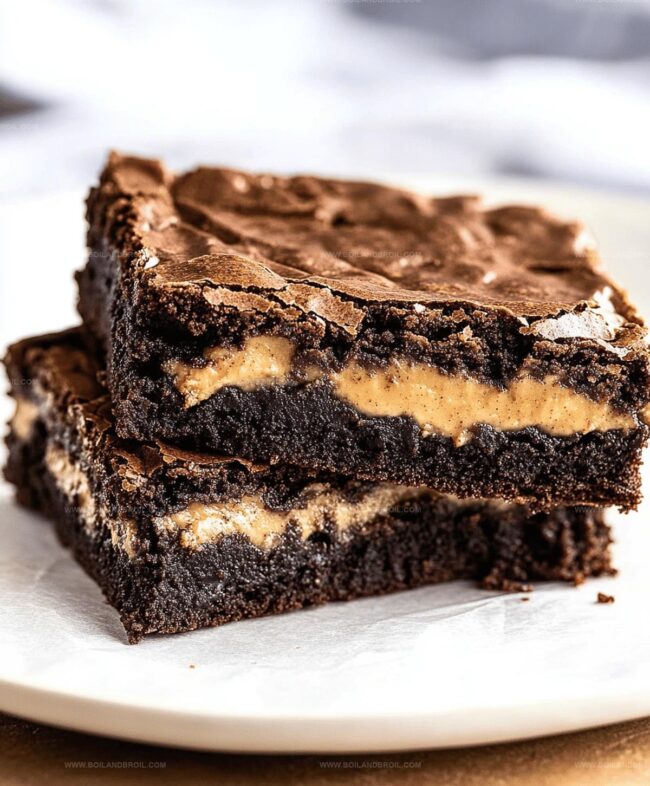
Pour the ganache over the cooled brownies, using a spatula to spread it evenly.
Refrigerate for about an hour to set the ganache.
Once firm, lift the brownies out using the parchment paper, slice into squares, and indulge in your delectable creation.
Tips for Baking PB Brownies

Storing and Reheating Peanut Butter Brownies

Good Matches for PB Brownies
Peanut Butter Brownie Variations
FAQs
Yes, absolutely! A homemade brownie batter works perfectly. Just ensure the consistency is similar to the boxed mix for best results.
The mixture should be smooth and spreadable. If it’s too thick, add a small amount of milk to thin it out. It should easily drop from a spoon.
Creamy, smooth peanut butter is ideal. Avoid natural peanut butters that separate, as they can make the mixture too runny or grainy.
While the ganache adds richness, you can omit it if you prefer. The brownies will still be delicious with just the peanut butter and brownie layers.
Print
Peanut Butter Brownies Recipe
- Total Time: 45 minutes
- Yield: 12 1x
Description
Homemade peanut butter brownies deliver rich chocolate magic with creamy nutty swirls of pure indulgence. Luxurious layers of intense flavor promise sweet satisfaction for chocolate and peanut butter enthusiasts who crave delightful comfort in every single bite.
Ingredients
Main Ingredients:
- 1 box brownie mix
- 3/4 cup creamy peanut butter
- 1/2 cup powdered sugar
Fat and Dairy Ingredients:
- 3 tablespoons softened butter
- 3 tablespoons heavy cream
Chocolate Ingredients:
- 4 ounces chopped chocolate (bittersweet or semi-sweet)
Note: Include additional ingredients specified on the brownie mix box for preparation.
Instructions
- Preheat oven to 350°F. Line a 9×9″ pan with parchment paper and apply light grease. Prepare brownie mix according to package instructions, then transfer approximately two-thirds of the batter into the prepared pan, spreading evenly with a spatula.
- Create peanut butter filling by combining softened butter, peanut butter, and powdered sugar until smooth. If mixture feels dense, incorporate a small amount of milk to achieve spreadable consistency. Gently place peanut butter mixture dollops across the initial brownie layer.
- Drizzle remaining brownie batter over the peanut butter layer, carefully smoothing with a spatula. Allow some peanut butter to peek through, creating an attractive marbled visual effect.
- Transfer pan to preheated oven and bake for approximately 30 minutes. Test doneness by inserting a toothpick into the center—it should emerge clean. Allow brownies to cool completely within the pan to maintain structural integrity.
- Prepare chocolate ganache by heating heavy cream in microwave until very hot but not boiling. Pour cream over chopped chocolate in a bowl, cover, and let sit for several minutes. Whisk until achieving a glossy, uniform texture.
- Carefully pour ganache over cooled brownies, using a spatula to distribute evenly. Refrigerate for approximately one hour to set the ganache. Once firm, lift brownies from pan using parchment paper, slice into individual squares, and serve.
Notes
- Swap regular flour with gluten-free blend for celiac-friendly brownies without compromising texture.
- Reduce sugar content by using monk fruit sweetener or stevia for a lower-calorie dessert option.
- Add a pinch of sea salt on top of ganache to enhance chocolate and peanut butter flavors dramatically.
- Ensure butter and peanut butter are room temperature for smoother, more consistent mixing and better integration of ingredients.
- Prep Time: 15 minutes
- Cook Time: 30 minutes
- Category: Desserts, Snacks
- Method: Baking
- Cuisine: American
Nutrition
- Serving Size: 12
- Calories: 250
- Sugar: 18 g
- Sodium: 200 mg
- Fat: 14 g
- Saturated Fat: 7 g
- Unsaturated Fat: 6 g
- Trans Fat: 0 g
- Carbohydrates: 30 g
- Fiber: 2 g
- Protein: 4 g
- Cholesterol: 25 mg
Clara Thompson
Recipe Developer & Culinary Educator
Expertise
Developing accessible single-serving recipes, Food writing and content creation, Plant-based and allergen-friendly cooking, Culinary education and workshop facilitation
Education
Oregon Culinary Institute (Portland, OR)
Diploma in Culinary Arts
Specialized in plant-based cooking and sustainable kitchen practices.
Portland Community College
Certificate in Food Writing and Media
Focused on recipe writing, food photography, and digital content creation.
Clara’s food journey began with a curiosity for color, texture, and ingredients pulled straight from the garden. Her background in plant-forward cooking and creative writing gives her a unique edge – she makes healthy, flavorful food feel inviting, not intimidating.
She specializes in meals that work for busy lives and different diets, all without sacrificing taste. Clara’s voice comes through in every recipe she writes – clear, kind, and encouraging.