The Sweet Nostalgic Peanut Butter & Jelly Cake Recipe
Nostalgic memories dance through this delightful peanut butter & jelly cake that bridges childhood comfort with grown-up sophistication.
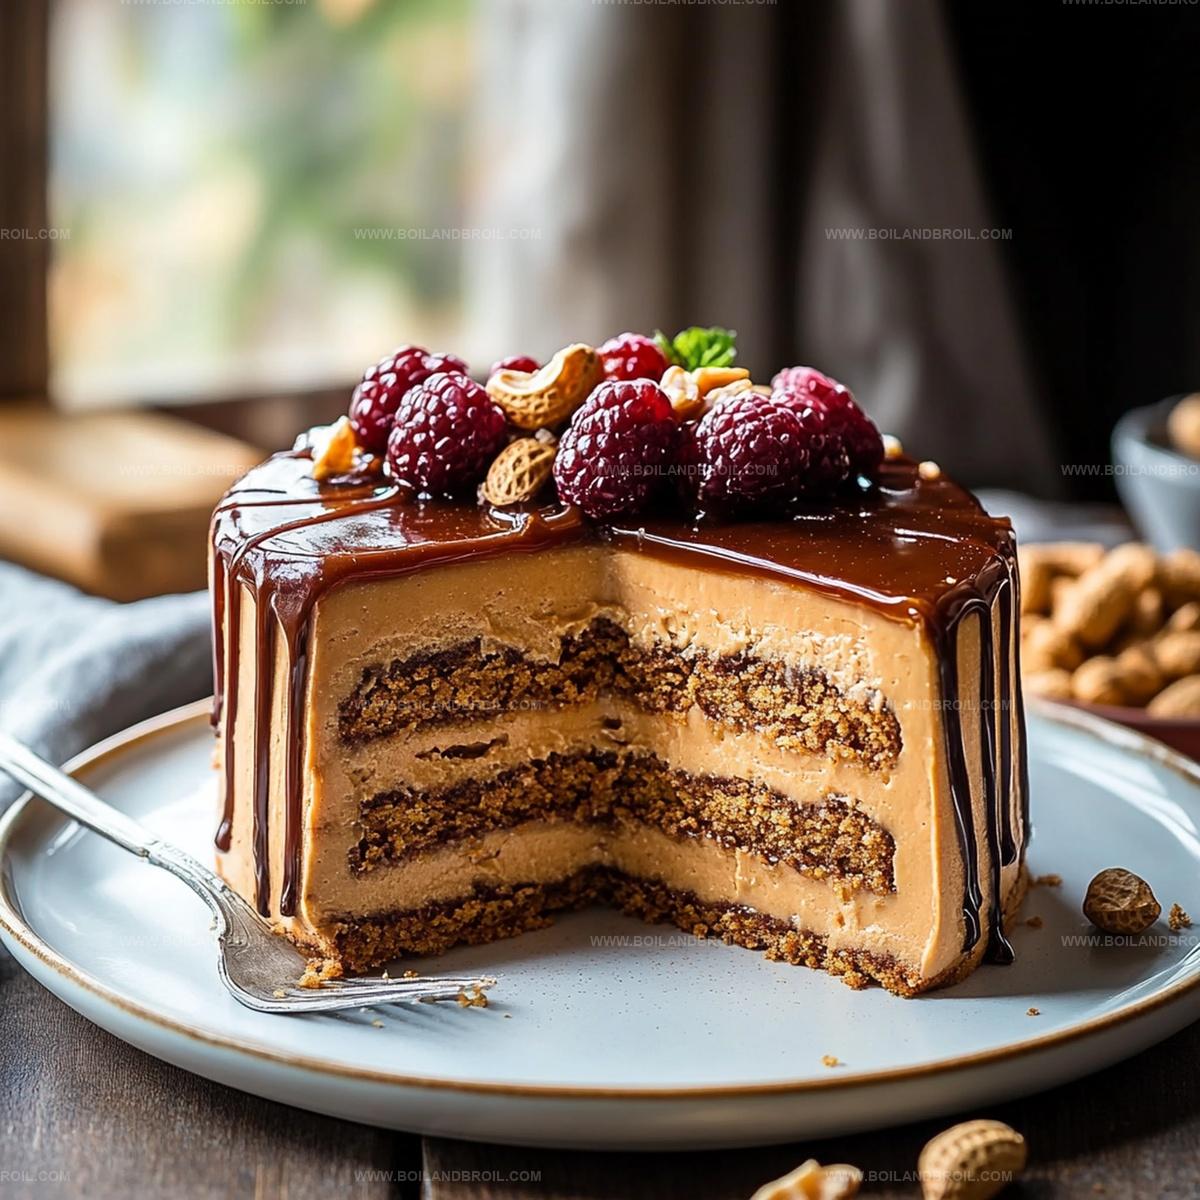
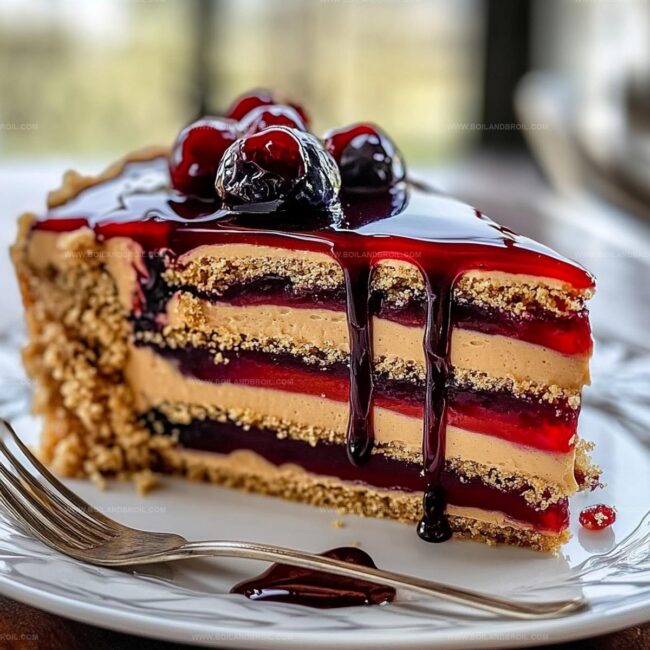
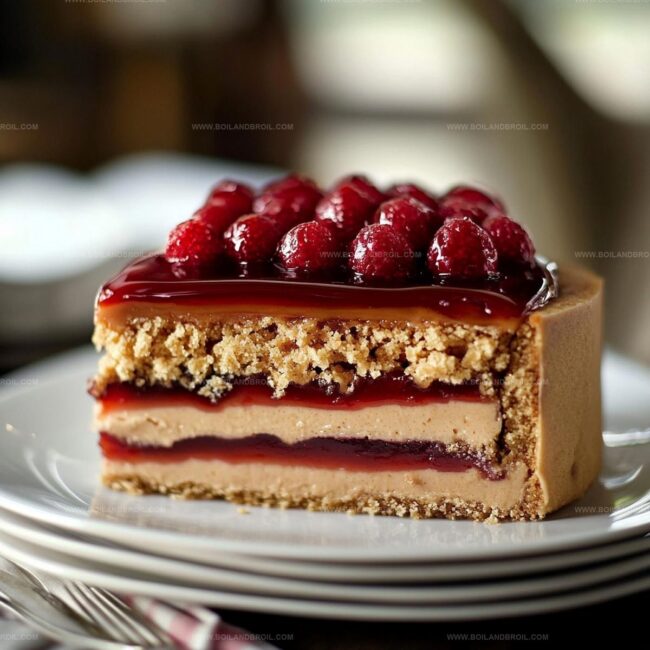
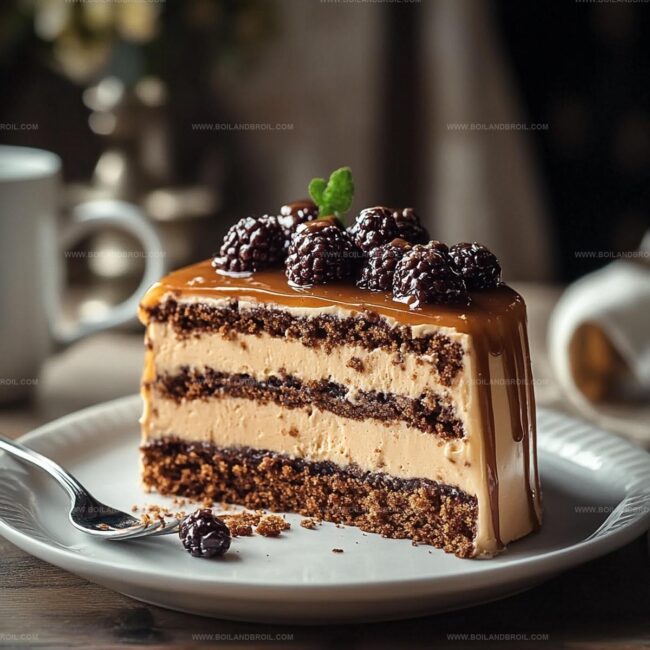
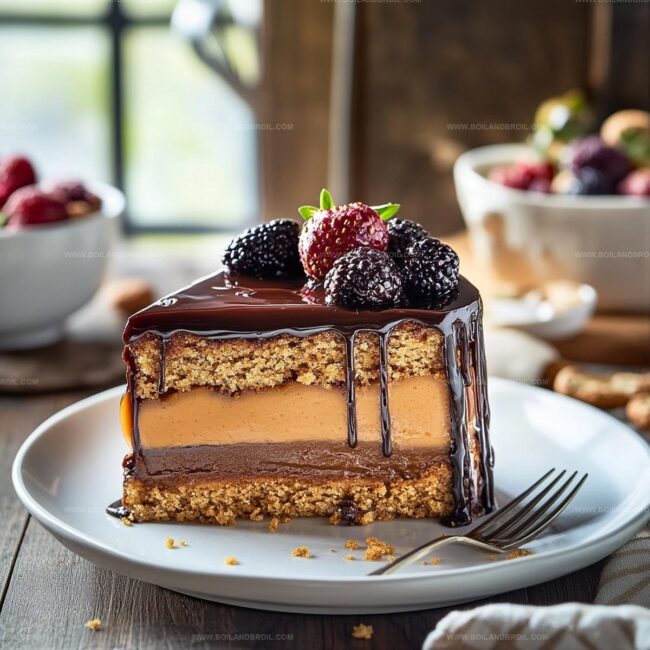
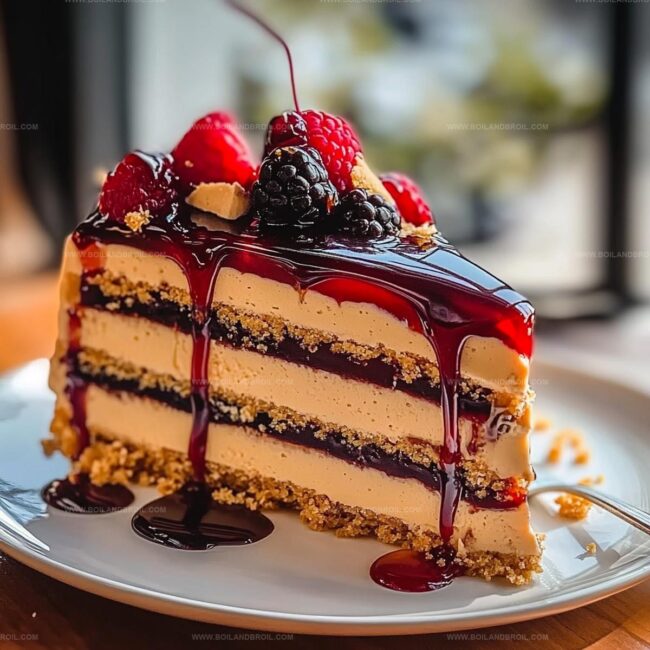
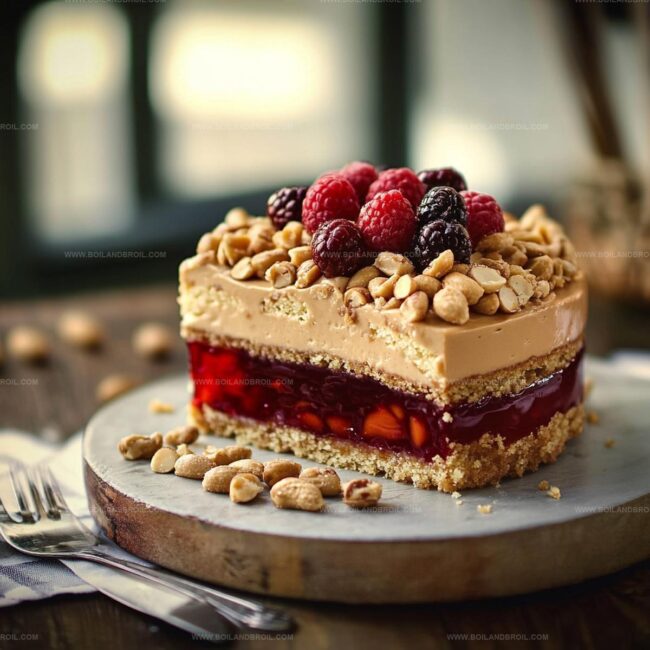
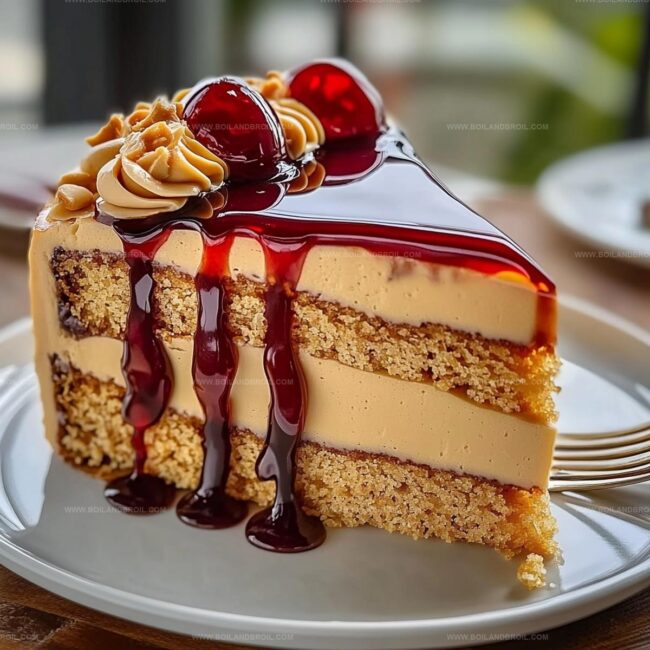
Sweet strawberry jam swirls between soft layers of tender cake.
Creamy peanut butter frosting adds rich complexity to every delectable bite.
Unexpected textures create a playful dessert experience that sparks conversation.
Classic sandwich flavors emerge in an elegant presentation sure to impress.
Baking becomes an adventure when familiar ingredients transform into something magical.
You’ll want to slice into this crowd-pleasing treat and savor each remarkable moment.
How to Make Peanut Butter & Jelly Cake
Step 1: Warm Up the Oven
Set your oven to a cozy 350F (175C).
Prepare two round cake pans by giving them a light coating of grease and dusting of flour, or line them with parchment paper for easy cake removal.
Step 2: Blend the Dry Components
Grab a mixing bowl and whisk together the flour, baking powder, baking soda, and salt until they’re perfectly combined and free of lumps.
Step 3: Create a Creamy Peanut Butter Base
In a separate large bowl, whip the peanut butter and softened butter until they become silky smooth.
Gradually sprinkle in the sugar, mixing thoroughly.
Crack in the eggs one by one, then splash in the vanilla extract, stirring until everything is well incorporated.
Step 4: Marry the Wet and Dry Ingredients
Alternate adding the dry flour mixture and milk to your peanut butter blend.
Start with flour and end with flour, mixing gently until just combined.
Avoid overmixing to keep the cake tender.
Step 5: Bake to Perfection
Divide the batter evenly between the prepared pans, smoothing the tops with a spatula.
Slide the pans into the preheated oven and bake for 25-30 minutes.
Check doneness by inserting a toothpick – it should come out clean.
Let the cakes rest in the pans for 10 minutes, then transfer to a cooling rack.
Step 6: Whip Up the Frosting
While the cakes cool, create the frosting by beating peanut butter and softened butter together.
Gradually add powdered sugar and milk, mixing until you achieve a creamy, spreadable consistency.
Step 7: Build Your Cake Layers
Once the cakes are completely cool, place the first layer on your serving plate.
Spread a generous layer of jelly across the top, followed by a smooth layer of peanut butter frosting.
Carefully position the second cake layer on top, then frost the entire cake – top and sides.
Step 8: Slice and Celebrate
Cut into this nostalgic dessert and enjoy the perfect blend of childhood flavors in every bite!
Tips to Help Your PB&J Cake Turn Out Right
How to Store and Reheat Peanut Butter & Jelly Cake
What Goes Well with PB&J Cake
PB&J Cake Style Ideas to Explore
FAQs
Yes, you can use natural peanut butter, but make sure to stir it well and choose a brand that isn’t too runny. Conventional creamy peanut butter works best for consistent texture and binding.
Don’t overmix the batter and be careful not to overbake. Check the cake around 25 minutes and remove it from the oven as soon as a toothpick comes out clean with a few moist crumbs.
Grape or strawberry jelly are classic choices that complement the peanut butter flavor. Choose a smooth, seedless jelly for easier spreading and a cleaner cake appearance.
Yes, substitute the all-purpose flour with a gluten-free flour blend that includes xanthan gum. Ensure all other ingredients are gluten-free and check their labels carefully.
Sweet Things About PB&J Cake
Peanut Butter & Jelly Cake Ingredient List
Cake Base Ingredients:Wet Ingredients:Frosting and Filling Ingredients: Print
Peanut Butter & Jelly Cake Recipe
- Total Time: 50 minutes
- Yield: 12 1x
Description
Childhood nostalgia meets gourmet baking in this Peanut Butter & Jelly Cake, a delightful dessert that bridges comfort and creativity. Sweet raspberry jam and creamy peanut butter frosting elevate this classic sandwich into a memorable celebration you’ll savor with pure delight.
Ingredients
Cake Ingredients:
Main Dry Ingredients:
- 2 cups (473 ml) all-purpose flour
- 1 1/2 cups (300 g) granulated sugar
- 1 tablespoon baking powder
- 1/2 teaspoon baking soda
- 1/2 teaspoon salt
Main Wet Ingredients:
- 1/2 cup (120 ml) creamy peanut butter
- 1/2 cup (113 g) unsalted butter, softened
- 1 cup (237 ml) milk (whole or 2%)
- 3 large eggs
- 1 teaspoon vanilla extract
Additional Ingredients:
- 1 cup (240 ml) of your favorite jelly (grape or strawberry)
Frosting Ingredients:
Main Components:
- 1 cup (240 ml) creamy peanut butter
- 1/2 cup (113 g) unsalted butter, softened
- 4 cups (454 g) powdered sugar
Liquid Ingredients:
- 1/4 cup (60 ml) milk (adjust for consistency)
- 1 teaspoon vanilla extract
Instructions
- Preheat the oven to 350F (175C). Prepare two 9-inch round cake pans by greasing, flouring, or lining with parchment paper.
- Whisk flour, baking powder, baking soda, and salt in a medium mixing bowl until thoroughly combined.
- In a separate large bowl, cream peanut butter and softened butter until smooth and uniform. Gradually incorporate granulated sugar, mixing until light and fluffy.
- Add eggs individually to the peanut butter mixture, blending completely after each addition. Stir in vanilla extract until well integrated.
- Alternately fold dry ingredients and milk into the peanut butter mixture, beginning and concluding with flour. Mix gently until just combined to maintain cake’s tender texture.
- Evenly distribute batter between prepared pans, smoothing surfaces with a spatula. Bake for 25-30 minutes, checking doneness with a toothpick inserted in the center.
- Remove cakes from oven and allow to rest in pans for 10 minutes. Transfer to a cooling rack and let cool completely.
- Prepare frosting by beating peanut butter and softened butter until creamy. Gradually add powdered sugar and milk, mixing until achieving a smooth, spreadable consistency.
- Place first cake layer on serving plate. Spread a generous layer of jelly across the surface, followed by a smooth layer of peanut butter frosting.
- Position second cake layer on top. Frost entire cake, covering top and sides evenly with remaining peanut butter frosting.
- Slice and serve the decadent peanut butter and jelly cake, enjoying the nostalgic flavor combination.
Notes
- Choose natural, unsweetened peanut butter for a less sweet, more authentic flavor that enhances the cake’s richness.
- Room temperature ingredients ensure smoother mixing and a more consistent cake texture, preventing lumpy batter.
- For gluten-free option, swap all-purpose flour with a blend of almond and gluten-free flour to maintain cake’s soft structure.
- Add a sprinkle of sea salt on top of frosting to balance sweetness and create a gourmet touch that elevates the classic PB&J flavor profile.
- Prep Time: 20 minutes
- Cook Time: 30 minutes
- Category: Desserts
- Method: Baking
- Cuisine: American
Nutrition
- Serving Size: 12
- Calories: 430
- Sugar: 36 g
- Sodium: 250 mg
- Fat: 20 g
- Saturated Fat: 7 g
- Unsaturated Fat: 10 g
- Trans Fat: 0 g
- Carbohydrates: 55 g
- Fiber: 2 g
- Protein: 8 g
- Cholesterol: 60 mg
Jack Sullivan
Founder & Culinary Storyteller
Expertise
Single-recipe development with a narrative approach, Culinary storytelling and food history, Seasonal and regional ingredient utilization, Home cooking techniques adapted for modern kitchens
Education
New England Culinary Institute (Montpelier, VT)
Certificate in Culinary Arts
Focused on farm-to-table cooking, sustainable practices, and modern plating techniques.
Asheville-Buncombe Technical Community College
Associate Degree in Culinary Arts
Emphasized Southern Appalachian cuisine and local ingredient sourcing.
Jack grew up surrounded by smoky skillets and handwritten recipes in the mountains of North Carolina. His roots in Appalachian cooking shaped the way he sees food – as something that connects people, tells a story, and holds meaning.
With hands-on training and a background in sustainable, regional cooking, Jack started Boil And Broil to make meaningful meals more accessible. He’s all about one-dish recipes that are simple to follow but rich with flavor and history.