
Homemade Peanut Butter Rice Krispie Balls Recipe – Sweet Bites
Crafting delightful peanut butter rice krispie balls sparks joy in every kitchen adventure.
Sweet meets crunchy in this playful treat that promises pure happiness.
Childhood memories dance through each delectable bite of these no-bake wonders.
Minimal ingredients blend seamlessly to create irresistible morsels everyone adores.
Simplicity defines this magical recipe, making it perfect for spontaneous snack moments.
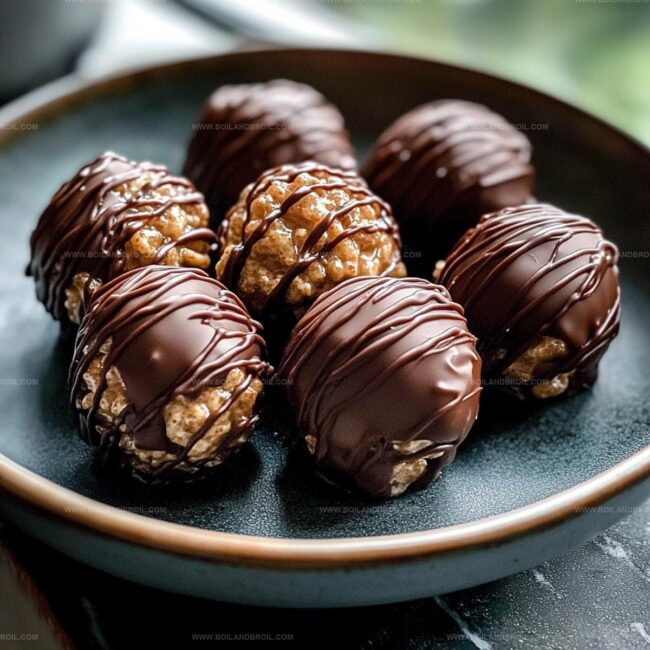
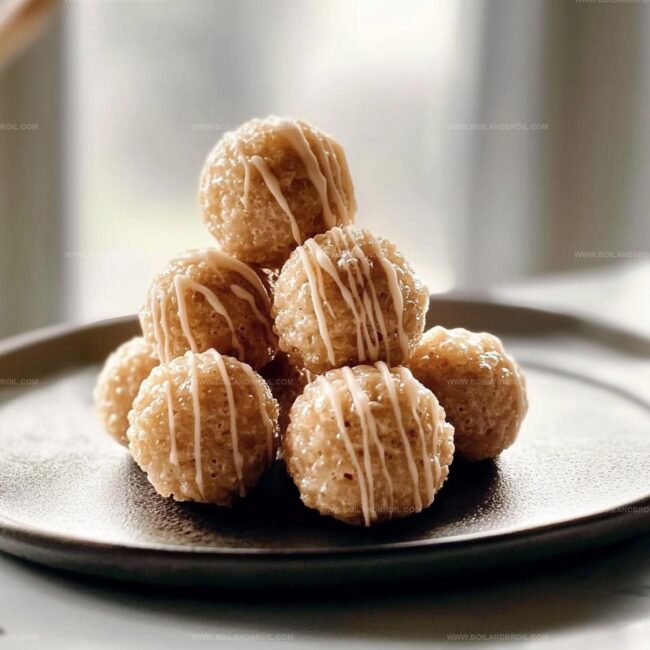
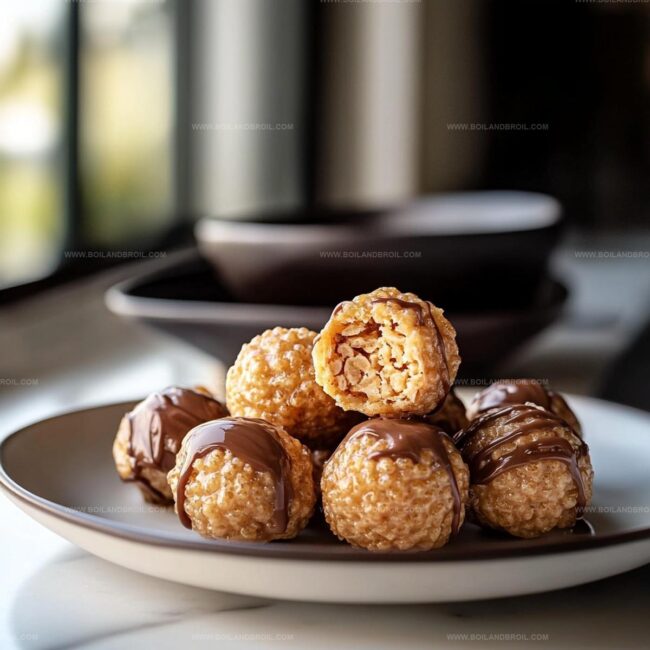
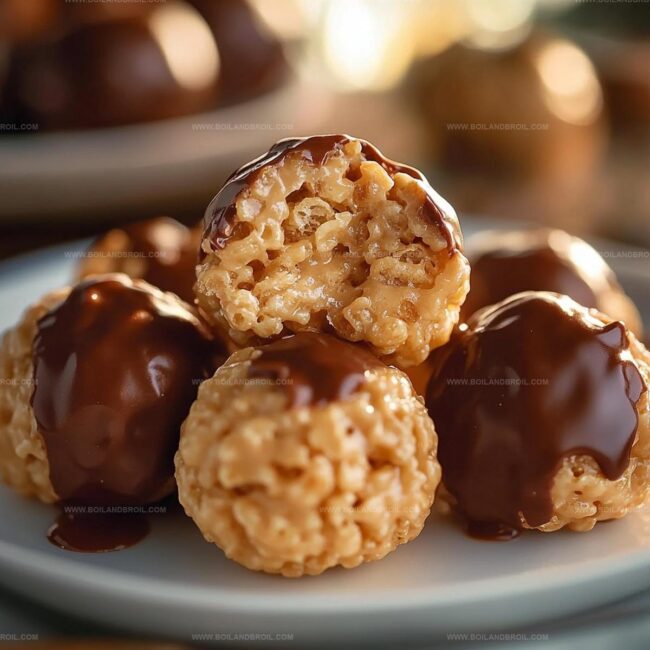
Chocolate drizzles or sprinkled toppings can personalize these delightful spheres of yumminess.
You’ll find yourself falling in love with these quick, crowd-pleasing delights that come together in minutes.
Why Peanut Butter Rice Krispie Balls Are a Crowd-Pleaser
Peanut Butter Rice Krispie Ball Ingredients

How to Shape Peanut Butter Rice Krispie Balls
Step 1: Whip Up the Creamy Base
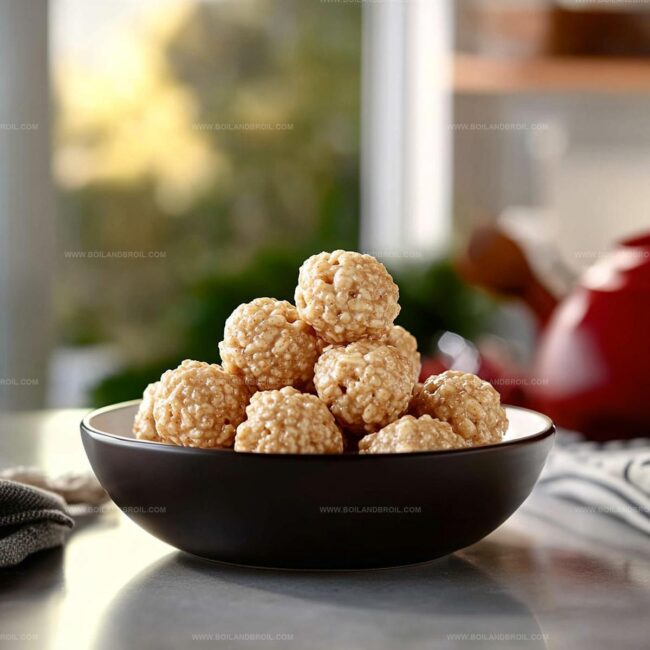
In a spacious mixing bowl, blend together smooth peanut butter and golden honey.
Stir the mixture until it becomes silky and uniform.
Splash in some vanilla extract and sprinkle a tiny pinch of salt to enhance the flavors.
The combination will create a rich, sweet foundation that makes these treats irresistible.
Step 2: Crunch and Fold
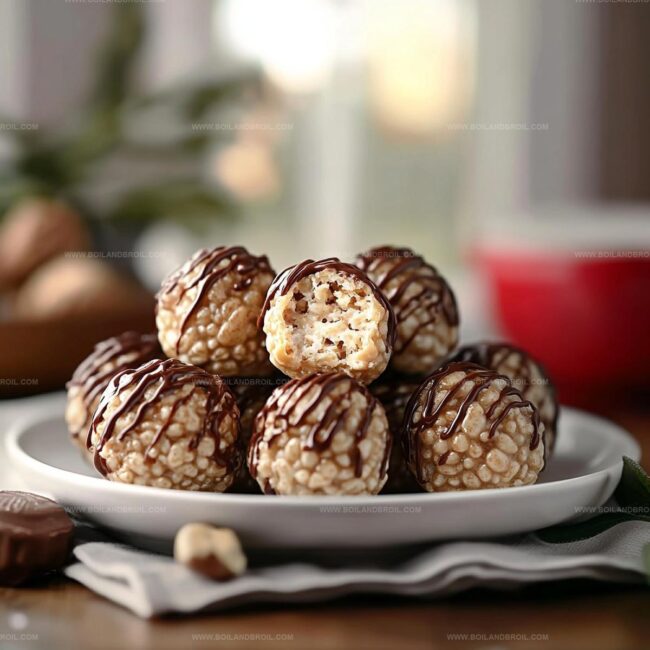
Gently introduce Rice Krispies cereal into the peanut butter mixture.
Fold carefully to ensure every crispy morsel gets completely coated with the sweet, nutty mixture.
If you’re feeling indulgent, toss in some chocolate chips for extra decadence.
The goal is to create a perfectly mixed blend that holds together beautifully.
Step 3: Shape into Delightful Bites
Using your hands, scoop out small portions of the mixture and roll them into perfect little spheres.
Place each ball onto a parchment-lined baking sheet.
Work quickly and gently to maintain the shape.
Each ball should be roughly the size of a golf ball, creating bite-sized treats that are easy to pop into your mouth.
Step 4: Chill and Set
Transfer the baking sheet to the refrigerator.
Let the balls cool and firm up for about half an hour.
This chilling time helps the treats hold their shape and intensifies the flavors.
The cool-down period transforms them from a sticky mixture to a firm, delectable snack.
Step 5: Enjoy Your Tasty Creation
Pull out the chilled balls and serve immediately.
These peanut butter Rice Krispie balls are perfect for a quick energy boost, an after-school snack, or a sweet treat to share with friends.
Store any leftovers in an airtight container in the refrigerator for up to a week.
Quick Tips for Peanut Butter Rice Krispie Balls
How to Store Rice Krispie Balls with Peanut Butter
Pairing Ideas for Rice Krispie Balls
Peanut Butter Rice Krispie Ball Mix-In Ideas
FAQs

Yes, but make sure to stir it well before using to incorporate the oils. Natural peanut butter might make the balls slightly less firm, so you may need to add a bit more cereal to help them hold shape.
Rice Krispies are not always gluten-free, so check the specific brand. Use certified gluten-free Rice Krispies or a similar gluten-free crispy rice cereal to ensure the recipe is safe for those with gluten sensitivities.
They will keep well in an airtight container in the refrigerator for up to 1 week. For best texture and taste, store them between layers of parchment paper to prevent sticking.
Absolutely! Kids can help mix ingredients, roll balls, and place them on the baking sheet. Just supervise during any steps involving measuring or handling hot ingredients.
Jack Sullivan
Founder & Culinary Storyteller
Expertise
Single-recipe development with a narrative approach, Culinary storytelling and food history, Seasonal and regional ingredient utilization, Home cooking techniques adapted for modern kitchens
Education
New England Culinary Institute (Montpelier, VT)
Certificate in Culinary Arts
Focused on farm-to-table cooking, sustainable practices, and modern plating techniques.
Asheville-Buncombe Technical Community College
Associate Degree in Culinary Arts
Emphasized Southern Appalachian cuisine and local ingredient sourcing.
Jack grew up surrounded by smoky skillets and handwritten recipes in the mountains of North Carolina. His roots in Appalachian cooking shaped the way he sees food – as something that connects people, tells a story, and holds meaning.
With hands-on training and a background in sustainable, regional cooking, Jack started Boil And Broil to make meaningful meals more accessible. He’s all about one-dish recipes that are simple to follow but rich with flavor and history.