
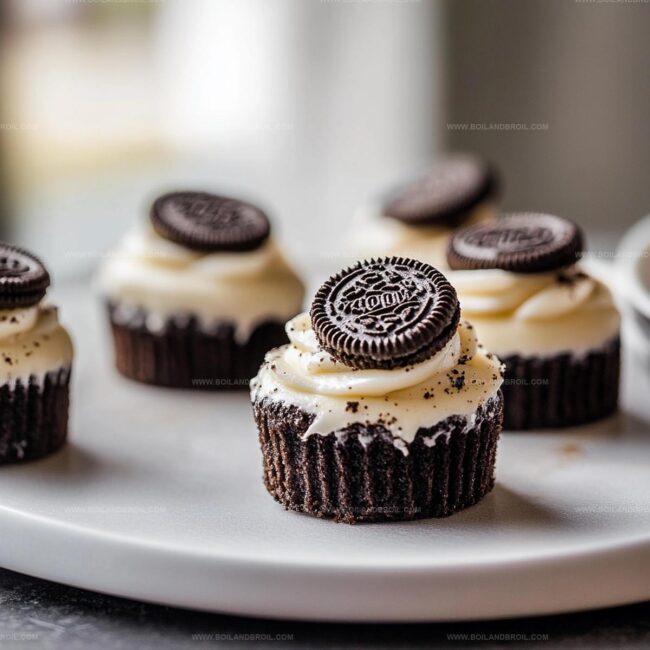
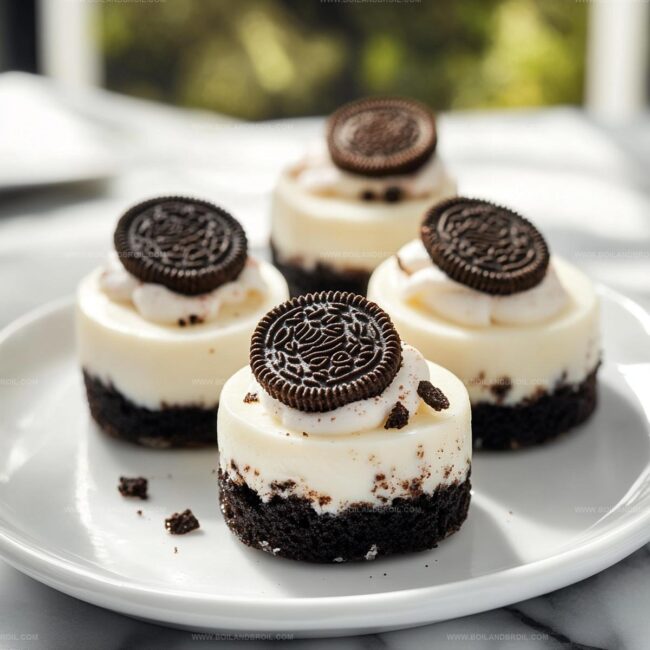
Dreamy Peppermint Oreo Mini Cheesecakes Recipe for Sweet Tooths
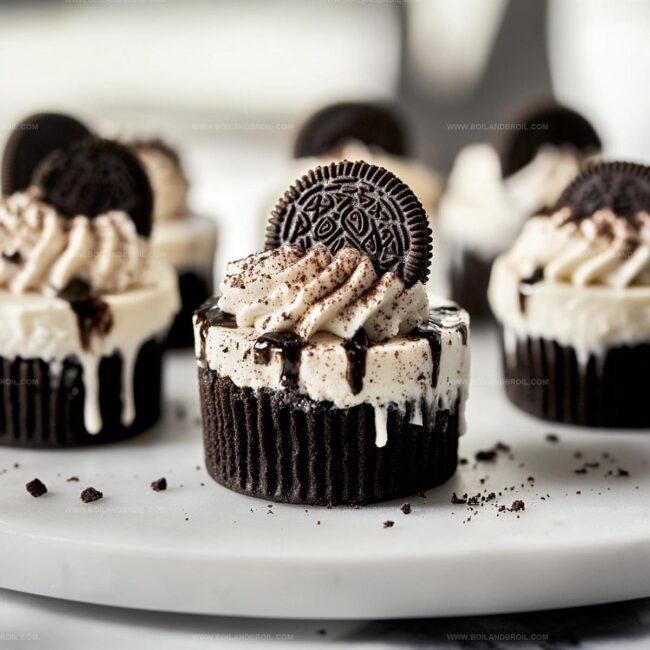
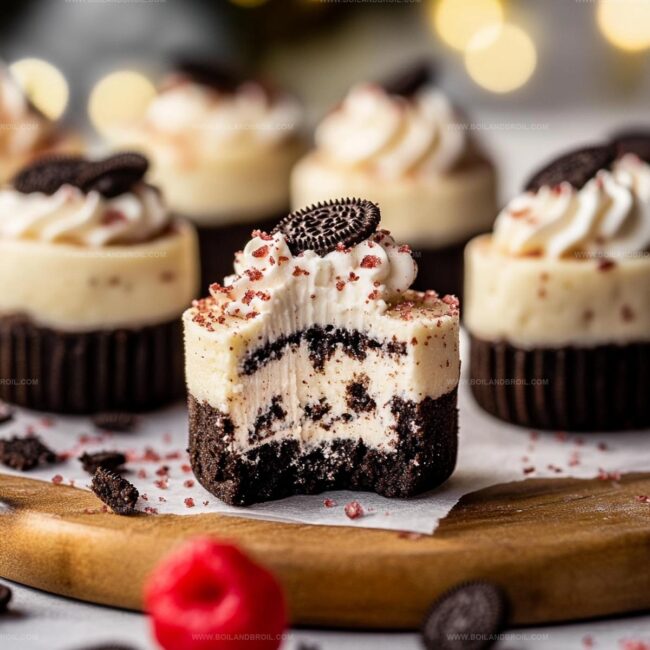
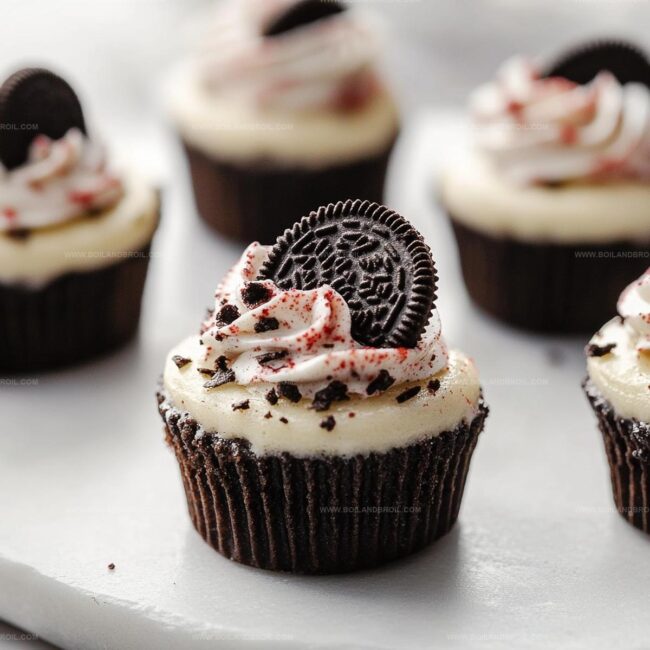
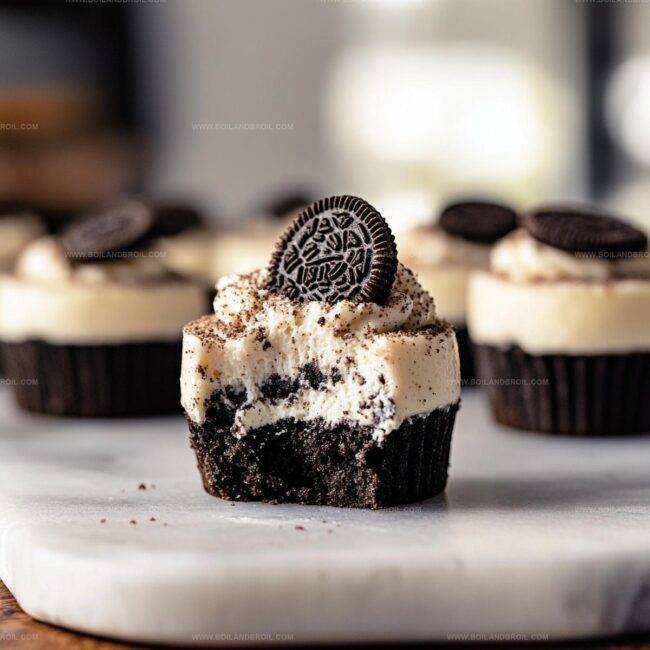
Creamy and decadent peppermint Oreo mini cheesecakes invite you to indulge in a festive dessert that’s both elegant and playful.
Crushed Oreo cookies form a rich, chocolatey base for these bite-sized treats.
Sweet peppermint notes dance through each delicate slice, promising a delightful winter-inspired experience.
Compact and gorgeous, these mini cheesecakes work perfectly for holiday gatherings or cozy weekend celebrations.
Guests will adore the balance between smooth cream cheese and crunchy cookie texture.
Chilled and ready in under an hour, these miniature delights offer maximum flavor with minimal effort.
One bite, and you’ll be hooked on this irresistible seasonal sensation.
Peppermint Oreo Mini Cheesecakes with Holiday Charm
Ingredients to Make Peppermint Oreo Mini Cheesecakes
Crust Ingredients:Cheesecake Filling:Peppermint Topping:How to Assemble Peppermint Oreo Mini Cheesecakes
Step 1: Prepare Oven and Baking Dish
Set your oven to 325F (160C).
Grab a standard 12-cup muffin tin and line each cup with paper liners.
Step 2: Create Chocolatey Crust
Crush the Oreo cookies into fine crumbs.
In a mixing bowl, combine:Mix thoroughly until the mixture looks like wet sand with a consistent texture.
Step 3: Form Crust Bases
Distribute the Oreo mixture evenly across the paper liners.
Use your fingers or the back of a spoon to press the mixture firmly into the bottom of each liner, creating a compact and smooth base.
Step 4: Bake Crust Foundation
Place the muffin tin in the preheated oven.
Bake the crust for 5-7 minutes until it sets and looks slightly firm.
Remove from the oven and allow to cool completely at room temperature.
Step 5: Prepare Creamy Cheesecake Filling
In a large mixing bowl, blend:Whisk until the mixture is smooth and free of lumps.
Step 6: Fill Cheesecake Bases
Pour the creamy cheesecake mixture over the cooled Oreo crusts.
Fill each liner nearly to the top, leaving a small space for potential rising.
Step 7: Bake Cheesecakes
Return the muffin tin to the oven.
Bake for 18-20 minutes until the centers are almost set but still slightly jiggly.
Step 8: Cool and Chill
Remove cheesecakes from the oven.
Let them cool at room temperature for 30 minutes.
Refrigerate for at least 2 hours to set completely.
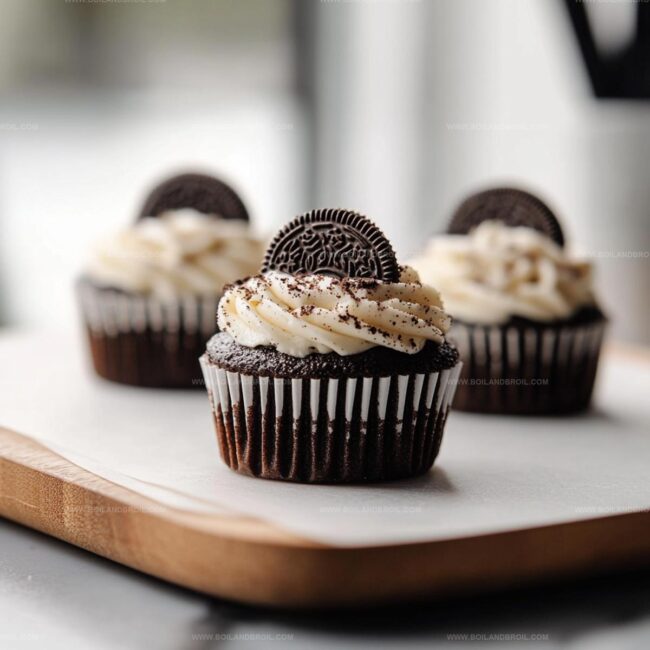
Step 9: Garnish and Serve
Before serving, top each mini cheesecake with your favorite toppings.
Tips for Perfect Peppermint Oreo Mini Cheesecakes
Saving and Reheating Peppermint Oreo Mini Cheesecakes
What Pairs Well with Peppermint Oreo Mini Cheesecakes
Flavor Ideas for Peppermint Oreo Mini Cheesecakes
FAQs
Yes, you can substitute regular Oreos. The peppermint flavor will be less intense, but the cheesecake will still taste delicious.
A standard 12-cup muffin tin works perfectly. Just make sure to use paper liners to help with easy removal and clean-up.
The edges will look set, but the center should still have a slight jiggle. A toothpick inserted near the center will come out mostly clean with a few moist crumbs.
Absolutely! You can prepare them up to 2-3 days in advance and store them in the refrigerator. Just add toppings right before serving for the best texture.
Print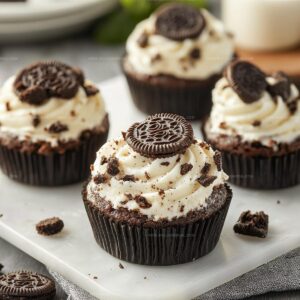
Peppermint Oreo Mini Cheesecakes Recipe
- Total Time: 15 minutes
- Yield: 12 1x
Description
Irresistible Peppermint Oreo Mini Cheesecakes blend creamy richness with festive holiday cheer. Cool mint and chocolate crumble create a delightful dessert experience you won’t forget.
Ingredients
Main Ingredients:
- 8 ounces (226 grams) cream cheese, softened
- 12 Oreo cookies, crushed
- 12 mini Oreo cookies, for garnish
Dairy and Sweeteners:
- 1/2 cup (120 milliliters) sour cream
- 1/2 cup (120 milliliters) whipped cream
- 1/4 cup (50 grams) granulated sugar
- 1/2 cup (60 grams) powdered sugar
Binding and Flavoring:
- 3 tablespoons (45 milliliters) unsalted butter, melted
- 1 teaspoon (5 milliliters) peppermint extract
Instructions
- Pulverize Oreo cookies into fine crumbs, ensuring a uniform texture for the base layer.
- Drizzle melted butter over the cookie crumbs, mixing thoroughly until the mixture reaches a cohesive, moist consistency that holds together when pressed.
- Position paper liners in a standard muffin tin, creating a uniform foundation for the mini cheesecakes.
- Distribute the Oreo crumb mixture evenly across the liners, compacting gently with the back of a spoon to create a solid, compact crust.
- Slide the muffin tin into a preheated oven at 325°F (160°C) for 6 minutes, allowing the crust to set and develop a subtle toasted flavor.
- Carefully extract the tin and permit the crusts to cool completely, maintaining their structured shape for the upcoming cheesecake filling.
- While crusts cool, prepare the cream cheese mixture, ensuring all ingredients are at room temperature for smooth blending.
- Whip cream cheese until velvety, gradually incorporating sugar, eggs, and peppermint extract to create a silky, uniform filling.
- Gently pour the peppermint-infused cheesecake mixture over the prepared Oreo crusts, filling each liner approximately 3/4 full.
- Return the muffin tin to the 325°F oven, baking for 18-20 minutes until the centers are almost set but retain a slight wobble.
- Remove from oven and allow cheesecakes to cool at room temperature for one hour before refrigerating.
- Chill for a minimum of 2 hours to achieve optimal texture and flavor development.
- Before serving, garnish with crushed peppermint candies or a light dusting of cocoa powder for an elegant finish.
Notes
- Crush Oreos finely to create a smooth, even crust that holds together perfectly without crumbling.
- Use room temperature cream cheese to ensure a silky, lump-free cheesecake filling that blends smoothly.
- Add crushed candy canes or peppermint extract for an extra festive winter twist that enhances the holiday flavor profile.
- For a gluten-free version, swap regular Oreos with gluten-free chocolate sandwich cookies to accommodate dietary restrictions.
- Prep Time: 10 minutes
- Cook Time: 5 minutes
- Category: Desserts
- Method: Baking
- Cuisine: American
Nutrition
- Serving Size: 12
- Calories: 200
- Sugar: 14 g
- Sodium: 150 mg
- Fat: 12 g
- Saturated Fat: 7 g
- Unsaturated Fat: 3 g
- Trans Fat: 0 g
- Carbohydrates: 22 g
- Fiber: 1 g
- Protein: 3 g
- Cholesterol: 30 mg
Jack Sullivan
Founder & Culinary Storyteller
Expertise
Single-recipe development with a narrative approach, Culinary storytelling and food history, Seasonal and regional ingredient utilization, Home cooking techniques adapted for modern kitchens
Education
New England Culinary Institute (Montpelier, VT)
Certificate in Culinary Arts
Focused on farm-to-table cooking, sustainable practices, and modern plating techniques.
Asheville-Buncombe Technical Community College
Associate Degree in Culinary Arts
Emphasized Southern Appalachian cuisine and local ingredient sourcing.
Jack grew up surrounded by smoky skillets and handwritten recipes in the mountains of North Carolina. His roots in Appalachian cooking shaped the way he sees food – as something that connects people, tells a story, and holds meaning.
With hands-on training and a background in sustainable, regional cooking, Jack started Boil And Broil to make meaningful meals more accessible. He’s all about one-dish recipes that are simple to follow but rich with flavor and history.