The Fluffiest Quick Bread Recipe Ready in a Flash
Whipping up a delightful quick bread with minimal effort can revolutionize your kitchen routine.
Pantry staples become magical ingredients when combined strategically.
Minimal preparation ensures you’ll have a warm, fragrant treat ready almost instantly.
Minimal equipment and just a few straightforward steps mean success is practically guaranteed.
Mixing happens faster than brewing morning coffee, promising a delectable outcome.
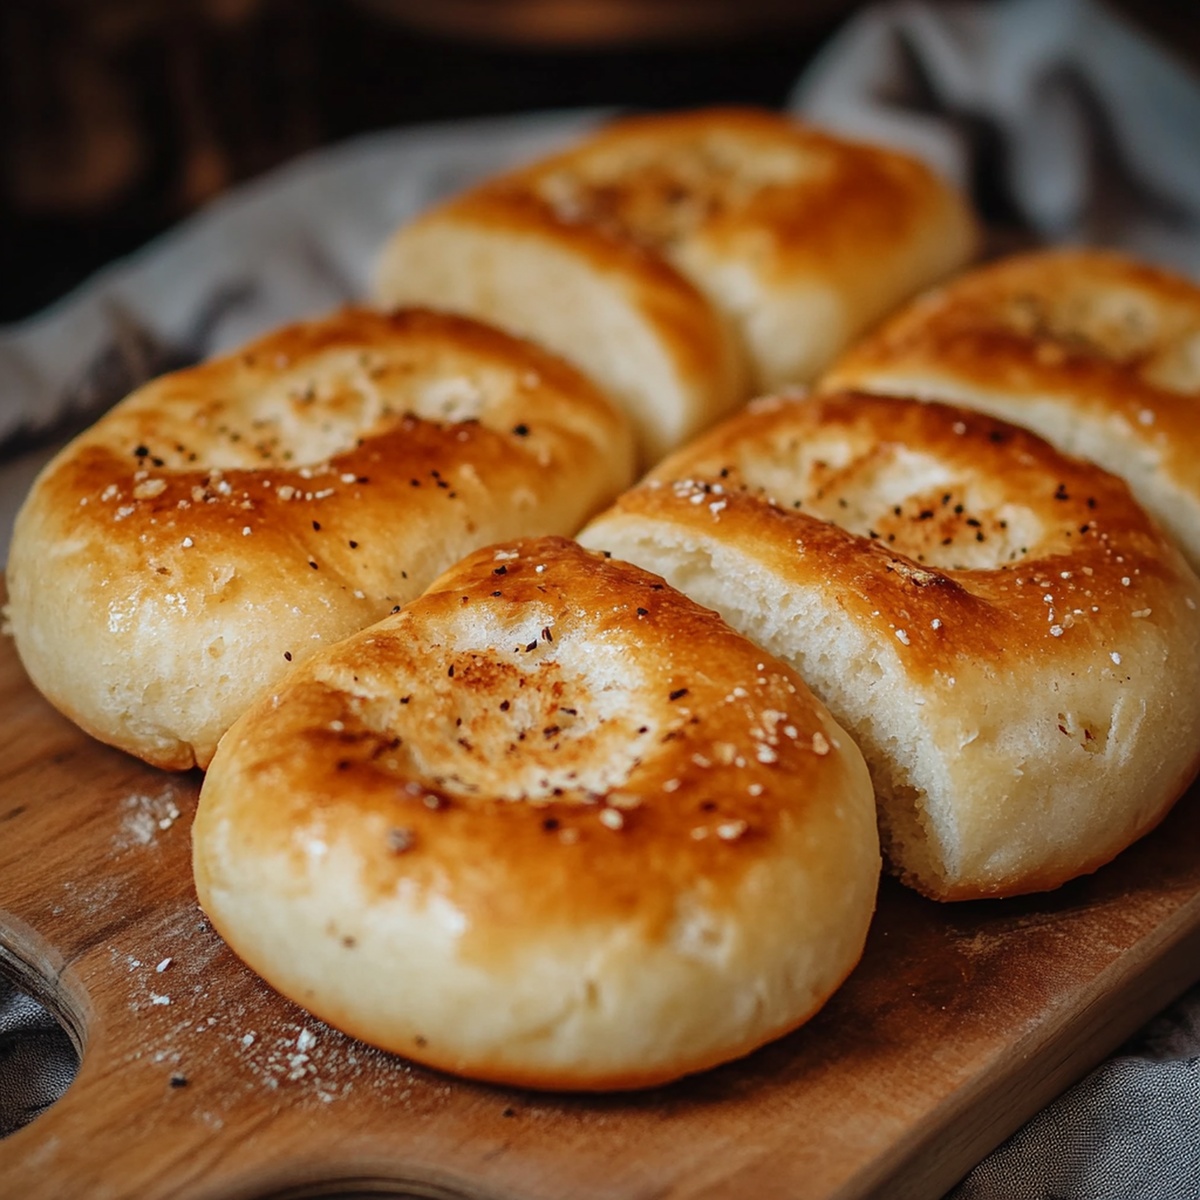
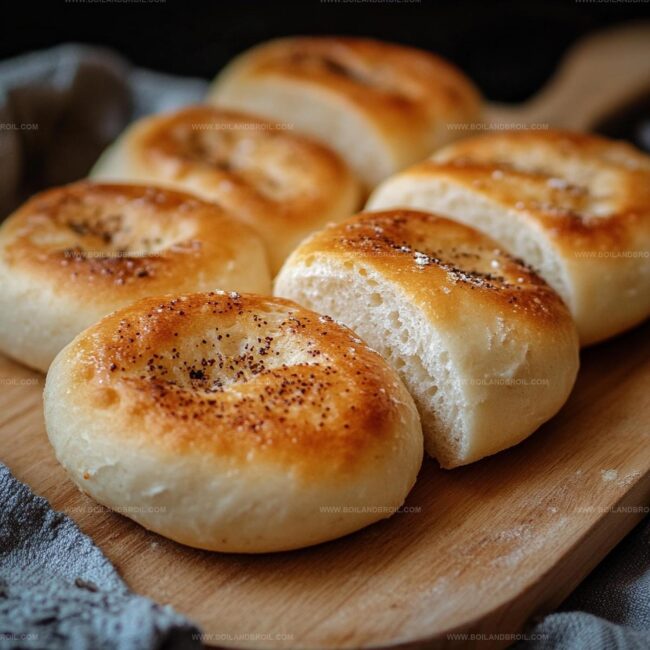
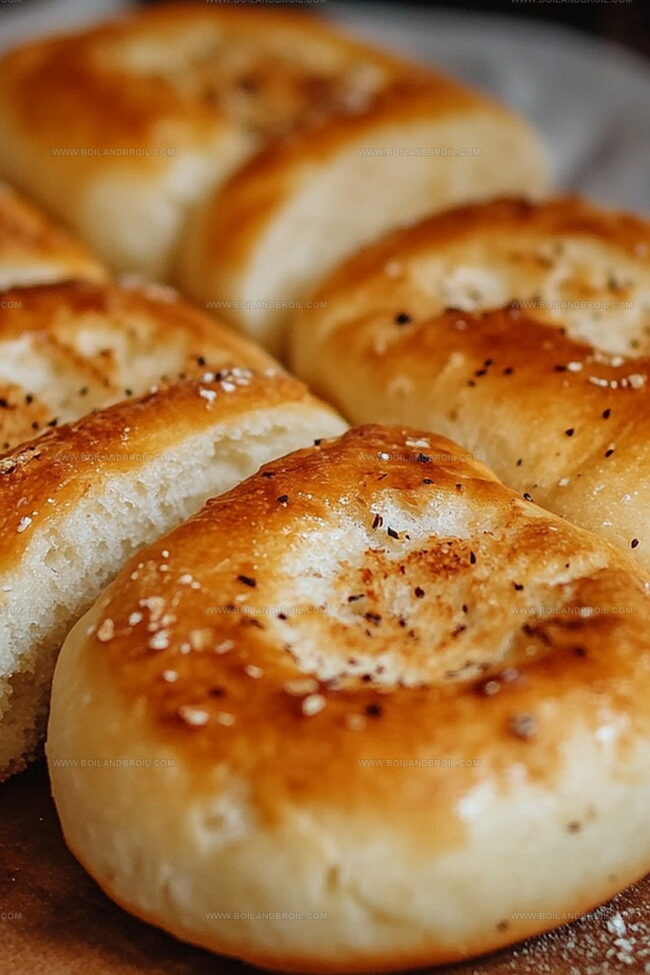
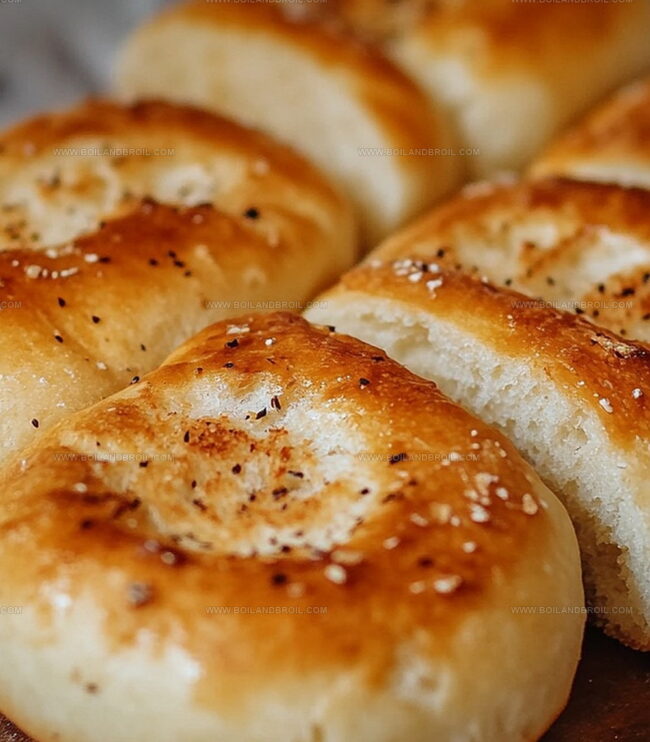
Dense, moist, and incredibly satisfying, this recipe breaks through traditional baking constraints.
Curious bakers will find themselves enchanted by how effortlessly delicious homemade bread can be.
Quick Bread in 10 Minutes Snapshot

Quick Bread Ingredients Breakdown
Dry Ingredients:Wet Ingredients:Preparation Essentials:Quick Bread Step-by-Step Guide
Step 1: Fire Up the Oven
Turn on your oven to a cozy 350F (175C).
Grab a loaf pan and give it a quick spray or butter rub to prevent sticking.
Step 2: Dance With Dry Ingredients
Grab a roomy mixing bowl and toss in:Whisk these together until they’re best friends.
Step 3: Blend Liquid Magic
In another bowl, create a smooth mixture by whisking:Blend until everything looks harmonious.
Step 4: Create Bread Batter Brilliance
Pour your liquid mixture into the dry ingredients.
Stir gently with a wooden spoon – stop mixing the moment everything looks combined.
No aggressive stirring allowed!
Step 5: Bake to Perfection
Transfer your batter into the prepared loaf pan.
Slide it into the waiting oven and bake for 40-45 minutes.
You’ll know it’s ready when a toothpick comes out clean from the center.
Step 6: Cooling and Serving Celebration
Let your bread rest in the pan for 10 minutes.
Then transfer to a wire rack and let it cool completely.
Slice, serve, and enjoy your speedy homemade bread!
Tips for Quick Bread in 10 Minutes
How to Keep Quick Bread Fresh
What Goes Well with Quick Bread
Creative Takes on Quick Bread Recipe
FAQs
Yes, you can substitute whole wheat flour, but the texture will be denser and slightly heavier. Use a 1:1 ratio, and consider adding an extra tablespoon of liquid to prevent dryness.
You can create a substitute by mixing 1/4 teaspoon baking soda with 1/2 teaspoon cream of tartar. This combination works as an effective leavening agent in quick breads.
Stop stirring as soon as the dry and wet ingredients are just combined. Overmixing can develop gluten, resulting in a tough, chewy bread instead of a tender crumb.
Absolutely! Fold in up to 1 cup of mix-ins like chocolate chips, nuts, or dried fruit after combining the wet and dry ingredients. Lightly coat them in flour first to prevent sinking.
Print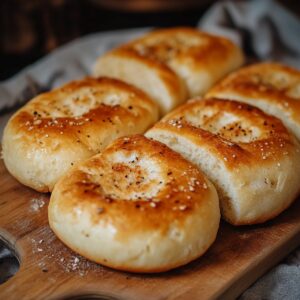
Quick Bread in 10 Minutes Recipe
- Total Time: 55 minutes
- Yield: 8 1x
Description
Chocolate chip banana bread blends homemade comfort with lightning-fast preparation. Moist crumbs and rich chocolate create a delightful treat you can whip up faster than brewing morning coffee.
Ingredients
Main Ingredients:
- 2 cups (480 ml) all-purpose flour
- 1 cup (240 ml) milk
- 1 large egg
Leavening and Seasoning:
- 2 teaspoons (10 ml) baking powder
- 1/2 teaspoon (2.5 ml) salt
- 2 tablespoons (30 ml) sugar
Fat Ingredient:
- 1/4 cup (60 ml) unsalted butter, melted
Instructions
- Warm the oven to 350F (175C) and delicately coat a standard loaf pan with a thin layer of grease to prevent sticking.
- Gather dry components in a spacious mixing vessel, thoroughly blending flour, granulated sweetener, leavening agent, and mineral seasoning using a whisk until uniformly distributed.
- Create a separate mixture of liquid elements, gently whisking dairy, liquefied butter, and beaten egg until smoothly integrated.
- Cascade liquid mixture into the powdery foundation, stirring with gentle, minimal movements to prevent dense texture – stop mixing once ingredients are just incorporated.
- Transfer batter into prepared pan, ensuring even distribution and smooth surface.
- Position pan in preheated oven, allowing bread to transform for approximately 40-45 minutes until center tests clean when pierced with a slender probe.
- After removing from oven, let bread rest within pan for 10 minutes to stabilize structural integrity.
- Carefully extract bread from pan and position on wire cooling platform, permitting complete temperature reduction before slicing into delectable portions.
Notes
- Swap flour for gluten-free alternatives like almond or coconut flour to accommodate dietary restrictions.
- Add mix-ins like chocolate chips, nuts, or dried fruits to customize the bread’s flavor profile and texture.
- Use room temperature ingredients to ensure smoother mixing and more consistent baking results.
- Check doneness early by testing with a toothpick and watching the bread’s color to prevent overbaking.
- Prep Time: 10 minutes
- Cook Time: 45 minutes
- Category: Breakfast, Snacks
- Method: Baking
- Cuisine: American
Nutrition
- Serving Size: 8
- Calories: 180
- Sugar: 1.0 g
- Sodium: 100 mg
- Fat: 7.0 g
- Saturated Fat: 4.5 g
- Unsaturated Fat: 2.5 g
- Trans Fat: 0 g
- Carbohydrates: 26.0 g
- Fiber: 1.0 g
- Protein: 4.0 g
- Cholesterol: 30 mg
Clara Thompson
Recipe Developer & Culinary Educator
Expertise
Developing accessible single-serving recipes, Food writing and content creation, Plant-based and allergen-friendly cooking, Culinary education and workshop facilitation
Education
Oregon Culinary Institute (Portland, OR)
Diploma in Culinary Arts
Specialized in plant-based cooking and sustainable kitchen practices.
Portland Community College
Certificate in Food Writing and Media
Focused on recipe writing, food photography, and digital content creation.
Clara’s food journey began with a curiosity for color, texture, and ingredients pulled straight from the garden. Her background in plant-forward cooking and creative writing gives her a unique edge – she makes healthy, flavorful food feel inviting, not intimidating.
She specializes in meals that work for busy lives and different diets, all without sacrificing taste. Clara’s voice comes through in every recipe she writes – clear, kind, and encouraging.