Easy Rainbow Cake Recipe That Brightens Every Celebration
Sweet memories burst through every slice of this vibrant rainbow cake, capturing childhood wonder in delectable layers.
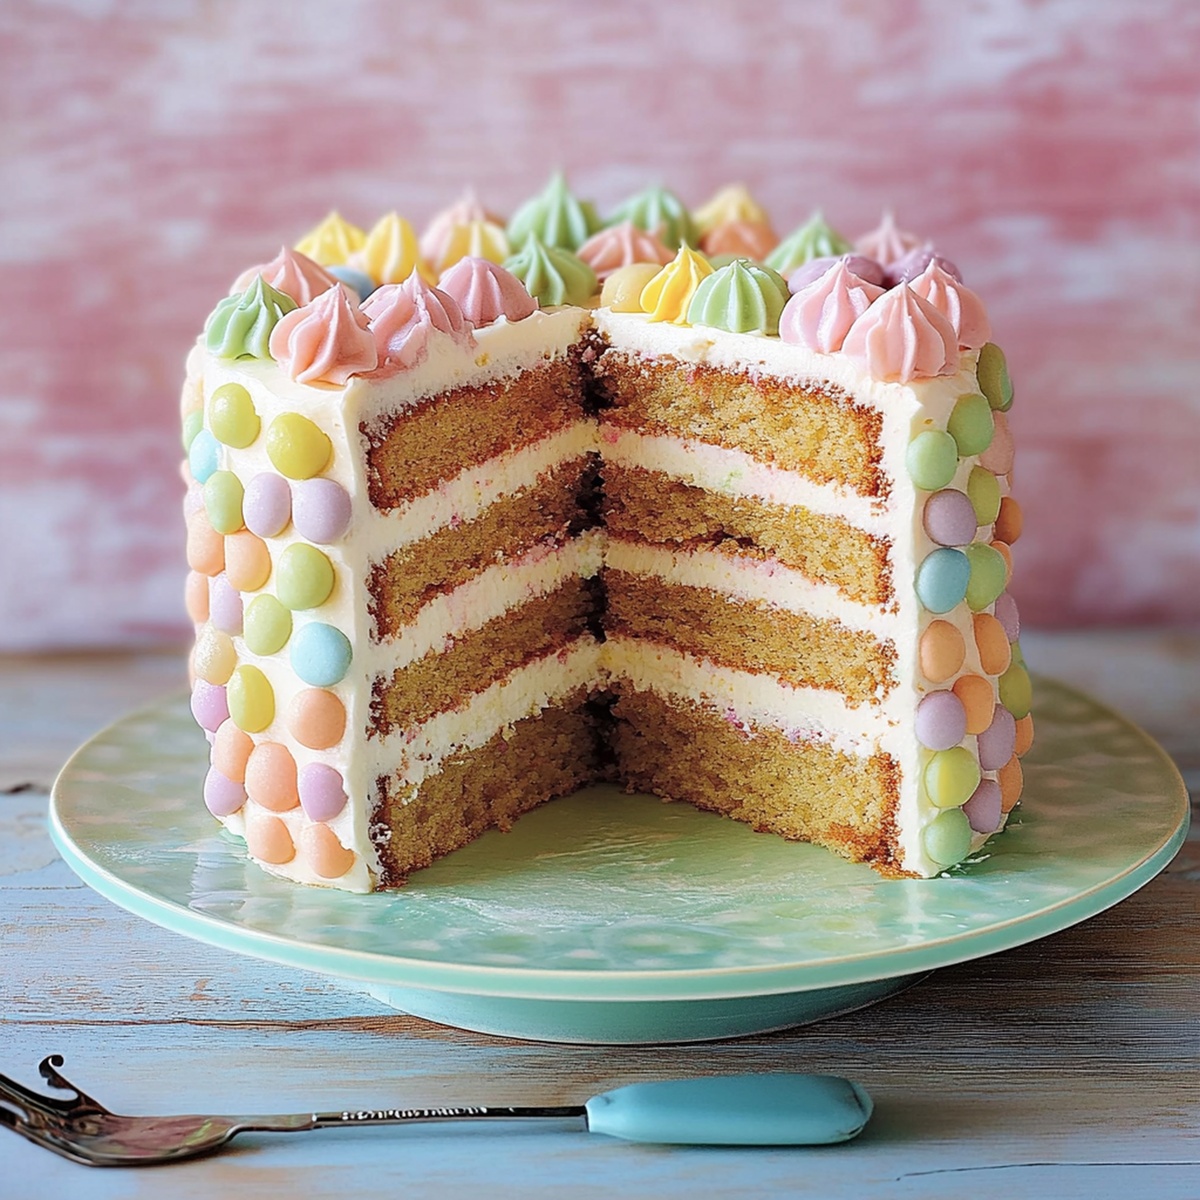
Colorful swirls of buttercream dance between soft, pillowy sponge sections that promise pure delight.
Baking becomes an artistic adventure with each carefully tinted layer representing a playful spectrum of flavor.
Crafting this dessert requires patience and precision, but the magical result will spark joy in every guest.
Whimsical and bright, the cake stands as a centerpiece that transforms ordinary celebrations into extraordinary moments.
Kids and adults alike will marvel at the stunning visual surprise waiting beneath the frosted exterior.
You can create this spectacular treat that turns an average afternoon into a celebration of color and happiness.
Rainbow Cake Celebration for Any Occasion

Rainbow Cake Ingredient Rainbow Check
Cake Base Ingredients:Wet Ingredients:Decorative Ingredients:Layering and Baking a Vivid Rainbow Cake
Step 1: Warm Up the Cooking Space
Crank the oven to a toasty 350F (175C).
Grab your cake pans and give them a generous butter or cooking spray massage to prevent sticking.
Step 2: Create Your Dry Foundation
Grab a large mixing bowl and toss in:Whisk these ingredients until they become best friends and look perfectly blended.
Step 3: Whip Up the Butter Magic
Take softened butter and beat it in a separate bowl until it becomes light and fluffy like a cloud.
Slowly incorporate your dry ingredient mixture into the butter, stirring gently and consistently.
Step 4: Introduce Liquid Companions
Add eggs one by one, mixing thoroughly after each addition.
Pour in milk and continue stirring until the batter looks smooth and silky.
Step 5: Create Rainbow Magic
Divide your batter into six separate bowls.
Unleash your inner artist by adding different gel food colors to each bowl – think vibrant red, sunny yellow, deep blue, bright green, rich purple, and hot pink.
Step 6: Bake Your Colorful Masterpiece
Pour each colored batter into prepared cake pans.
Slide the pans into the preheated oven and bake for 25-30 minutes.
Check doneness by inserting a toothpick – it should come out clean.
Step 7: Cool and Decorate
Let the cakes cool completely on a wire rack.
Once cooled, frost with your favorite icing and marvel at your rainbow creation.
Tips for Even, Brilliant Rainbow Layers
Storing and Slicing Rainbow Cake
Pairing Drinks and Toppings with Rainbow Cake
Creative Themes for Rainbow Cake Variations
FAQs
Gel food colors are recommended because they provide vibrant, intense colors without changing the cake batter’s consistency and they mix more evenly into the batter.
Natural food colors work but might produce less intense colors and could slightly alter the cake’s taste. Artificial gel colors give the brightest, most consistent rainbow effect.
You’ll need six separate bowls for dividing the batter, three round cake pans, gel food colors, and a mixer. Standard baking tools are sufficient for creating this colorful dessert.
Grease the cake pans thoroughly with butter or cooking spray and consider lining the bottom with parchment paper to ensure easy cake removal after baking.
Print
Rainbow Cake Recipe
- Total Time: 50 minutes
- Yield: 12 1x
Description
Colorful layers of Rainbow Cake bring joy to any celebration, spreading delight with each vibrant slice. Sweet, moist, and playful, this dessert promises smiles and excitement for anyone craving a whimsical treat you’ll want to share.
Ingredients
Main Dry Ingredients:
- 2 1/2 cups cake flour
- 1 1/2 cups granulated sugar
- 1 tablespoon baking powder
- 1/2 teaspoon salt
Wet Ingredients:
- 1 cup unsalted butter (softened)
- 5 large eggs (room temperature)
- 1 cup whole milk (or buttermilk)
Coloring:
- Gel food coloring (red, orange, yellow, green, blue, purple)
Instructions
- Carefully calibrate oven temperature to 350F (175C) and prepare three round cake pans with generous butter coating.
- Combine dry ingredients in a mixing vessel, creating a uniform powder mixture of cake flour, sugar, baking powder, and salt.
- Transform softened butter into a creamy, aerated texture using an electric mixer, then gradually integrate the dry ingredient mixture.
- Incorporate eggs individually, ensuring complete blending after each addition, then introduce milk and mix until achieving a silky, consistent batter.
- Strategically separate the batter into six equal portions, utilizing gel food colors to transform each section into vibrant, distinct hues.
- Distribute the rainbow-colored batters evenly across prepared pans, maintaining careful color separation and balanced layer thickness.
- Position pans in preheated oven and bake for 25-30 minutes, monitoring doneness by inserting a clean toothpick that emerges without raw batter residue.
- Remove cakes from oven and allow complete cooling on wire racks to prevent moisture accumulation and ensure stable structural integrity.
- Apply preferred frosting technique, creating a visually stunning and delectable multi-layered rainbow cake.
Notes
- Adjust food coloring intensity by adding drops gradually to achieve vibrant, uniform layer colors without compromising batter texture.
- Ensure cake layers are completely cooled before stacking to prevent frosting from melting and maintain structural integrity.
- Use gel food coloring instead of liquid versions for more saturated colors and minimal batter liquid disruption.
- Freeze cake layers briefly before assembling to make frosting and stacking easier and prevent crumbling.
- Prep Time: 20 minutes
- Cook Time: 30 minutes
- Category: Desserts
- Method: Baking
- Cuisine: American
Nutrition
- Serving Size: 12
- Calories: 350
- Sugar: 25 g
- Sodium: 150 mg
- Fat: 15 g
- Saturated Fat: 9 g
- Unsaturated Fat: 4 g
- Trans Fat: 0 g
- Carbohydrates: 50 g
- Fiber: 1 g
- Protein: 5 g
- Cholesterol: 70 mg
Jack Sullivan
Founder & Culinary Storyteller
Expertise
Single-recipe development with a narrative approach, Culinary storytelling and food history, Seasonal and regional ingredient utilization, Home cooking techniques adapted for modern kitchens
Education
New England Culinary Institute (Montpelier, VT)
Certificate in Culinary Arts
Focused on farm-to-table cooking, sustainable practices, and modern plating techniques.
Asheville-Buncombe Technical Community College
Associate Degree in Culinary Arts
Emphasized Southern Appalachian cuisine and local ingredient sourcing.
Jack grew up surrounded by smoky skillets and handwritten recipes in the mountains of North Carolina. His roots in Appalachian cooking shaped the way he sees food – as something that connects people, tells a story, and holds meaning.
With hands-on training and a background in sustainable, regional cooking, Jack started Boil And Broil to make meaningful meals more accessible. He’s all about one-dish recipes that are simple to follow but rich with flavor and history.