
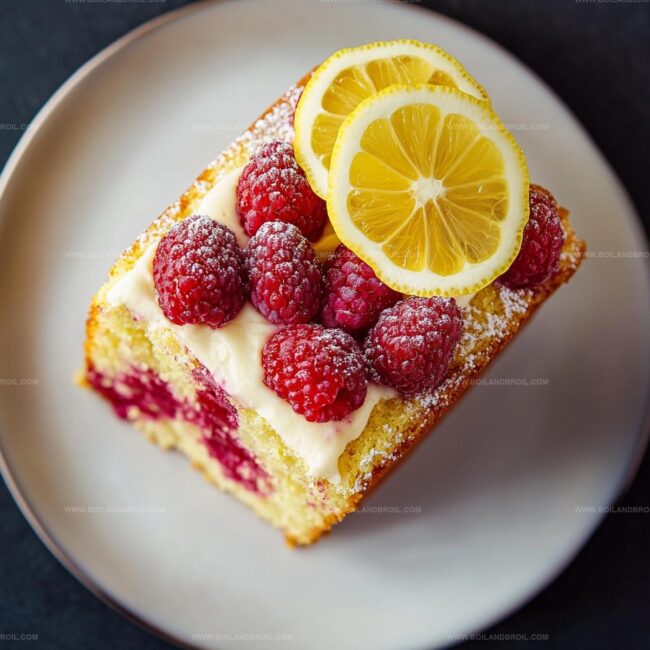
Simple & Zesty Raspberry Lemon Loaf Cake Recipe For Bakers
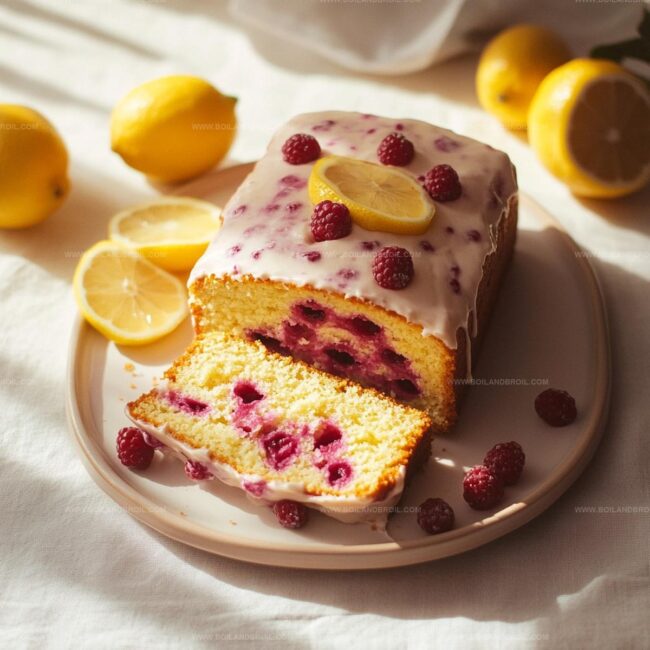
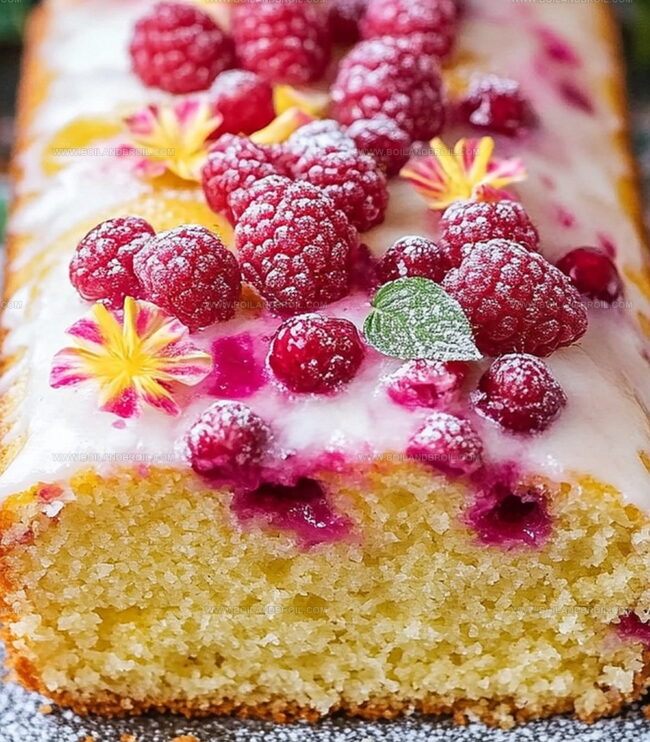
Fresh summer breezes whisper promises of a delightful raspberry lemon loaf cake that sings with bright, zesty flavors.
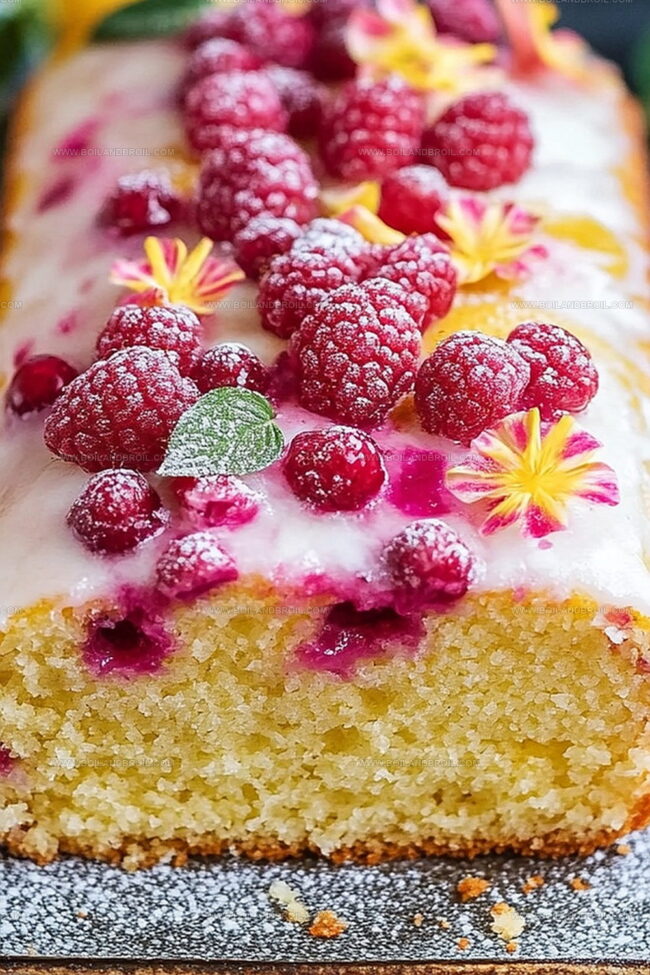
Sunshine-kissed berries dance through soft, tender crumbs, creating a symphony of sweet and tangy notes.
Subtle hints of citrus weave magical threads throughout each slice, inviting pure culinary joy.
Baking this treat feels like capturing a moment of pure happiness in your kitchen.
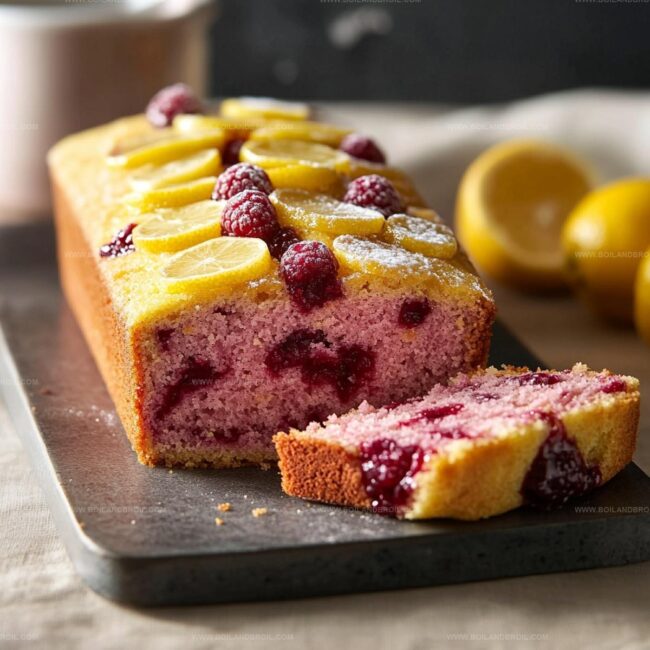
Delicate crackles emerge from the golden crust, promising incredible texture with every bite.
Sweet memories blend seamlessly with simple ingredients you already know and love.
You’ll want to slice this gorgeous loaf and share its irresistible charm with everyone around you.
Raspberry Lemon Loaf Cake with a Tangy Touch
Ingredients Behind Raspberry Lemon Loaf Cake
Dry Ingredients:Wet Ingredients:Fruit and Finishing Ingredients:Mixing and Baking Raspberry Lemon Loaf Cake
Step 1: Prep the Oven and Pan
Heat the oven to 350F (175C).
Grab a loaf pan and coat it with cooking spray or butter.
Line the bottom and sides with parchment paper, allowing some overhang for easy cake removal.
Step 2: Mix Dry Ingredients
Grab a medium bowl and whisk together flour, baking powder, and salt until perfectly combined.
Set this mixture aside for later.
Step 3: Cream Butter and Sugar
In a large mixing bowl, beat softened butter and sugar until the mixture becomes light, fluffy, and almost cloud-like.
This should take about 2-3 minutes.
Add eggs one at a time, mixing thoroughly after each addition.
Stir in fresh lemon zest and vanilla extract for a burst of flavor.
Step 4: Combine Wet and Dry Mixtures
In a small bowl, blend lemon juice and milk.
Slowly add dry ingredients to the butter mixture, alternating with the milk mixture.
Start and end with dry ingredients.
Mix gently until just combined – avoid overmixing.
Step 5: Prepare Raspberries
Gently toss raspberries with a sprinkle of flour.
This clever trick prevents the berries from sinking to the bottom of the cake during baking.
Step 6: Fold in Raspberries
Carefully fold the flour-coated raspberries into the batter.
Use a gentle hand to distribute them evenly without crushing the delicate fruit.
Step 7: Bake the Cake
Pour the batter into the prepared pan, smoothing the top with a spatula.
Slide the pan into the preheated oven and bake for 50-60 minutes.
The cake is done when a toothpick inserted into the center comes out clean.
Step 8: Cool and Release
Allow the cake to rest in the pan for 10 minutes.
Then use the parchment paper edges to lift the cake onto a wire rack for complete cooling.
Step 9: Create Lemon Glaze
Whisk powdered sugar and lemon juice in a small bowl until you achieve a smooth, drizzle-worthy consistency.
Pour the glaze over the completely cooled cake.
For an extra pop of flavor, sprinkle some additional lemon zest on top.
Little Extras for Raspberry Lemon Loaf Cake Success
Save and Slice Raspberry Lemon Loaf Cake Smoothly

Complement Raspberry Lemon Loaf Cake with These
Swaps and Styles for Raspberry Lemon Loaf Cake
FAQs
Tossing raspberries in flour helps prevent them from sinking to the bottom of the cake during baking. The light coating of flour creates a barrier that keeps the berries suspended in the batter, ensuring an even distribution throughout the loaf.
Yes, you can use frozen raspberries, but don’t thaw them first. Add the frozen raspberries directly to the batter, still coated with flour. This helps prevent color bleeding and maintains the berries’ shape during baking.
Insert a toothpick into the center of the cake. If it comes out clean or with just a few moist crumbs, the cake is done. Avoid overbaking, as this can make the cake dry and tough. The baking time is typically 50-60 minutes at 350F.
The combination of fresh lemon zest and lemon juice provides a vibrant, citrusy flavor throughout the cake. The zest contains essential oils that add intense lemon flavor, while the juice adds brightness and helps balance the sweetness of the cake.
Print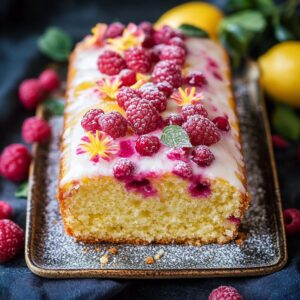
Raspberry Lemon Loaf Cake Recipe
- Total Time: 1 hour 15 minutes
- Yield: 8 1x
Description
Indulgent raspberry lemon loaf cake brings Mediterranean sunshine into your kitchen with its zesty, sweet profile. Delicate crumb and bright flavors promise a delightful dessert experience you’ll savor from first bite to last.
Ingredients
Main Ingredients:
- 1 1/2 cups (192 grams) all-purpose flour
- 1 1/2 cups (180 grams) fresh raspberries
- 1 cup (200 grams) granulated sugar
- 2 large eggs
- 1/2 cup (113 grams) unsalted butter, softened
Liquid and Flavoring Ingredients:
- 1/2 cup (120 milliliters) whole milk
- 1/3 cup (80 milliliters) fresh lemon juice (about 2 lemons)
- 1 teaspoon vanilla extract
- 2 lemons zest
- 1 lemon zest (optional for extra flavor)
Dry and Coating Ingredients:
- 1 teaspoon baking powder
- 1/4 teaspoon salt
- 1 tablespoon flour (to coat raspberries)
- 1 cup (120 grams) powdered sugar
- 2–3 tablespoons fresh lemon juice
Instructions
- Prepare the oven by heating to 350F (175C). Coat a 9×5-inch loaf pan with butter and line with parchment paper, allowing overhang for easy extraction.
- Sift flour, baking powder, and salt together in a medium mixing bowl. Create a fine, uniform dry mixture.
- Using an electric mixer, cream butter and sugar until pale and voluminous, approximately 3 minutes. Incorporate eggs individually, ensuring thorough blending after each addition. Mix in lemon zest and vanilla extract until evenly distributed.
- Combine lemon juice and milk in a separate container. Alternate adding dry ingredients and milk mixture to the butter blend, beginning and concluding with dry ingredients. Mix gently to maintain batter’s delicate texture.
- Coat raspberries lightly with flour to prevent sinking during baking. This technique ensures even fruit distribution throughout the loaf.
- Delicately fold raspberries into batter, using minimal stirring to preserve fruit integrity and prevent color bleeding.
- Transfer batter to prepared pan, smoothing the surface for even baking. Bake for 55-65 minutes, checking doneness with a toothpick that should emerge clean when inserted into cake’s center.
- Allow cake to rest in pan for 15 minutes, then carefully lift using parchment paper edges. Transfer to wire rack for complete cooling.
- Whisk powdered sugar and lemon juice until achieving a glossy, smooth glaze. Drizzle generously over cooled cake, garnishing with additional lemon zest for vibrant presentation.
Notes
- Prevent raspberry sinking by gently coating berries in flour before folding into batter, ensuring even distribution and preventing bottom-heavy cake.
- Create extra moisture by using room temperature eggs and butter, which blend more smoothly and create a softer, more tender crumb.
- Adjust sweetness levels by reducing sugar or substituting with alternative sweeteners like honey or maple syrup for a healthier version.
- Enhance flavor complexity by adding a pinch of cardamom or replacing vanilla extract with almond extract for subtle depth and intrigue.
- Prep Time: 20 minutes
- Cook Time: 55 minutes
- Category: Desserts, Snacks
- Method: Baking
- Cuisine: American
Nutrition
- Serving Size: 8
- Calories: 320
- Sugar: 30 g
- Sodium: 150 mg
- Fat: 15 g
- Saturated Fat: 9 g
- Unsaturated Fat: 5 g
- Trans Fat: 0 g
- Carbohydrates: 42 g
- Fiber: 1 g
- Protein: 4 g
- Cholesterol: 70 mg
Jack Sullivan
Founder & Culinary Storyteller
Expertise
Single-recipe development with a narrative approach, Culinary storytelling and food history, Seasonal and regional ingredient utilization, Home cooking techniques adapted for modern kitchens
Education
New England Culinary Institute (Montpelier, VT)
Certificate in Culinary Arts
Focused on farm-to-table cooking, sustainable practices, and modern plating techniques.
Asheville-Buncombe Technical Community College
Associate Degree in Culinary Arts
Emphasized Southern Appalachian cuisine and local ingredient sourcing.
Jack grew up surrounded by smoky skillets and handwritten recipes in the mountains of North Carolina. His roots in Appalachian cooking shaped the way he sees food – as something that connects people, tells a story, and holds meaning.
With hands-on training and a background in sustainable, regional cooking, Jack started Boil And Broil to make meaningful meals more accessible. He’s all about one-dish recipes that are simple to follow but rich with flavor and history.