Heavenly Red Velvet Cheesecake Balls Recipe: Sweet Bites of Joy
Sweet treats sometimes surprise us, and these red velvet cheesecake balls spark pure joy for dessert enthusiasts.
Creamy textures blend perfectly with rich chocolate undertones.
Delicate crumbs merge into smooth spheres that look absolutely stunning.
Chocolate lovers will appreciate the decadent combination of classic red velvet and cheesecake flavors.
Guests always marvel at these elegant bite-sized delights that seem complex but come together effortlessly.
Each ball delivers a perfect balance of tangy cream cheese and sweet cocoa notes.
You’ll want to save this recipe for special moments when indulgence calls.
Prepare to delight everyone with these irresistible little gems that promise pure happiness.
Red Velvet Cheesecake Balls: Dessert That Delivers Joy
All You Need for Red Velvet Cheesecake Balls
Cake Base:Cheesecake Filling:Preparation Extras:How to Make Red Velvet Cheesecake Balls Step by Step
Step 1: Prepare Red Velvet Cake Base
Mix the red velvet cake mix with eggs, vegetable oil, and warm water in a large mixing bowl.
Whisk thoroughly until the batter becomes completely smooth and free of lumps.
The mixture should have a vibrant red color and silky consistency.
Step 2: Bake the Cake Layer
Grease a baking pan and pour the prepared batter evenly.
Place in the preheated oven at 350F (175C) and bake for 25-30 minutes.
Check doneness by inserting a toothpick into the center – it should come out clean.
Remove from oven and let cool completely on a wire rack.
Step 3: Create Creamy Cheesecake Filling
In a separate mixing bowl, combine:Beat the ingredients until the mixture becomes smooth and well-blended.
The filling should have a rich, creamy texture with a soft pink hue.
Step 4: Form Delectable Cake Balls
Crumble the cooled red velvet cake into fine, even crumbs.
Mix half of the cheesecake filling into the cake crumbs until thoroughly incorporated.
Gently roll the mixture into small, uniform balls using your hands.
Step 5: Chill and Serve
Arrange the cake balls on a parchment-lined tray.
Refrigerate for at least one hour to allow them to firm up.
The chilling process helps the balls maintain their shape and enhances their flavor.
Tips for Rolling Perfect Red Velvet Cheesecake Balls
Best Storage for Red Velvet Cheesecake Balls
Red Velvet Cheesecake Ball Pairings
Fun Ways to Dress Up Red Velvet Cheesecake Balls
FAQs
The combination of red velvet cake mix, cream cheese filling, and red food coloring creates a rich, vibrant dessert with a distinct flavor and stunning red color.
Absolutely! These bite-sized treats are perfect for parties, gatherings, holidays, and dessert tables due to their elegant appearance and delicious taste.
Yes, you can prepare these balls in advance and store them in the refrigerator for 2-3 days before serving, which makes them great for meal prep and planning.
Not at all! This recipe is beginner-friendly and requires basic baking techniques like mixing, baking a cake, and rolling mixture into balls.
Print
Red Velvet Cheesecake Balls Recipe
- Total Time: 45 minutes
- Yield: 24 1x
Description
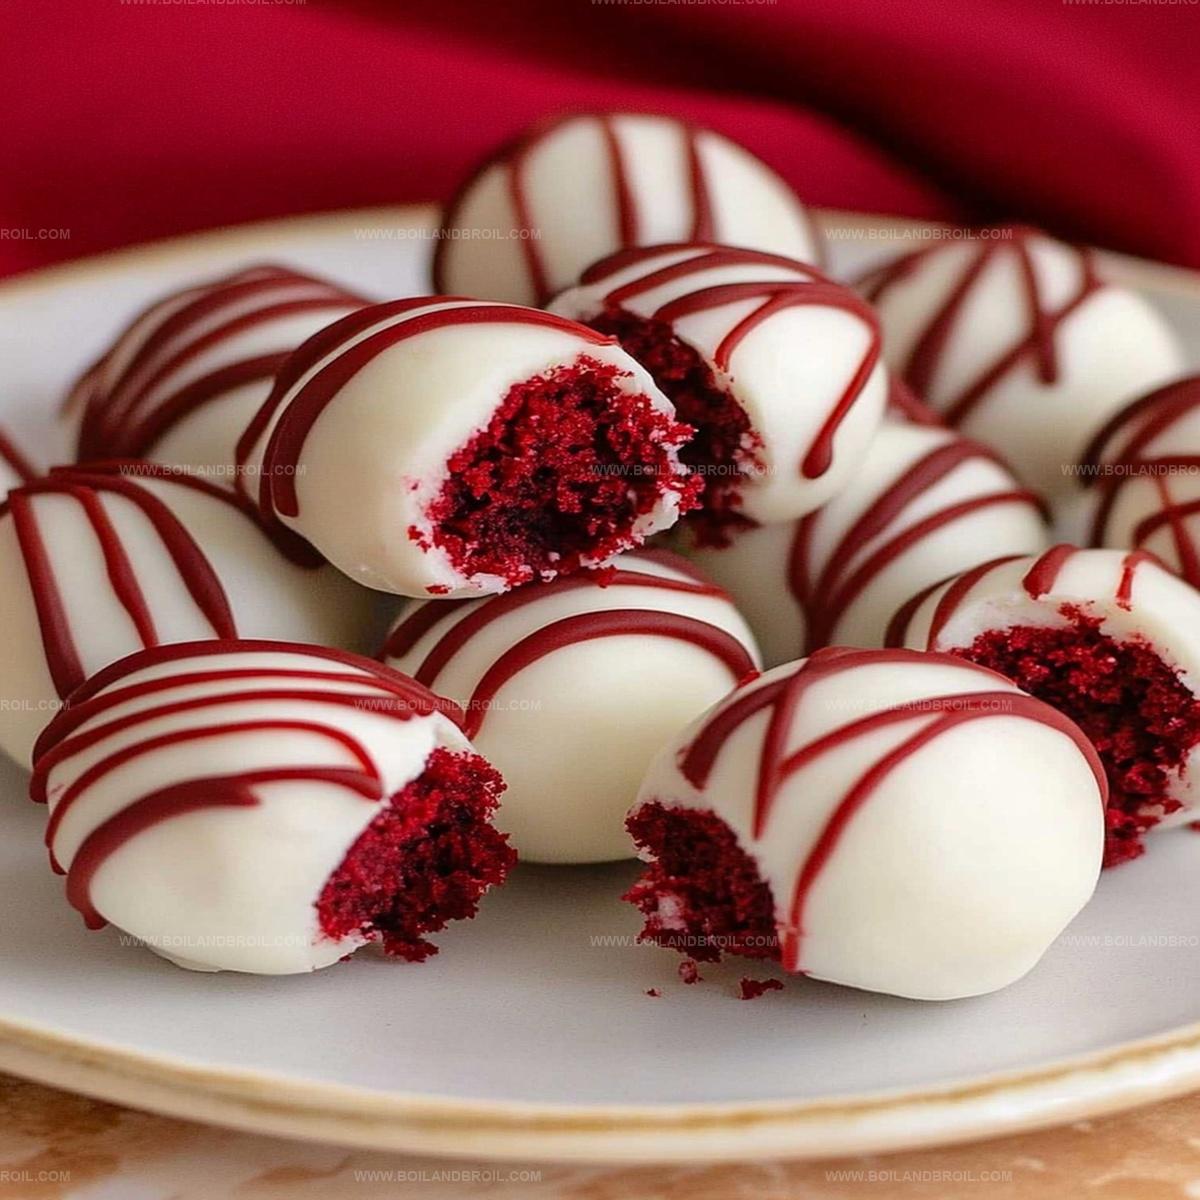
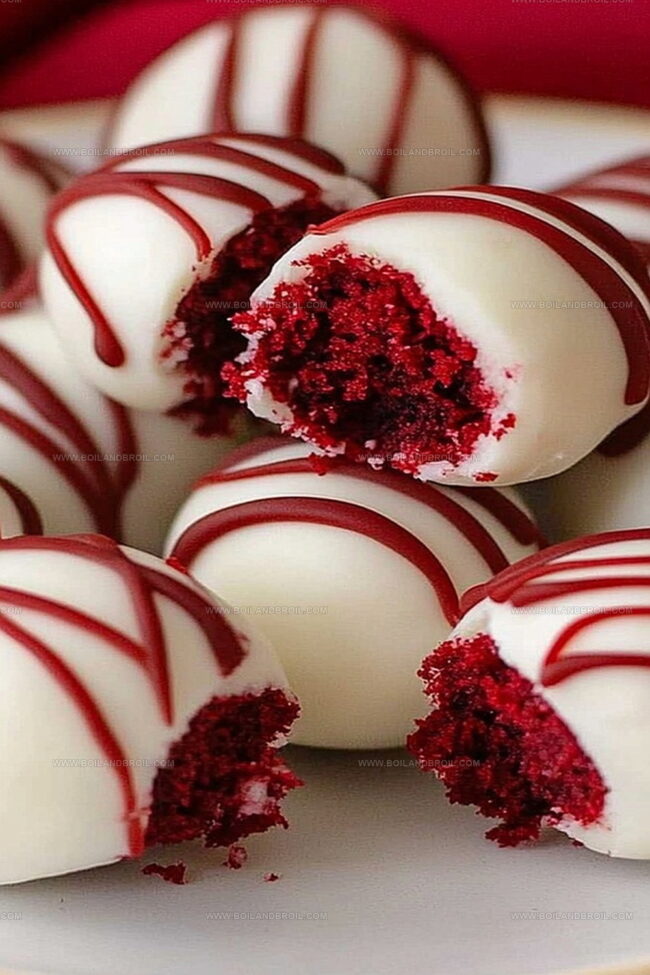
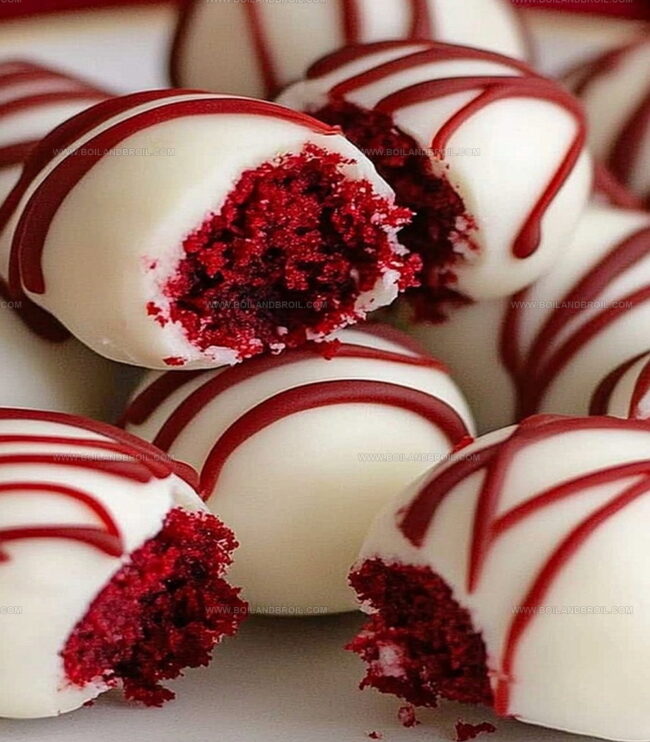
Indulgent red velvet cheesecake balls combine classic Southern charm with creamy cheesecake bliss. Guests will swoon over these bite-sized delights that blend rich cocoa, tangy cream cheese, and smooth chocolate coating for an irresistible dessert experience.
Ingredients
Cake Base:
- 1 box (15.25 ounces / 432 grams) red velvet cake mix
- 2 large eggs
- 1/2 cup (120 milliliters) vegetable oil
- 1 cup (240 milliliters) warm water
Filling:
- 8 ounces (226 grams) cream cheese, softened
- 1 cup (120 grams) powdered sugar
- 1 teaspoon vanilla extract
Decoration:
- 3 drops red food coloring
Instructions
- Prepare the red velvet cake base by combining cake mix, eggs, vegetable oil, and warm water in a mixing bowl, whisking until achieving a uniform, velvety texture.
- Transfer the batter into a greased baking pan, spreading evenly, and bake at 350F (175C) for 25-30 minutes, ensuring doneness by inserting a toothpick that comes out clean.
- Allow the cake to cool completely on a wire rack, then gently crumble into fine, even-sized crumbs.
- Create the creamy cheesecake filling by blending cream cheese, powdered sugar, vanilla extract, and red food coloring until smooth and well-incorporated.
- Fold half of the cheesecake mixture into the cake crumbs, mixing thoroughly to create a cohesive, moldable consistency.
- Using clean hands, shape the mixture into uniform small balls, rolling gently to ensure compact formation.
- Arrange the formed balls on a parchment-lined tray, then refrigerate for a minimum of one hour to firm up and enhance flavor melding.
- Optional: Before serving, roll the chilled balls in additional coating like crushed nuts, cocoa powder, or melted chocolate for extra texture and visual appeal.
Notes
- Ensure cake crumbs are fine and uniform for smooth, consistent texture in the balls.
- Use chilled cream cheese for easier mixing and better structural integrity of the filling.
- Wear disposable gloves when rolling balls to prevent mixture from sticking to hands and maintain a clean, professional appearance.
- Experiment with alternative coatings like crushed nuts, cocoa powder, or white chocolate drizzle for added flavor complexity and visual appeal.
- Prep Time: 15 minutes
- Cook Time: 30 minutes
- Category: Desserts, Snacks
- Method: Baking
- Cuisine: American
Nutrition
- Serving Size: 24
- Calories: 150
- Sugar: 8 g
- Sodium: 150 mg
- Fat: 7 g
- Saturated Fat: 2 g
- Unsaturated Fat: 5 g
- Trans Fat: 0 g
- Carbohydrates: 20 g
- Fiber: 0 g
- Protein: 2 g
- Cholesterol: 25 mg
Jack Sullivan
Founder & Culinary Storyteller
Expertise
Single-recipe development with a narrative approach, Culinary storytelling and food history, Seasonal and regional ingredient utilization, Home cooking techniques adapted for modern kitchens
Education
New England Culinary Institute (Montpelier, VT)
Certificate in Culinary Arts
Focused on farm-to-table cooking, sustainable practices, and modern plating techniques.
Asheville-Buncombe Technical Community College
Associate Degree in Culinary Arts
Emphasized Southern Appalachian cuisine and local ingredient sourcing.
Jack grew up surrounded by smoky skillets and handwritten recipes in the mountains of North Carolina. His roots in Appalachian cooking shaped the way he sees food – as something that connects people, tells a story, and holds meaning.
With hands-on training and a background in sustainable, regional cooking, Jack started Boil And Broil to make meaningful meals more accessible. He’s all about one-dish recipes that are simple to follow but rich with flavor and history.