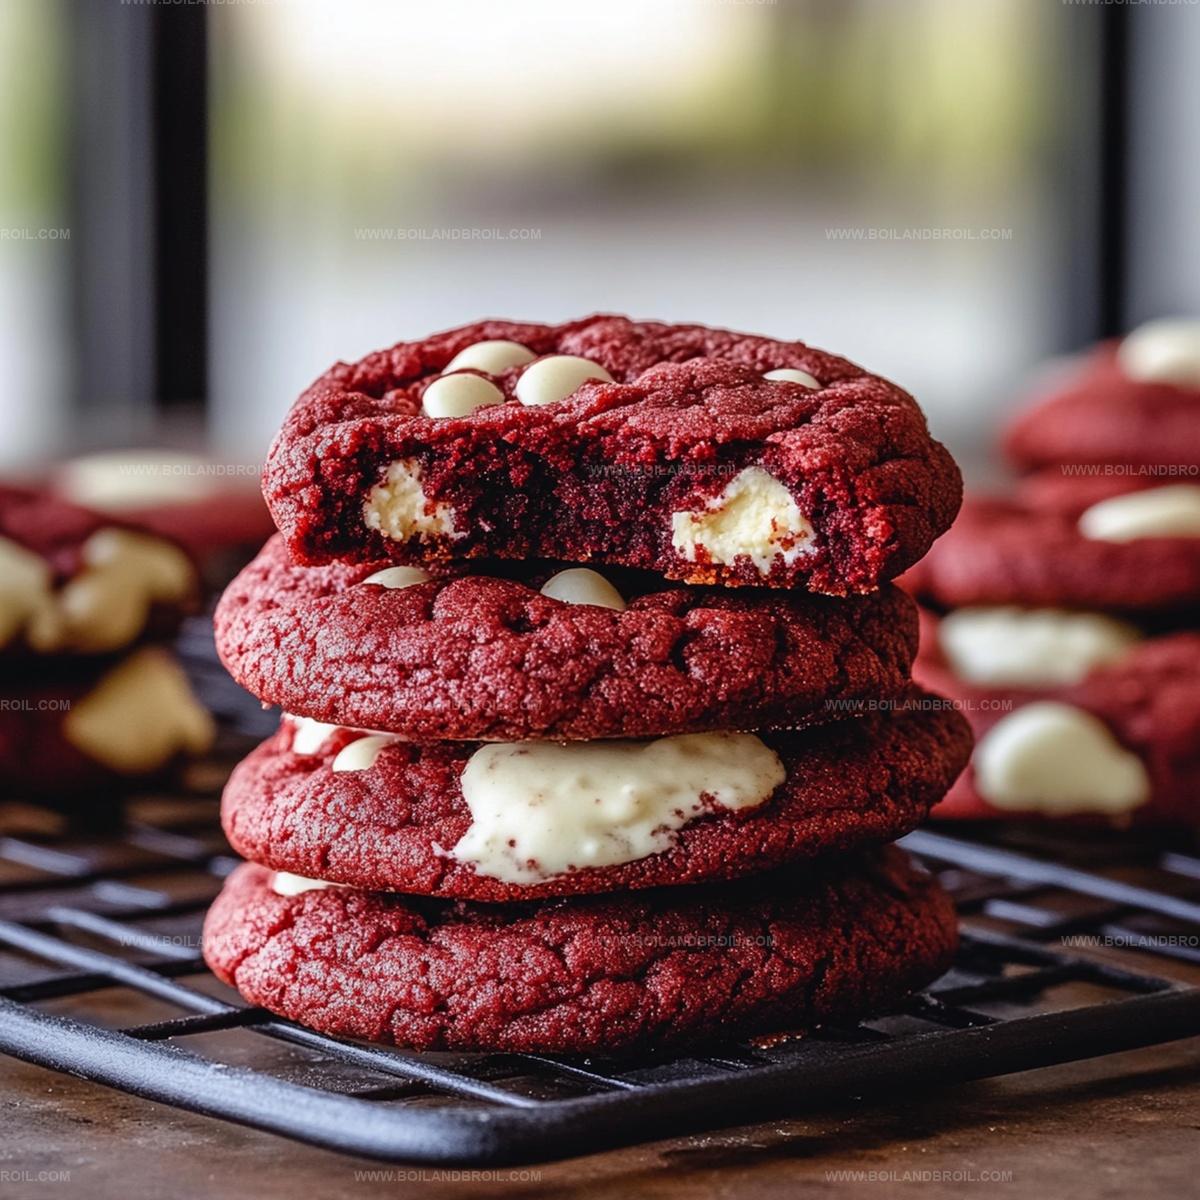
Irresistible Red Velvet Cheesecake Cookies Recipe for Sweet Lovers
Sweet dreams come alive with these red velvet cheesecake cookies that melt effortlessly on your tongue.
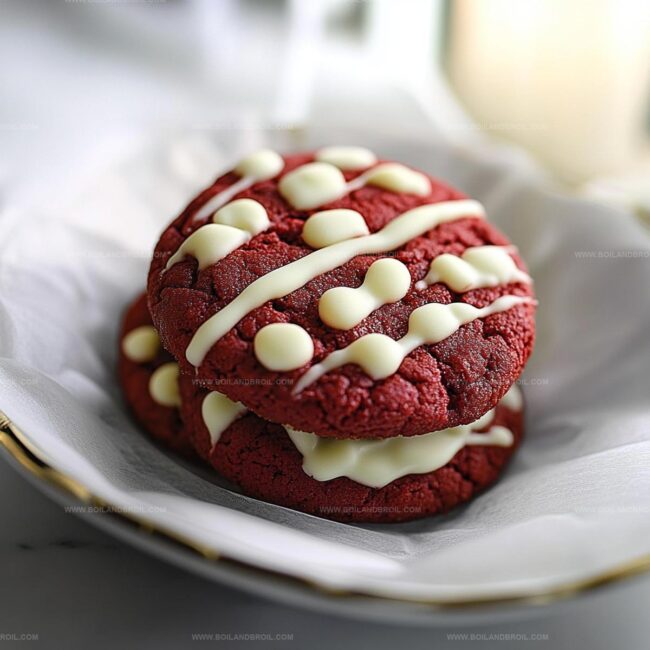
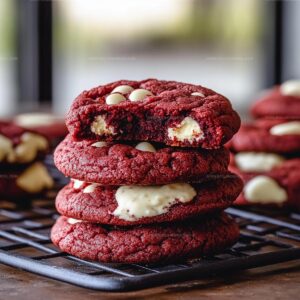
Crimson-hued delights promise pure indulgence in every single bite.
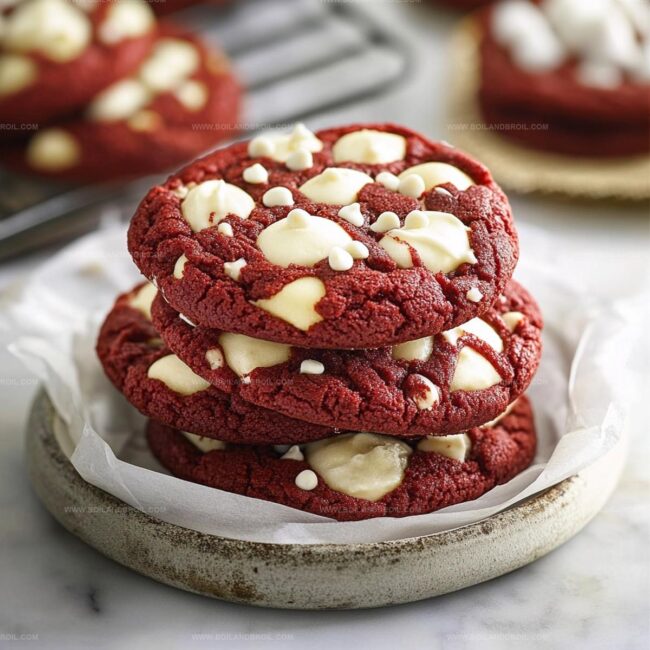
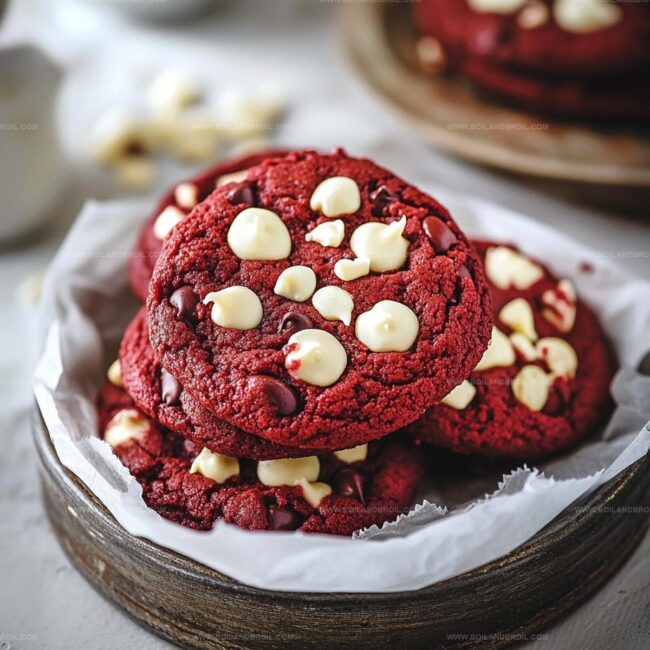
Cream cheese centers create unexpected pockets of rich, silky smoothness.
Chocolate undertones dance beautifully within each tender morsel.
Baking enthusiasts will adore how simple ingredients combine into something magical.
Soft edges and decadent centers make these cookies impossible to resist.
You absolutely need to experience this delightful dessert adventure.
Versions to Switch Up Red Velvet Cookie Flavors

FAQs

The red food coloring gives the classic red velvet color and signature look to the cookies, creating a vibrant and visually appealing dessert that’s instantly recognizable.
While you can experiment, the cream cheese filling is crucial for creating the cheesecake element. Substituting it might change the texture and flavor profile of the cookies significantly.
White vinegar helps activate the baking soda and contributes to the tender texture of the cookies, a traditional technique in red velvet recipes that adds a subtle tangy note and helps create a soft crumb.
The white chocolate adds richness and helps stabilize the cheesecake filling, but you could omit it if needed. However, it does enhance the overall flavor and creamy texture of the filling.
Red Velvet Cookies with Creamy Cheesecake Centers

Ingredients for Red Velvet Cheesecake Cookies
Dry Ingredients:Wet Ingredients:Cheesecake Filling:Baking These Soft, Cheesecake-Filled Cookies

Step 1: Warm Up the Oven
Turn on the oven and set the temperature to 350°F (175°C).
This ensures the perfect baking environment for your delicious cookies.
Step 2: Create the Dry Base
In a medium bowl, whisk together the dry ingredients to create a smooth, well-combined mixture:Step 3: Whip Up the Wet Mixture
Using a large bowl, cream together the wet ingredients until they become light and fluffy:Add in the additional wet ingredients and mix thoroughly:Step 4: Merge the Mixtures
Slowly incorporate the dry ingredients into the wet mixture.
Stir gently until everything is just combined, being careful not to overmix.
Step 5: Craft the Cheesecake Filling
In a separate bowl, blend the cheesecake filling ingredients until silky smooth:Gently fold in the melted white chocolate.
Step 6: Shape the Cookies
Scoop out tablespoon-sized portions of the red velvet dough.
Flatten each portion slightly, then place a teaspoon of cheesecake filling in the center.
Carefully wrap the dough around the filling, rolling it into a perfect ball.
Arrange the cookies on a parchment-lined baking sheet.
Step 7: Bake to Perfection
Slide the baking sheet into the preheated oven.
Bake for 10-12 minutes until the edges look set and slightly crisp.
Let the cookies rest on the baking sheet for 5 minutes, then transfer to a wire rack to cool completely.
Tips for Even Baking and Perfect Texture
Storing Red Velvet Cookies for Maximum Freshness
Pairing Ideas for Red Velvet Cheesecake Cookies
Red Velvet Cheesecake Cookies Recipe
- Total Time: 32 minutes
- Yield: 24 1x
Description
Red velvet cheesecake cookies blend luxurious dessert magic into one irresistible sweet treat. Creamy cheesecake filling nestled inside rich red velvet dough creates a delightful indulgence you’ll crave again and again.
Ingredients
Main Ingredients:
- 1 cup unsalted butter, softened
- 8 ounces (226 grams) cream cheese, softened
- 1 cup granulated sugar
- 1/2 cup brown sugar, packed
- 1 large egg
Dry Ingredients:
- 2 cups all-purpose flour
- 2 tablespoons unsweetened cocoa powder
- 1 teaspoon baking soda
- 1/2 teaspoon salt
- 1/2 cup powdered sugar
Flavor and Coloring Ingredients:
- 1 tablespoon red food coloring
- 1 teaspoon vanilla extract
- 1 teaspoon white vinegar
- 1/2 cup white chocolate chips, melted
Instructions
- Prepare the oven environment by heating to 350F (175C), ensuring a consistent temperature for optimal baking.
- Combine flour, cocoa powder, baking soda, and salt in a medium bowl, whisking thoroughly to eliminate potential lumps and distribute ingredients evenly.
- Create a creamy base by beating butter and sugars until achieving a light, airy texture. Incorporate egg, red food coloring, vanilla extract, and white vinegar, blending until a uniform mixture forms.
- Gently fold dry ingredients into the wet mixture, stirring minimally to prevent overmixing and maintain a tender cookie texture.
- Craft the cheesecake filling by whipping cream cheese with powdered sugar and vanilla extract until silky smooth. Integrate melted white chocolate, creating a rich, decadent center.
- Craft each cookie by portioning red velvet dough, creating a small indentation, and nestling a dollop of cheesecake filling in the center. Carefully envelop the filling, rolling into perfect spheres.
- Arrange cookies on a parchment-lined baking sheet, maintaining adequate spacing. Bake for 10-12 minutes until edges appear set and slightly crisp.
- Allow cookies to rest on the baking sheet for 5 minutes, enabling them to firm up before transferring to a wire rack for complete cooling.
Notes
- Soften cream cheese and butter at room temperature for smooth, lump-free mixing and easier blending.
- Use gel food coloring for more vibrant red color without affecting cookie texture or moisture.
- Chill dough for 30 minutes before forming cookies to prevent spreading and maintain better shape during baking.
- Substitute gluten-free flour blend for a celiac-friendly version without compromising taste or texture.
- Prep Time: 20 minutes
- Cook Time: 12 minutes
- Category: Desserts, Snacks
- Method: Baking
- Cuisine: American
Nutrition
- Serving Size: 24
- Calories: 180
- Sugar: 12 g
- Sodium: 150 mg
- Fat: 9 g
- Saturated Fat: 5 g
- Unsaturated Fat: 4 g
- Trans Fat: 0 g
- Carbohydrates: 23 g
- Fiber: 1 g
- Protein: 2 g
- Cholesterol: 30 mg
Jack Sullivan
Founder & Culinary Storyteller
Expertise
Single-recipe development with a narrative approach, Culinary storytelling and food history, Seasonal and regional ingredient utilization, Home cooking techniques adapted for modern kitchens
Education
New England Culinary Institute (Montpelier, VT)
Certificate in Culinary Arts
Focused on farm-to-table cooking, sustainable practices, and modern plating techniques.
Asheville-Buncombe Technical Community College
Associate Degree in Culinary Arts
Emphasized Southern Appalachian cuisine and local ingredient sourcing.
Jack grew up surrounded by smoky skillets and handwritten recipes in the mountains of North Carolina. His roots in Appalachian cooking shaped the way he sees food – as something that connects people, tells a story, and holds meaning.
With hands-on training and a background in sustainable, regional cooking, Jack started Boil And Broil to make meaningful meals more accessible. He’s all about one-dish recipes that are simple to follow but rich with flavor and history.