
Heavenly Reeses Peanut Butter Poke Cake Recipe for Sweet Tooths
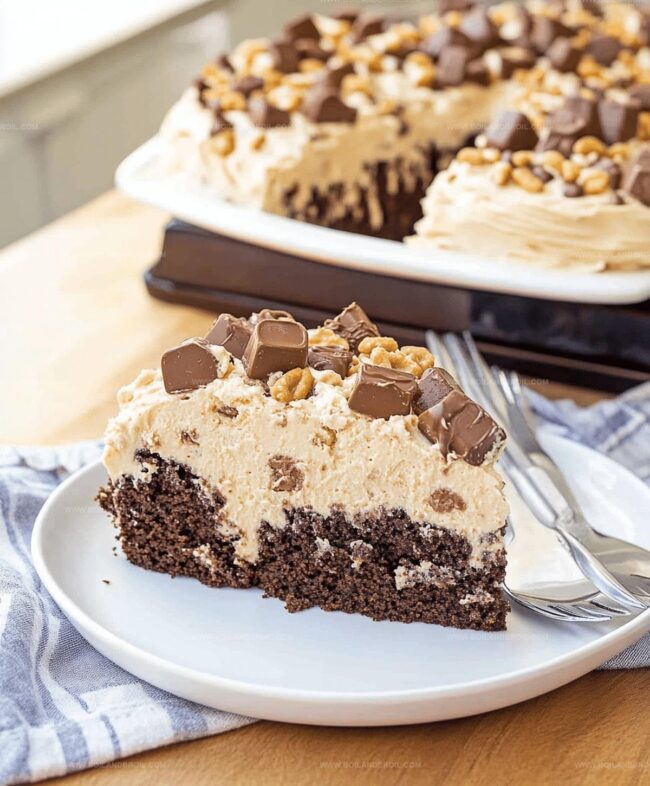
Decadent chocolate cake meets creamy peanut butter in this irresistible Reese’s peanut butter poke cake recipe that promises pure dessert bliss.
Rich layers of moist chocolate cake create the perfect canvas for indulgent peanut butter goodness.
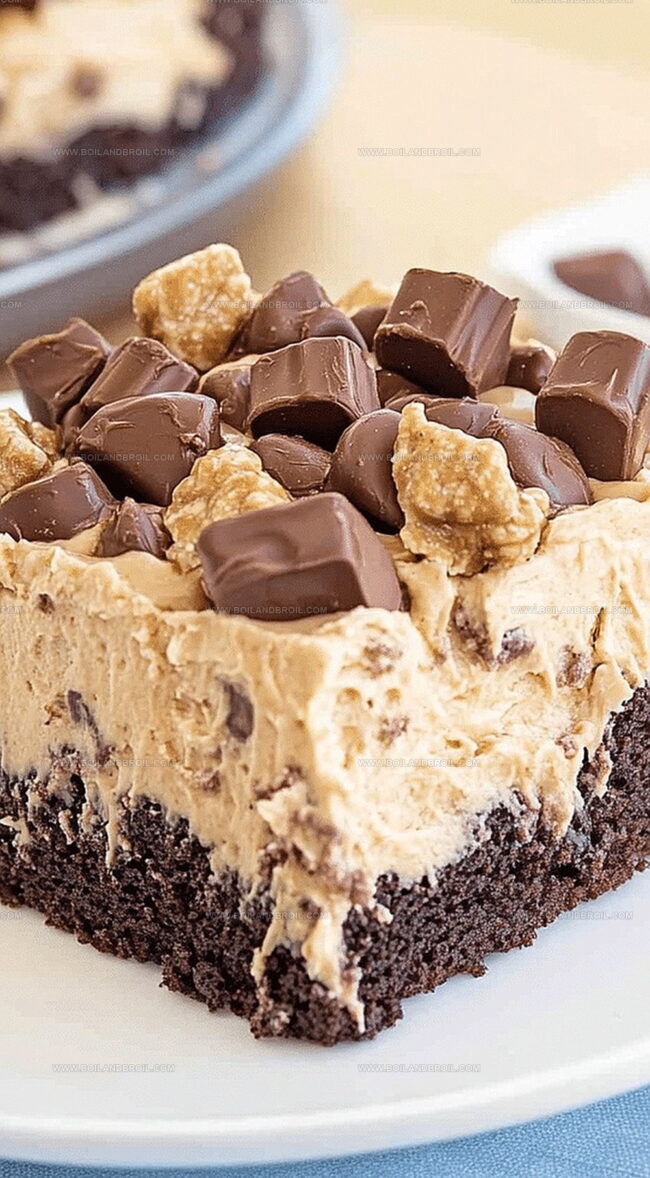
Sweet pockets of caramel and peanut butter drizzle through every slice, making each bite a heavenly experience.
The combination of classic chocolate and nutty peanut butter flavors will make your taste buds dance with joy.
Smooth, creamy, and utterly delicious, this cake transforms an ordinary dessert into a showstopping treat.
peanut butter and chocolate lovers won’t be able to resist this ultimate crowd-pleasing dessert that’s sure to become a new family favorite.
Prepare to fall in love with every single decadent forkful.
What Makes Reeses Poke Cake a Showstopper

Reeses Poke Cake Ingredient List
Base Ingredients:Pudding and Dairy Components:Topping and Garnish:Steps to Bake Reeses Poke Cake
Step 1: Prepare Chocolate Cake Base
Preheat oven to 350°F.
Mix chocolate cake batter according to package directions.
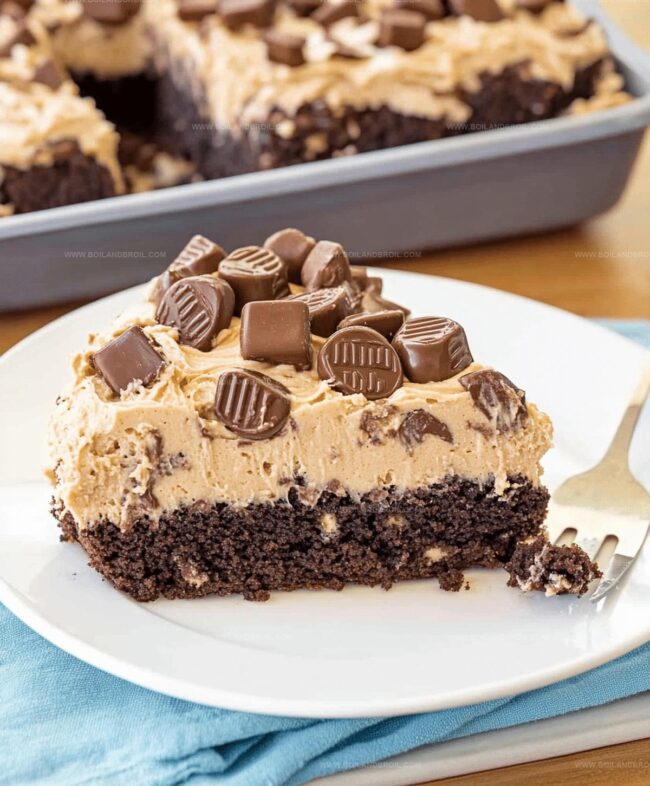
Pour into a greased 9×13-inch baking dish.
Bake until a toothpick inserted comes out clean.
Allow cake to cool for 10 minutes.
Step 2: Create Delicious Holes
Take the handle of a wooden spoon and create holes across the entire cake surface.
Space holes approximately 1 inch apart.
These openings will help absorb all the amazing flavors.
Step 3: Infuse with Fudge Goodness
Warm hot fudge topping until easily pourable.
Carefully pour fudge into each hole.
Use a spoon to distribute excess sauce evenly across the cake surface.
Step 4: Craft Peanut Butter Pudding Mixture
Gather ingredients:Whisk pudding mix and milk until smooth in a mixing bowl.
Microwave peanut butter in short bursts until liquid.
Quickly incorporate peanut butter into pudding mixture.
Step 5: Layer Pudding Generously
Pour peanut butter pudding over the cake.
Gently press pudding into holes using the back of a spoon.
Ensure even distribution across the entire cake surface.
Step 6: Chill and Set
Refrigerate cake for minimum 2 hours to allow flavors to meld and pudding to set completely.
Step 7: Add Creamy Topping
Spread whipped topping across the chilled cake.
Return to refrigerator for additional 2 hours or overnight.
Step 8: Final Decorative Touch
Drizzle with chocolate syrup.
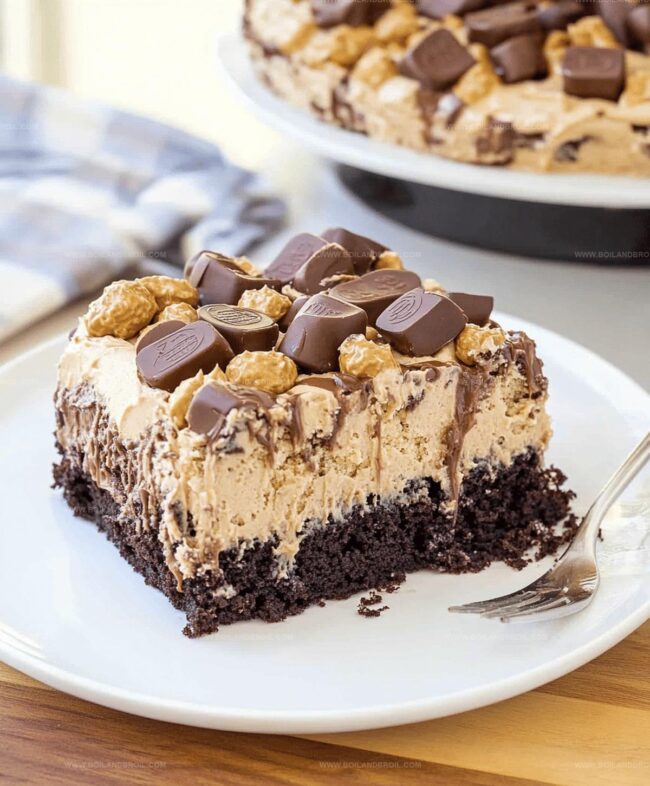
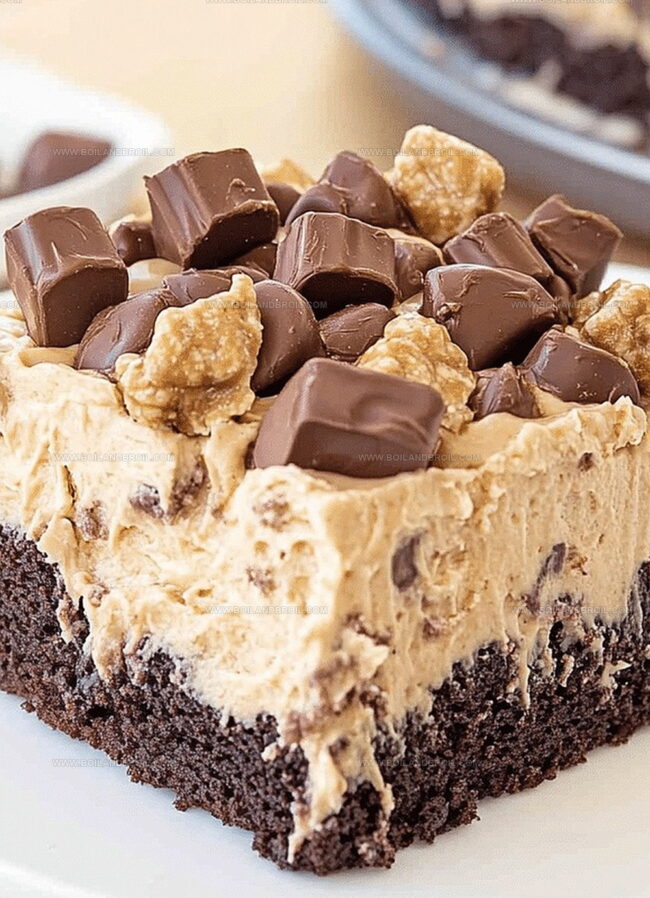
Sprinkle chopped Reese’s cups over the top.
Cut into square servings and indulge in this incredible dessert.
Tips for Perfect Poke Cake
How to Store and Reheat Reeses Cake
Tasty Pairings for Reeses Poke Cake
Reeses Cake Flavor Twists
FAQs
The pudding mixture combines instant pudding mix with milk and melted peanut butter, creating a rich, creamy layer that infuses the cake with intense peanut butter flavor and helps keep the cake moist.
Poking holes allows the fudge and pudding mixture to seep deep into the cake, creating pockets of flavor throughout the dessert and ensuring every bite is deliciously moist and indulgent.
Yes, you can use any brand or type of chocolate cake mix, including dark chocolate, milk chocolate, or even a gluten-free version. The key is to follow the package instructions for baking.
Microwave the peanut butter in short 15-second bursts until it becomes pourable but not too hot. It should be smooth and easy to whisk into the pudding mixture without forming lumps.
Print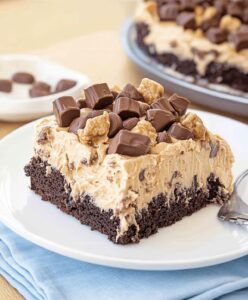
Reeses Peanut Butter Poke Cake Recipe
- Total Time: 1 hour 5 minutes
- Yield: 12 1x
Description
Indulgent Reeses Peanut Butter Poke Cake brings chocolate and peanut butter together in a delightful dessert that melts hearts. Creamy layers and rich flavors create a sweet experience you’ll crave again and again.
Ingredients
Cake Base:
- 1 box chocolate cake mix
- Eggs (as required on cake mix package)
- Oil (as required on cake mix package)
- Water (as required on cake mix package)
Filling and Topping Ingredients:
- 1 cup creamy peanut butter
- 11.75 ounces (333 grams) hot fudge topping
- 1 box (3.4 ounces / 96 grams) instant vanilla pudding mix
- 2 cups milk
- 1 tub (8 ounces / 226 grams) whipped topping
Garnish:
- 8 chopped Reeses peanut butter cups
- Chocolate syrup (for drizzling on top)
Instructions
- Prepare the chocolate cake base by mixing according to package directions and baking at 350°F in a 9×13-inch dish until a toothpick emerges clean. Allow the cake to rest for 10 minutes after baking.
- Create multiple perforations across the cake surface using a wooden spoon handle, spacing the holes approximately 1 inch apart to facilitate maximum flavor absorption.
- Heat the fudge topping until smooth and pour directly into the created holes, ensuring even distribution by gently spreading any remaining sauce across the cake’s surface.
- Combine pudding mix and milk, whisking until achieving a uniform consistency. Microwave the peanut butter in short intervals until it reaches a liquid state, then rapidly incorporate into the pudding mixture.
- Carefully cascade the peanut butter pudding over the cake, using a spoon to guide the mixture into the holes and create an even layer across the entire surface.
- Refrigerate the cake for a minimum of 2 hours to allow complete setting and flavor melding.
- Apply a generous layer of whipped topping across the chilled cake, then return to the refrigerator for an additional 2 hours or overnight for optimal texture.
- Enhance the cake’s presentation by drizzling chocolate syrup and scattering chopped Reese’s cups over the top. Slice into individual servings and serve chilled.
Notes
- Ensure cake is completely cooled before poking holes to prevent structural damage and maintain cake’s integrity.
- Use room temperature ingredients for smoother pudding mixture and better ingredient incorporation.
- Microwave peanut butter carefully to prevent burning, stirring between short bursts for even heating.
- Customize cake by experimenting with different chocolate cake mixes or adding extra Reese’s pieces for more intense peanut butter flavor.
- Prep Time: 20 minutes
- Cook Time: 45 minutes
- Category: Desserts
- Method: Baking
- Cuisine: American
Nutrition
- Serving Size: 12
- Calories: 335
- Sugar: 28 g
- Sodium: 320 mg
- Fat: 18 g
- Saturated Fat: 6 g
- Unsaturated Fat: 9 g
- Trans Fat: 0 g
- Carbohydrates: 40 g
- Fiber: 1 g
- Protein: 5 g
- Cholesterol: 45 mg
Clara Thompson
Recipe Developer & Culinary Educator
Expertise
Developing accessible single-serving recipes, Food writing and content creation, Plant-based and allergen-friendly cooking, Culinary education and workshop facilitation
Education
Oregon Culinary Institute (Portland, OR)
Diploma in Culinary Arts
Specialized in plant-based cooking and sustainable kitchen practices.
Portland Community College
Certificate in Food Writing and Media
Focused on recipe writing, food photography, and digital content creation.
Clara’s food journey began with a curiosity for color, texture, and ingredients pulled straight from the garden. Her background in plant-forward cooking and creative writing gives her a unique edge – she makes healthy, flavorful food feel inviting, not intimidating.
She specializes in meals that work for busy lives and different diets, all without sacrificing taste. Clara’s voice comes through in every recipe she writes – clear, kind, and encouraging.