Zesty Kiwi Cheesecake Recipe: Sweet Tropical Bliss
Crafting a delightful kiwi cheesecake brings pure culinary joy to dessert enthusiasts seeking something extraordinary.
Sweet tang mingles with creamy textures in this innovative treat.
Summer memories dance across each delectable slice.
Vibrant green fruit nestles perfectly within smooth cream cheese layers.
Guests will marvel at the elegant presentation and complex flavor profile.
Chilled and light, this dessert promises a refreshing escape from traditional sweets.
One bite transports you to a tropical paradise of pure indulgence.
How to Store and Serve Kiwi Cheesecake
Great Pairings with Kiwi Cheesecake
Flavor Ideas for Kiwi Cheesecake Fans
FAQs
Prebaking the crust helps set the graham cracker base and prevents it from becoming soggy when the wet cheesecake filling is added. It creates a crisp, sturdy foundation for your dessert.
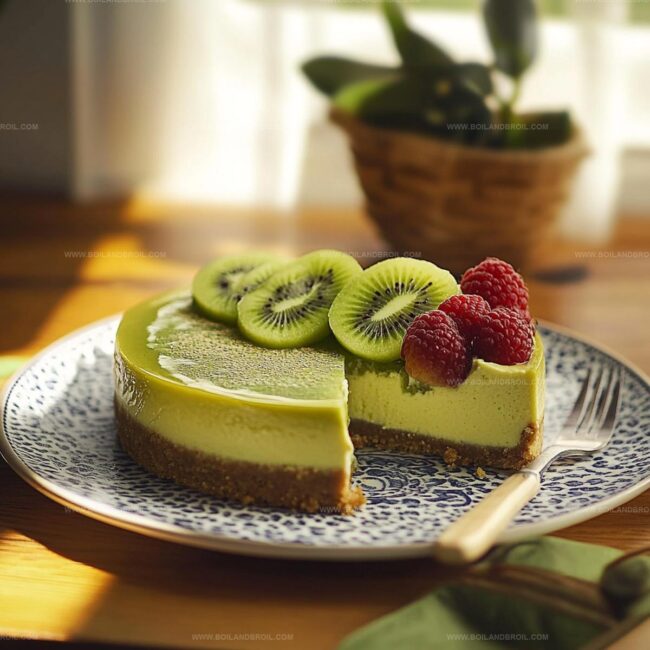
Absolutely! You can substitute kiwi with other fruits like strawberries, raspberries, or mandarin oranges. Just ensure the fruits are fresh and sliced evenly for the best presentation.
Bake the cheesecake in a water bath, cool it gradually by leaving the oven door slightly open, and avoid overmixing the batter. These techniques help create a smooth, crack-free surface.
Lemon juice adds a subtle brightness and helps balance the richness of the cream cheese. It also helps stabilize the filling and enhances the overall flavor profile of the cheesecake.
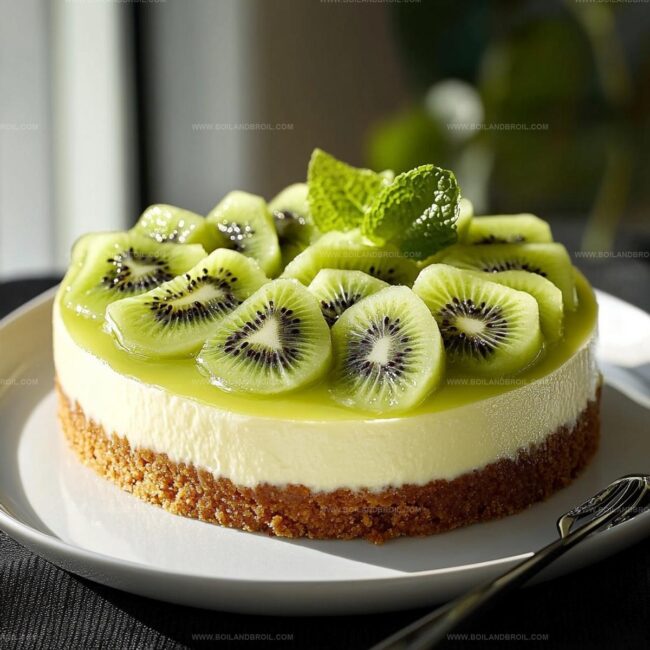
Kiwi Cheesecake That’s Bright and Refreshing
Ingredients for Kiwi Cheesecake Recipe
Crust:Cheesecake Filling:Topping:Simple Method for Kiwi Cheesecake
Step 1: Craft the Crispy Base
Kick off your baking adventure by warming the oven to 325F.
Grab a mixing bowl and blend graham cracker crumbs, melted butter, and a touch of sugar.
Press this delightful mixture firmly into a 9-inch springform pan, creating a smooth, even foundation.
Pop it in the oven for 10 minutes, then set aside to cool and solidify.
Step 2: Whip Up the Creamy Filling
Grab your electric mixer and transform cream cheese into a silky smooth landscape.
Introduce sour cream, powdered sugar, vanilla extract, and a splash of lemon juice.
Mix until everything harmonizes beautifully.
Gently fold in eggs one by one, ensuring each is thoroughly incorporated.
Step 3: Bake to Perfection
Pour the luscious filling over your cooled crust, smoothing the surface with a spatula.
Slide into the oven and bake for 45-50 minutes.
Watch for a slight wobble in the center – that’s your signal of cheesecake magic happening.
Once done, leave the oven door slightly open and let it rest for an hour before refrigerating for at least 4 hours.
Step 4: Create Kiwi Crown
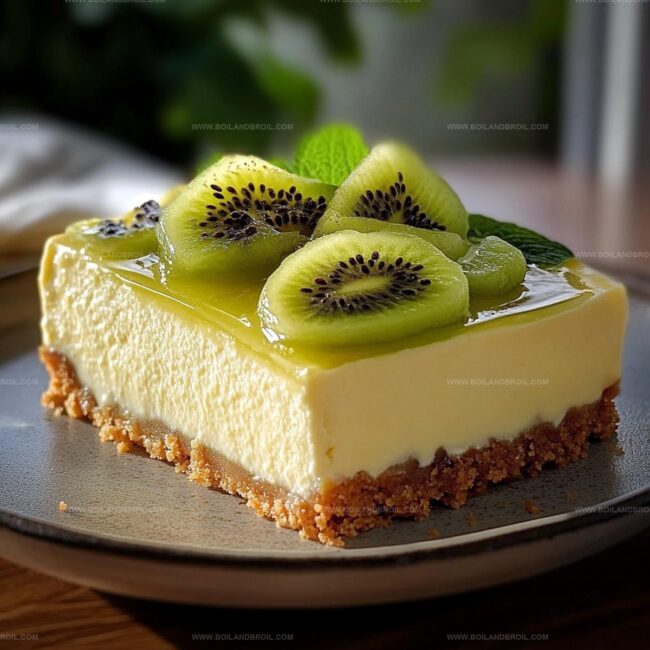
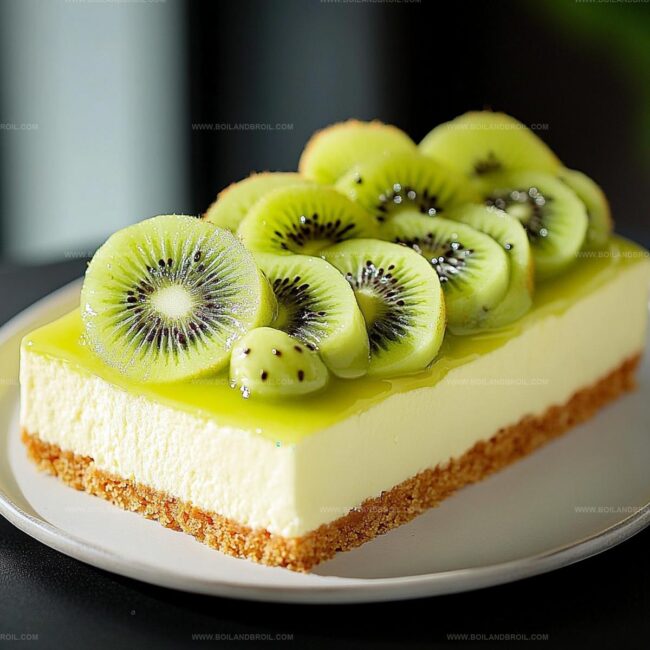
After chilling, arrange vibrant kiwi slices on top in a stunning pattern.
Craft a honey glaze by warming honey and water in a small saucepan.
Drizzle this golden nectar over the kiwi for an extra touch of elegance.
Step 5: Slice and Celebrate
Carefully remove the cheesecake from the springform pan.
Transfer to a gorgeous serving plate, slice with a sharp knife, and indulge in your culinary masterpiece!
Key Tips for Kiwi Cheesecake Success
Refreshing Kiwi Cheesecake Recipe
- Total Time: 1 hour 30 minutes
- Yield: 8 1x
Description
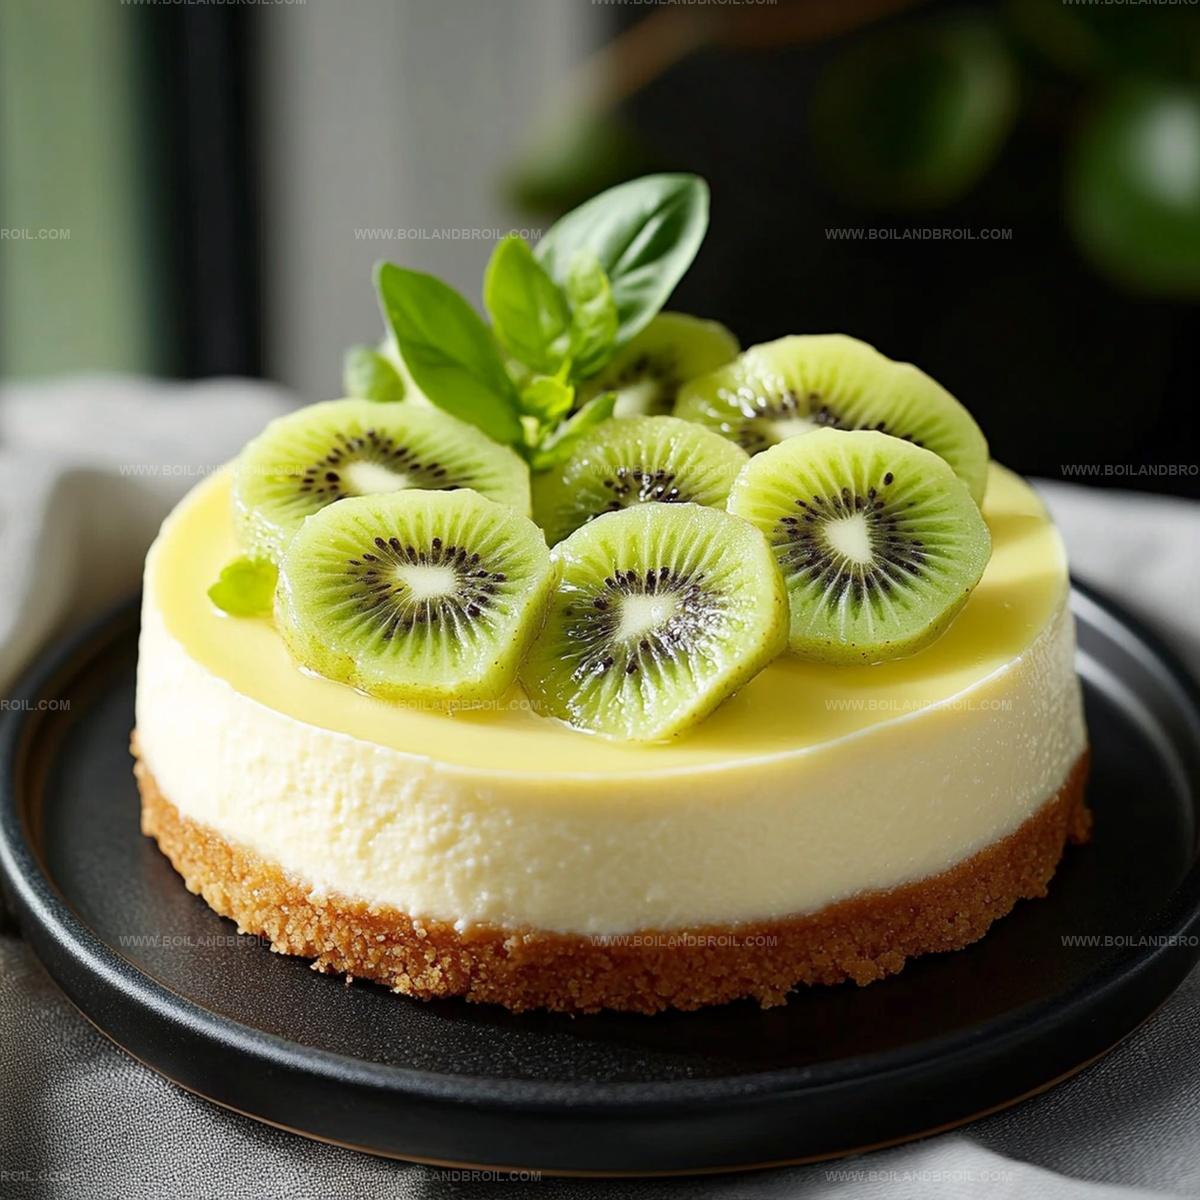
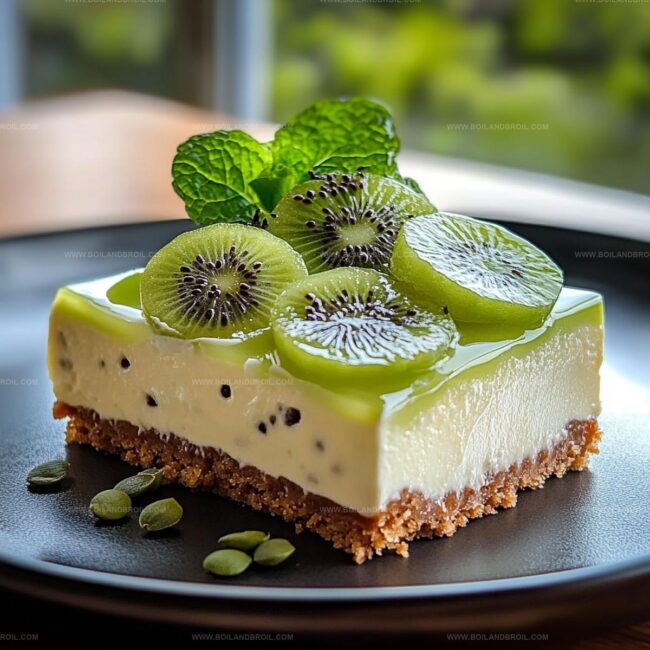
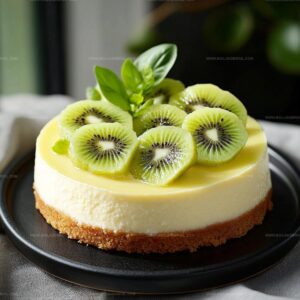
Creamy kiwi cheesecake brings zesty tropical flavors to classic dessert lovers, blending tangy fruit with rich cream cheese. Smooth graham cracker crust and bright green fruit topping make this sweet treat irresistible for summer gatherings.
Ingredients
Crust:
- 1 1/2 cups graham cracker crumbs
- 1/4 cup melted butter
- 2 tablespoons sugar (optional)
Filling:
- 16 ounces (2 blocks) cream cheese, softened
- 1 cup sour cream
- 3/4 cup powdered sugar
- 1 teaspoon vanilla extract
- 2 large eggs
- 2 tablespoons lemon juice
Topping:
- 3 ripe kiwis, peeled and sliced thinly
- 2 tablespoons honey (optional for added sweetness)
- 1 tablespoon water (for glaze)
Instructions
- Craft a robust graham cracker foundation by blending crumbs with melted butter at 325F (163C). Press firmly into a 9-inch springform pan, creating an even base. Bake for 10 minutes until golden, then allow to cool completely.
- Whip cream cheese using an electric mixer until silky and uniform. Incorporate sour cream, powdered sugar, vanilla extract, and lemon juice, blending until seamlessly integrated.
- Introduce eggs individually, thoroughly mixing after each addition to maintain a smooth, homogeneous texture. Ensure no lumps remain in the creamy mixture.
- Gently transfer the luxurious batter into the prepared crust, smoothing the surface with a spatula for an elegant finish. Bake 45-50 minutes until the center exhibits a subtle tremor when nudged.
- Allow the cheesecake to rest inside the oven with the door slightly ajar for one hour, facilitating gradual cooling and preventing cracks. Refrigerate for minimum 4 hours or preferably overnight.
- Artfully arrange fresh kiwi slices atop the chilled cheesecake, creating an appealing design. Warm honey with water over low heat, then delicately drizzle the glossy glaze across the fruit.
- Carefully release the springform pan, transfer to a serving plate, and slice into decadent portions. Serve chilled and savor the creamy, tangy delight.
Notes
- Swap graham crackers with gluten-free alternatives like almond flour or crushed oat cookies for a celiac-friendly version.
- Reduce sugar content by using stevia or monk fruit sweetener, maintaining the creamy texture while cutting calories.
- Prevent cheesecake cracking by baking in a water bath, ensuring gentle and even heat distribution for a silky smooth surface.
- Maximize kiwi flavor by selecting ripe, slightly soft fruits with vibrant green flesh for the most intense and sweet topping.
- Prep Time: 30 minutes
- Cook Time: 1 hour
- Category: Desserts
- Method: Baking
- Cuisine: American
Nutrition
- Serving Size: 8
- Calories: 350
- Sugar: 18 g
- Sodium: 250 mg
- Fat: 22 g
- Saturated Fat: 12 g
- Unsaturated Fat: 8 g
- Trans Fat: 0 g
- Carbohydrates: 30 g
- Fiber: 1 g
- Protein: 6 g
- Cholesterol: 70 mg
Jack Sullivan
Founder & Culinary Storyteller
Expertise
Single-recipe development with a narrative approach, Culinary storytelling and food history, Seasonal and regional ingredient utilization, Home cooking techniques adapted for modern kitchens
Education
New England Culinary Institute (Montpelier, VT)
Certificate in Culinary Arts
Focused on farm-to-table cooking, sustainable practices, and modern plating techniques.
Asheville-Buncombe Technical Community College
Associate Degree in Culinary Arts
Emphasized Southern Appalachian cuisine and local ingredient sourcing.
Jack grew up surrounded by smoky skillets and handwritten recipes in the mountains of North Carolina. His roots in Appalachian cooking shaped the way he sees food – as something that connects people, tells a story, and holds meaning.
With hands-on training and a background in sustainable, regional cooking, Jack started Boil And Broil to make meaningful meals more accessible. He’s all about one-dish recipes that are simple to follow but rich with flavor and history.