
Jolly Reindeer Cheese Ball Recipe: A Fun Holiday Treat
Gather around for a festive holiday appetizer that’s sure to delight every guest at your celebration.
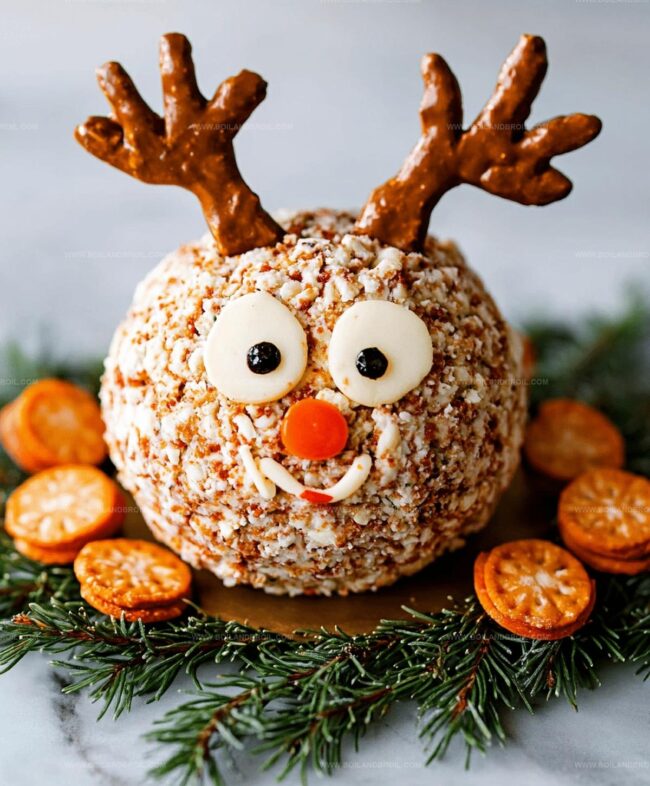
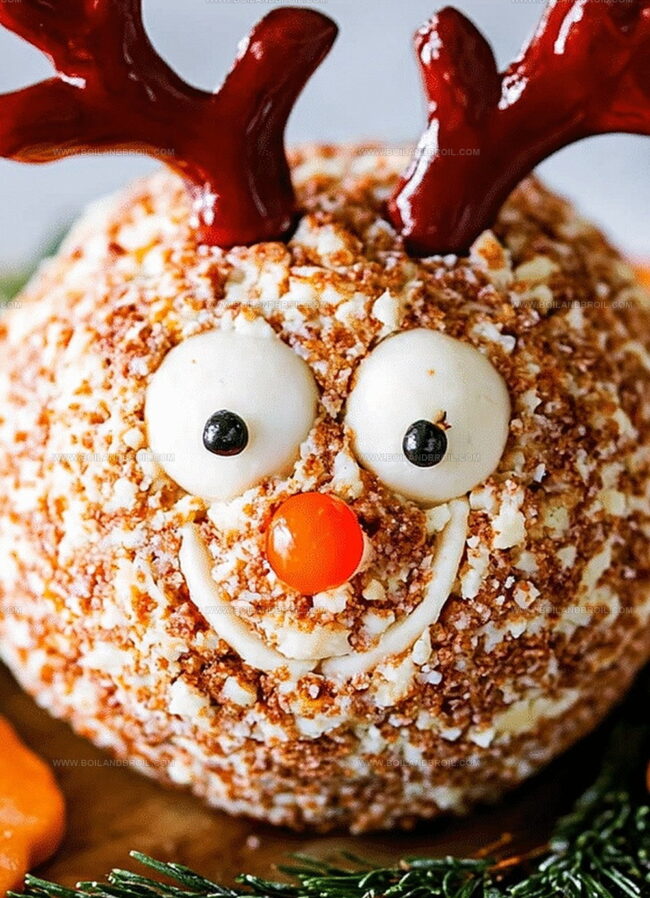
This reindeer cheese ball recipe brings whimsy and deliciousness to your seasonal spread.
Crafted with creamy cheeses and adorable decorative touches, the cheese ball becomes an instant conversation starter.
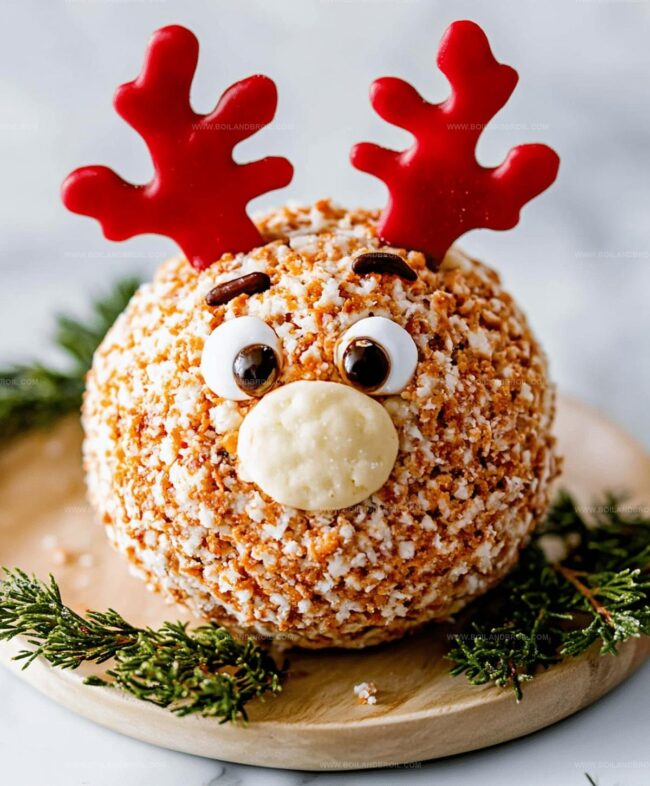
Guests will adore the playful antlers and cute edible design that makes this appetizer stand out from traditional party snacks.
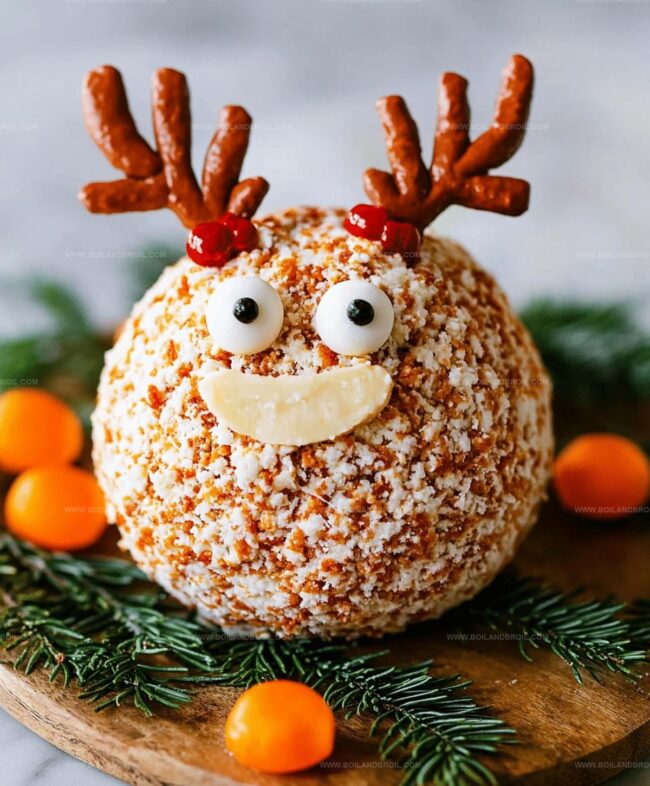
Decorated with pretzels for antlers and olive eyes, this charming cheese ball transforms a simple appetizer into a memorable centerpiece.
The combination of sharp cheddar, cream cheese, and savory seasonings creates a rich, irresistible flavor profile.
Serve this delightful cheese ball and watch everyone’s eyes light up with joy and excitement.
Why Reindeer Cheese Balls Are a Crowd-Pleaser
Reindeer Cheese Ball Ingredient Overview
Main Ingredients:Seasoning and Flavor Enhancers:Decorative and Texture Ingredients:Serving Suggestions:Steps to Shape Your Reindeer Cheese Ball
Step 1: Whip Cream Cheese Into Silky Smoothness
In a large mixing bowl, combine softened cream cheese and sour cream.
Beat the mixture until it becomes incredibly smooth and creamy, ensuring no lumps remain.
The extra attention here creates a luxurious texture that will make your cheese ball irresistible.
Step 2: Blend Flavor Boosters
Add the following ingredients to your cream cheese mixture:Gently mix the ingredients, starting with a moderate amount of seasoning.
Taste and adjust the flavor profile, keeping in mind that the flavors will intensify during chilling.
Step 3: Shape And Chill The Cheese Ball
Lay out a large sheet of plastic wrap on your countertop.
Transfer the cheese mixture onto the wrap and use the plastic to help shape it into a perfect ball.
Twist the wrap’s ends to secure the shape.
Refrigerate for 4-6 hours or overnight to allow the cheese ball to firm up and hold its form.
Step 4: Create A Crunchy Exterior
Remove the chilled cheese ball from the refrigerator.
Gently roll the ball in chopped pecans, pressing softly to ensure an even coating.
The nuts will add a delightful crunch and nutty flavor to your creation.
Step 5: Transform Into A Playful Reindeer
Carefully add the decorative elements to bring your reindeer to life:Gently press each decoration into the cheese ball to secure them in place.
For child-friendly serving, consider using edible decorations that are safe and fun.
Step 6: Serve And Delight
Arrange an assortment of accompaniments around your reindeer cheese ball:Invite guests to dig in and enjoy this whimsical and delicious party centerpiece!
Cheese Ball Tips for Best Results
How to Store and Reuse Cheese Balls
Savory Pairings for Reindeer Cheese Balls
New Styles for Cheese Ball Presentation
FAQs
Mix until the cream cheese and sour cream are completely smooth without any lumps. Use a hand mixer or whisk and beat thoroughly for about 2-3 minutes to ensure a silky texture.
Yes, you can prepare the cheese ball up to 2 days before serving. After shaping and chilling, keep it wrapped in plastic in the refrigerator. Add decorations just before serving to keep them fresh and crisp.
You can substitute pecans with other coatings like crispy bacon bits, everything bagel seasoning, or finely chopped herbs. Choose a coating that adds crunch and complements the cheese flavor.
Gently press the pretzels, olives, and cherry tomato into the cheese ball. Make sure the cheese ball is well-chilled, as the firmer texture helps decorations stick better. If needed, use a small amount of soft cream cheese as “glue” to secure them.
Print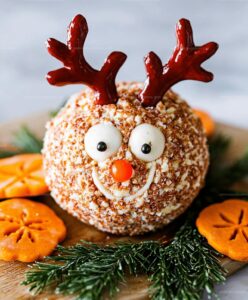
Reindeer Cheese Ball Recipe
- Total Time: 3 hours 15 minutes
- Yield: 8 1x
Description
Christmas cheer meets Nordic charm in this Reindeer Cheese Ball, delighting holiday gatherings with whimsical design and creamy flavor. Crafted from smooth cream cheese and adorned with playful antlers, guests will adore this festive appetizer that brings playful spirit to seasonal celebrations.
Ingredients
Main Ingredients:
- 2 8-ounce blocks cream cheese, softened at room temperature
- 8-ounce block medium cheddar cheese, shredded
- 1/3 cup sour cream
Seasoning and Flavoring:
- 23 tablespoons ranch seasoning mix
- 2 cups roughly chopped pecans
Decorative Ingredients:
- 2 medium pitted black olives
- 1 cherry tomato
- 2 regular sized pretzels (Snyders Olde Tyme Pretzels)
Instructions
- In a spacious mixing vessel, whip cream cheese and sour cream until achieving a velvety, uniform consistency, ensuring no lumps remain.
- Incorporate shredded cheddar and ranch seasoning into the mixture, carefully balancing flavors. Taste and adjust seasoning, understanding that flavor intensity will develop during chilling.
- Transfer cheese mixture onto a plastic wrap-covered surface, using the wrap to shape into a compact, rounded form. Seal edges tightly and refrigerate for 4-6 hours, allowing the mixture to solidify and maintain structural integrity.
- Remove chilled cheese ball from refrigerator and generously coat exterior with finely chopped pecans, pressing gently to ensure complete coverage and maximum adherence.
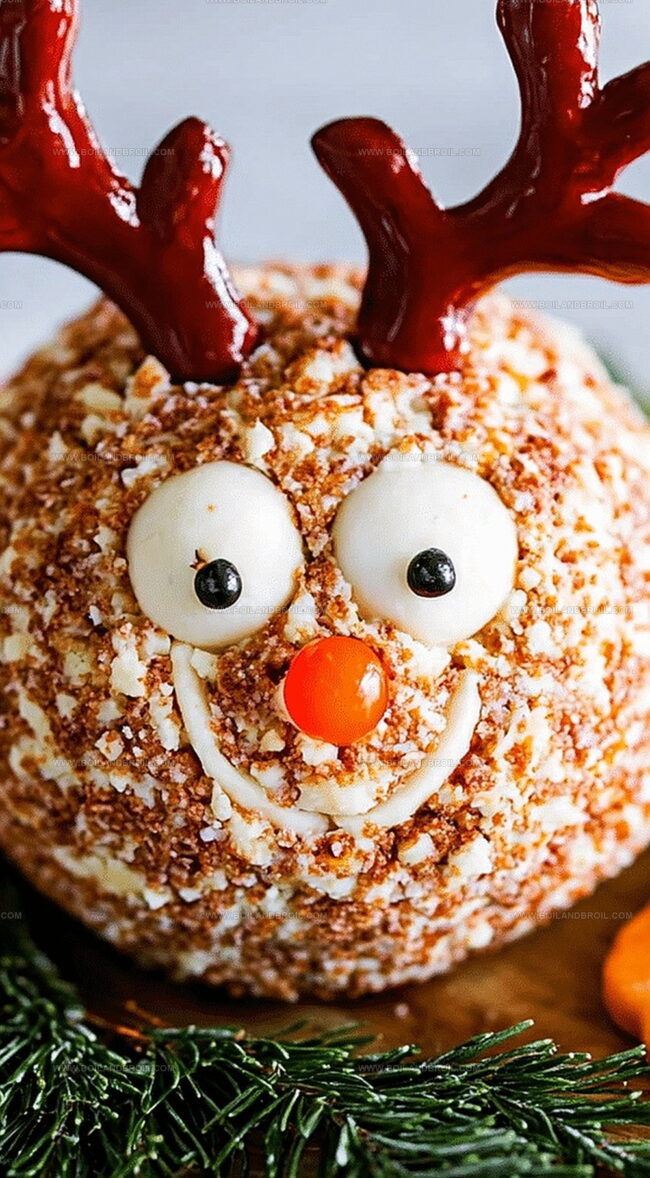
- Transform cheese ball into a playful reindeer by strategically positioning pretzel sticks as antlers, black olive slices for eyes, and a vibrant cherry tomato as the signature red nose. Gently press decorative elements to secure placement.
- Arrange the whimsical reindeer cheese creation on a serving platter surrounded by an assortment of crisp crackers, toasted baguette slices, or fresh vegetable crudités, inviting guests to indulge in this festive appetizer.
Notes
- Ensure cream cheese and sour cream are at room temperature for smoother blending, preventing lumps and creating a silky texture.
- Taste the ranch seasoning gradually, understanding that flavors intensify during chilling, avoiding overpowering the cheese mixture.
- Extended refrigeration helps the cheese ball set firmly, making it easier to shape and maintain structural integrity.
- Press chopped pecans gently but firmly to create an even, adherent coating that adds crunch and visual appeal.
- Use small food items like olives and pretzels carefully, ensuring they’re securely embedded to prevent falling off during serving.
- Prep Time: 15 minutes
- Cook Time: 3 hours (on high) or 6 hours (on low)
- Category: Appetizer, Snacks
- Method: Blending
- Cuisine: Nordic
Nutrition
- Serving Size: 8
- Calories: 300
- Sugar: 2g
- Sodium: 600mg
- Fat: 26g
- Saturated Fat: 10g
- Unsaturated Fat: 14g
- Trans Fat: 0g
- Carbohydrates: 12g
- Fiber: 2g
- Protein: 8g
- Cholesterol: 60mg
Clara Thompson
Recipe Developer & Culinary Educator
Expertise
Developing accessible single-serving recipes, Food writing and content creation, Plant-based and allergen-friendly cooking, Culinary education and workshop facilitation
Education
Oregon Culinary Institute (Portland, OR)
Diploma in Culinary Arts
Specialized in plant-based cooking and sustainable kitchen practices.
Portland Community College
Certificate in Food Writing and Media
Focused on recipe writing, food photography, and digital content creation.
Clara’s food journey began with a curiosity for color, texture, and ingredients pulled straight from the garden. Her background in plant-forward cooking and creative writing gives her a unique edge – she makes healthy, flavorful food feel inviting, not intimidating.
She specializes in meals that work for busy lives and different diets, all without sacrificing taste. Clara’s voice comes through in every recipe she writes – clear, kind, and encouraging.