Spooky & Sweet: Rice Krispie Treat Mummies Recipe for Halloween
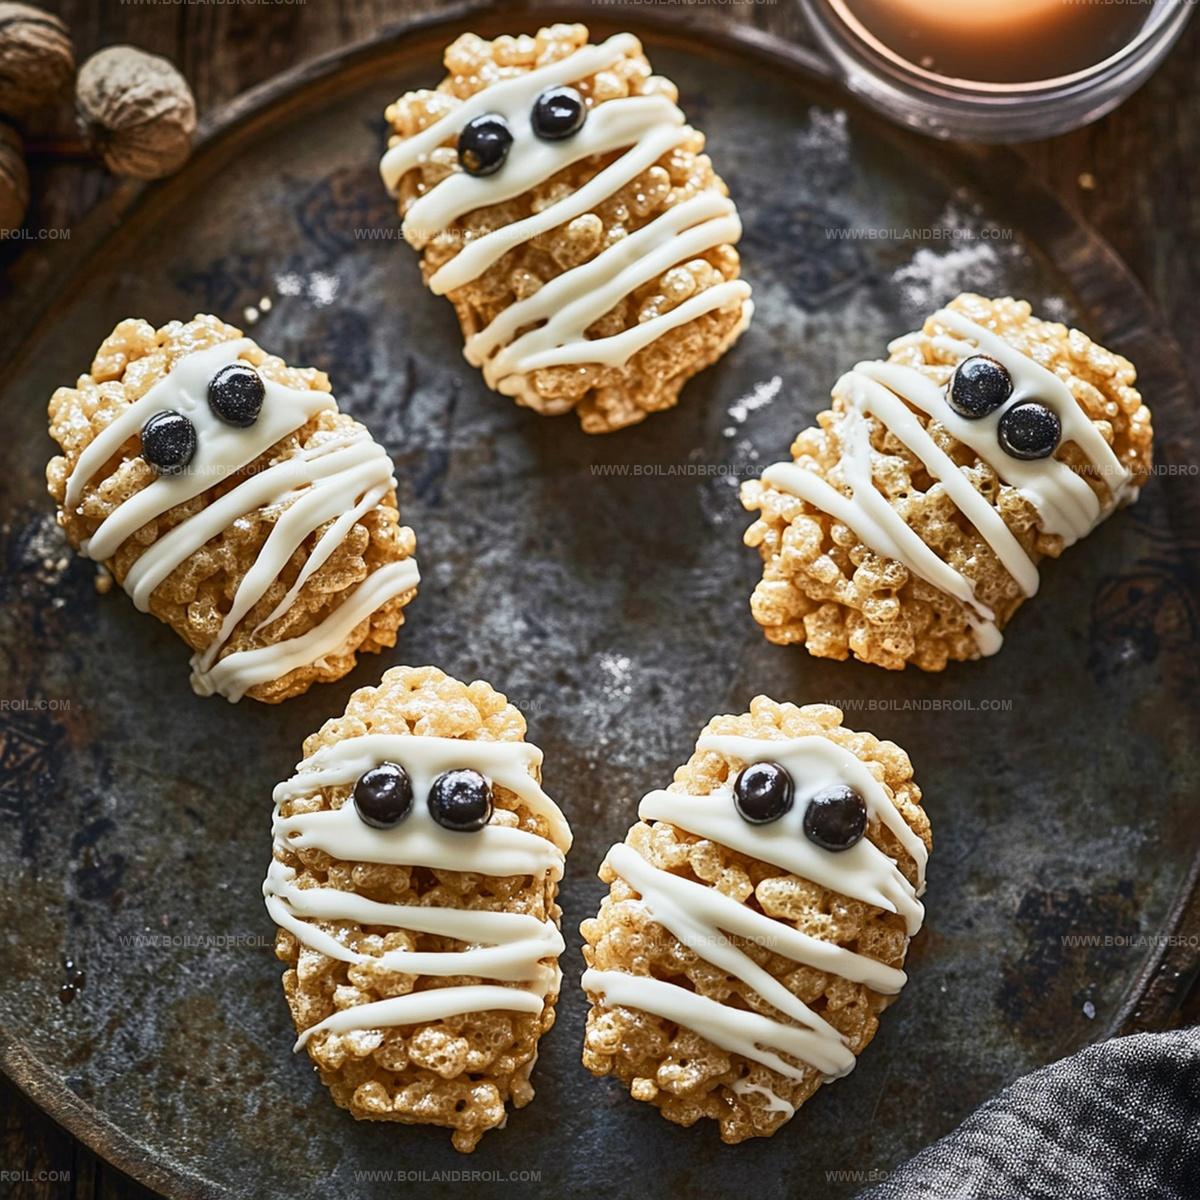
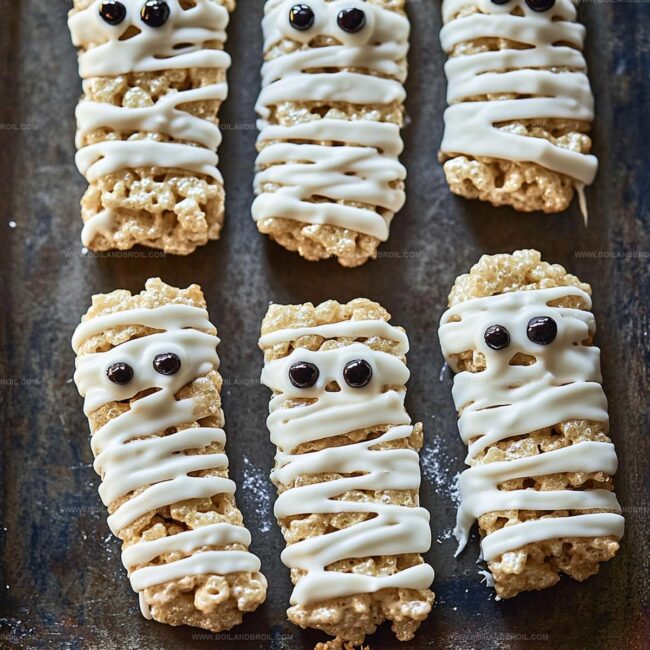
Wrapping your classic rice krispie treat mummies in delightful Halloween bandages creates a spooky snack that sparkles with playful creativity.
Mischievous monsters adore these sweet confections decorated with marshmallow-based “fabric” strips.
Kids absolutely love how each treat looks like a miniature wrapped character ready to wiggle off the plate.
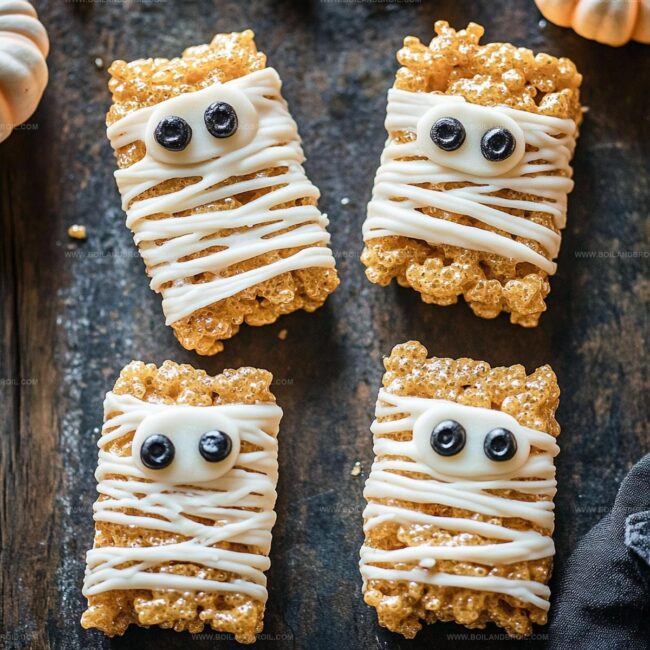
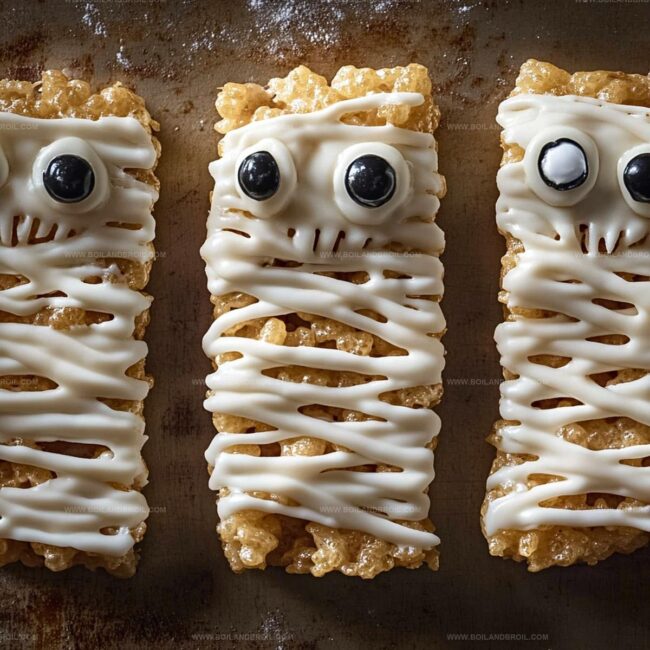
Chocolate chip eyes peek through the white streaks, giving these desserts an adorable personality.
Simple ingredients make this project perfect for quick Halloween party preparations.
Chocolate drizzles and strategic marshmallow placement turn ordinary treats into something magical.
You’ll want to craft these charming snacks that blend deliciousness with festive Halloween spirit.
Ingredients for 3-Ingredient Mummies
Base Ingredients:
Rice Krispies Cereal: A crispy foundation that provides the signature crunch and texture for these sweet treats.
Marshmallows: The sticky binding agent that holds the treats together and adds sweetness.
Butter: Creates a rich, smooth base that helps blend the marshmallows and cereal.
Decorative Ingredients:
White Chocolate or Candy Melts: The primary coating that transforms the treats into mummy-like desserts.
Candy Eyes: Small decorative elements that bring the mummy treats to life with a playful touch.
Optional Flavor Enhancers:
Salt, Vanilla Extract: Additional ingredients that can boost the overall flavor profile of the Rice Krispie treats if desired.
Steps to Make Rice Krispie Mummies
Step 1: Warm and Merge Butter and Marshmallows
Grab a large saucepan and place it on low heat.
Drop in the butter and watch it slowly melt into a golden puddle.
Pour in the marshmallows and gently stir them around until they transform into a silky, creamy mixture that looks smooth and glossy.
Step 2: Fold in Crispy Cereal
Take the pan off the heat and dump in the Rice Krispies cereal.
Use a wooden spoon or spatula to swirl and coat every single crisp morsel with the gooey marshmallow blend.
Make sure no cereal piece is left behind without its sweet coating.
Step 3: Press and Shape Treats
Grab a 9×13-inch baking dish and grease it lightly with butter or cooking spray.
Transfer the cereal mixture into the pan.
Use a buttered spatula or clean hands to press and spread the mixture evenly, creating a smooth, compact layer.
Let the treats cool and set for about 30 minutes.
Step 4: Create Mummy Bandage Design
Melt white chocolate or candy melts in a microwave-safe bowl, heating in short 15-second bursts and stirring between each interval.
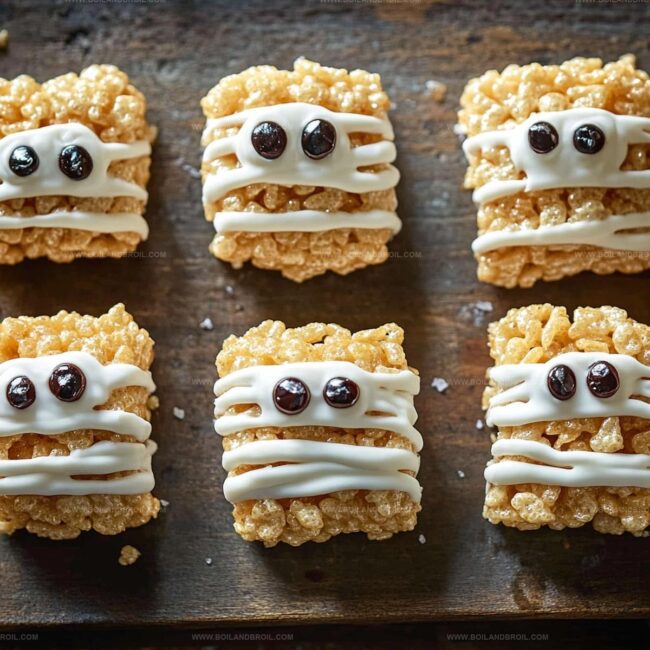
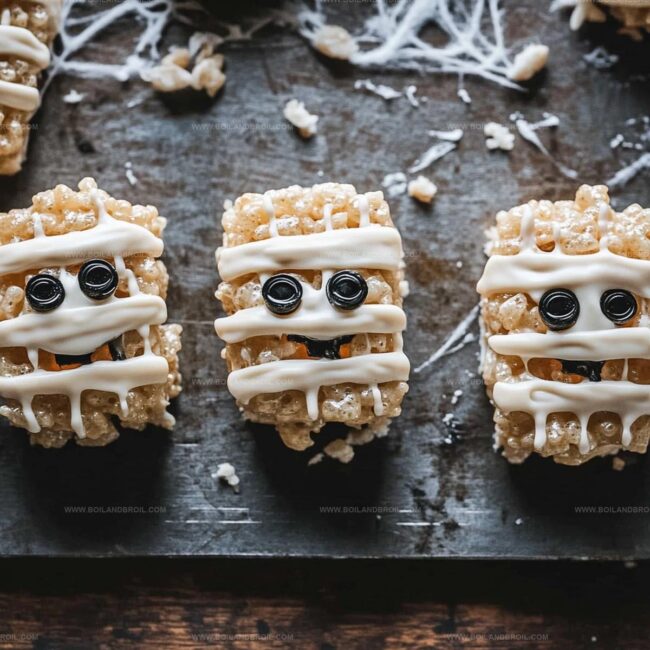
Once melted and smooth, drizzle the white chocolate over the treats using a fork to create zigzag bandage-like patterns.
Before the chocolate hardens, place tiny candy eyes to give your mummies a playful, spooky look.
Tips for Rice Krispie Mummies
Lightly coat your hands with cooking spray or butter when shaping the treats to avoid the mixture sticking to your fingers.
Use a squeeze bottle or piping bag for more precise and even white chocolate bandage wrapping on the mummies.
Refrigerate the Rice Krispie treats for 15 minutes before cutting to ensure cleaner, more defined edges and easier slicing.
Use different sizes and colors of candy eyes or create eyes with icing for a playful, personalized Halloween treat.
Keep treats in an airtight container at room temperature for up to 3 days to maintain their soft, chewy texture and prevent them from drying out.
How to Store Rice Krispie Mummies
Store in an airtight container between wax paper layers for up to 3 days, keeping treats fresh and preventing sticking.
Wrap individually in plastic wrap, place in freezer-safe container, and freeze for maximum 6 weeks; thaw at room temperature for soft texture.
Keep in sealed container at room temperature away from direct sunlight, maintaining crispness for 2 days maximum.
Warm briefly in microwave for 5-10 seconds to restore initial softness and bring back that just-made crunch when treats feel slightly hard.
Mummy Treat Pairings
Pair Sweet Chocolate Liqueur: Complement the marshmallow treat's sugary profile with a creamy chocolate liqueur that enhances the dessert's rich, sweet flavor.
Serve with Cold Milk Splash: Balance the crispy texture with a chilled glass of milk, creating a classic childhood-inspired pairing that refreshes the palate.
Match with Caramel Espresso: Introduce a sophisticated coffee-based drink that cuts through the sweetness and adds depth to the mummy-themed treat.
Elevate with Vanilla Cream Soda: Add a nostalgic touch with a smooth, vanilla-infused soda that harmonizes with the marshmallow's sweetness and provides a playful drinking experience.
Ways to Customize Rice Krispie Mummies
Gluten-Free Mummy Treats: Replace Rice Krispies with gluten-free crispy rice cereal for those with gluten sensitivities.
Vegan Marshmallow Version: Use plant-based butter and vegan marshmallows to create a dairy-free alternative that everyone can enjoy.
Dark Chocolate Wrapped Mummies: Swap white chocolate for dark chocolate drizzle, giving a richer flavor profile and slightly less sweet option.
Nut Butter Boost: Mix in a tablespoon of almond or peanut butter with the marshmallow mixture for added protein and nutty depth.
FAQs
Are these Rice Krispie Mummies difficult to make?
No, they’re super easy! With just 3 ingredients and simple steps, anyone can create these fun Halloween treats in under 30 minutes.
Can kids help make these mummy treats?
Absolutely! Kids can help mix the cereal, press the mixture into the pan, and even add the candy eyes. Adult supervision is needed when melting marshmallows and chocolate.
What type of white chocolate works best for decorating?
Candy melts or white chocolate chips both work great. Choose a brand that melts smoothly and hardens quickly for the best mummy bandage effect.
How many mummy treats does this recipe make?
Typically, you’ll get about 12-15 treats depending on how large you cut the rectangles or squares in the baking dish.
Rice Krispie Mummies Essentials
Children will love decorating these adorable mummy treats, making it an engaging and fun baking activity that sparks creativity and brings families together in the kitchen.
Swap candy eyes for different decorations, experiment with chocolate drizzle techniques, or add food coloring to create unique variations that match any theme or celebration.
Using only three ingredients and requiring simple melting and mixing skills, this recipe is foolproof for bakers of all levels, ensuring a stress-free and delicious treat experience.
Developing accessible single-serving recipes, Food writing and content creation, Plant-based and allergen-friendly cooking, Culinary education and workshop facilitation
Education
Oregon Culinary Institute (Portland, OR) Diploma in Culinary Arts
Specialized in plant-based cooking and sustainable kitchen practices.
Portland Community College Certificate in Food Writing and Media
Focused on recipe writing, food photography, and digital content creation.
Clara’s food journey began with a curiosity for color, texture, and ingredients pulled straight from the garden. Her background in plant-forward cooking and creative writing gives her a unique edge – she makes healthy, flavorful food feel inviting, not intimidating.
She specializes in meals that work for busy lives and different diets, all without sacrificing taste. Clara’s voice comes through in every recipe she writes – clear, kind, and encouraging.

Clara Thompson
Recipe Developer & Culinary Educator
Expertise
Developing accessible single-serving recipes, Food writing and content creation, Plant-based and allergen-friendly cooking, Culinary education and workshop facilitation
Education
Oregon Culinary Institute (Portland, OR)
Diploma in Culinary Arts
Specialized in plant-based cooking and sustainable kitchen practices.
Portland Community College
Certificate in Food Writing and Media
Focused on recipe writing, food photography, and digital content creation.
Clara’s food journey began with a curiosity for color, texture, and ingredients pulled straight from the garden. Her background in plant-forward cooking and creative writing gives her a unique edge – she makes healthy, flavorful food feel inviting, not intimidating.
She specializes in meals that work for busy lives and different diets, all without sacrificing taste. Clara’s voice comes through in every recipe she writes – clear, kind, and encouraging.