Easy Small Batch Skillet Brownie Recipe for Sweet Tooth Joy
Indulging in a small batch skillet brownie brings pure chocolate magic right to your plate.
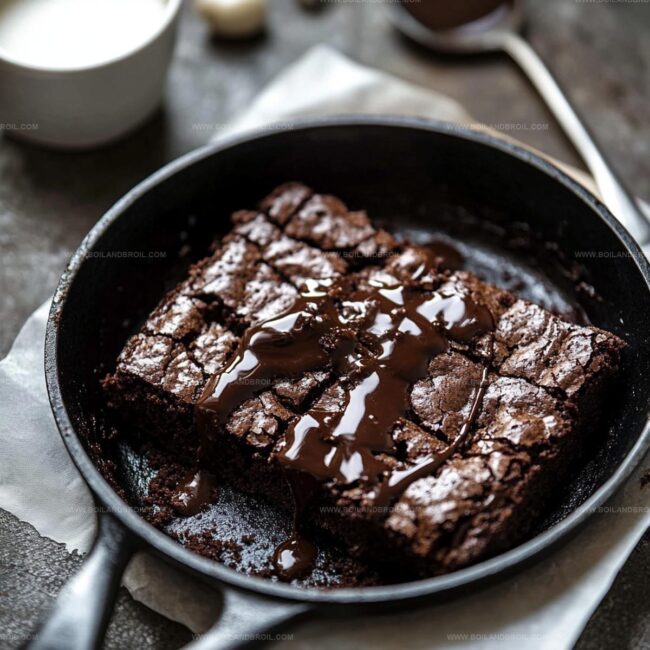
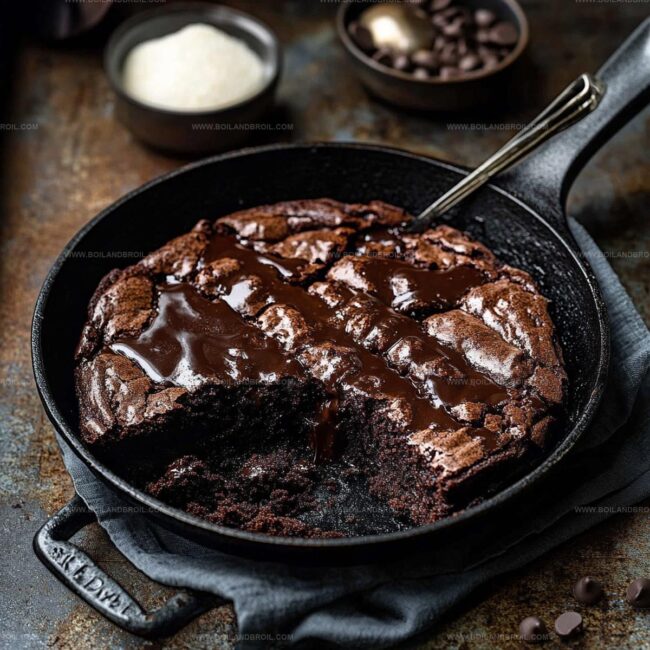
Warm, gooey centers call out with irresistible charm.
Dense chocolate notes promise pure comfort in every delectable bite.
Baking enthusiasts adore this compact dessert that delivers maximum satisfaction with minimal effort.
Single-serving treats eliminate excess without compromising rich flavor profiles.
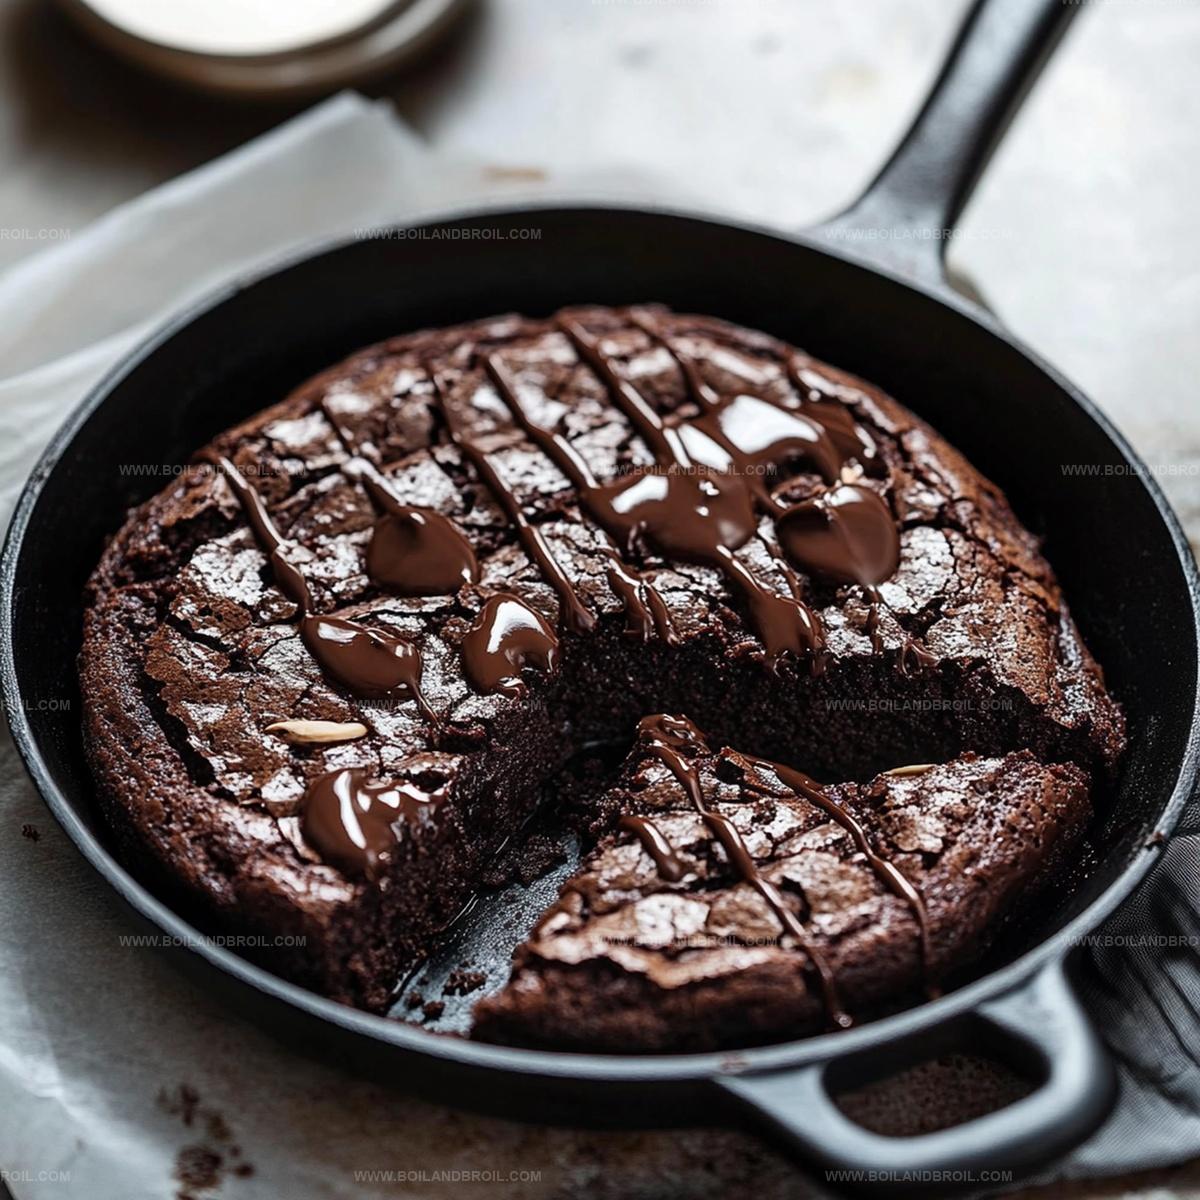
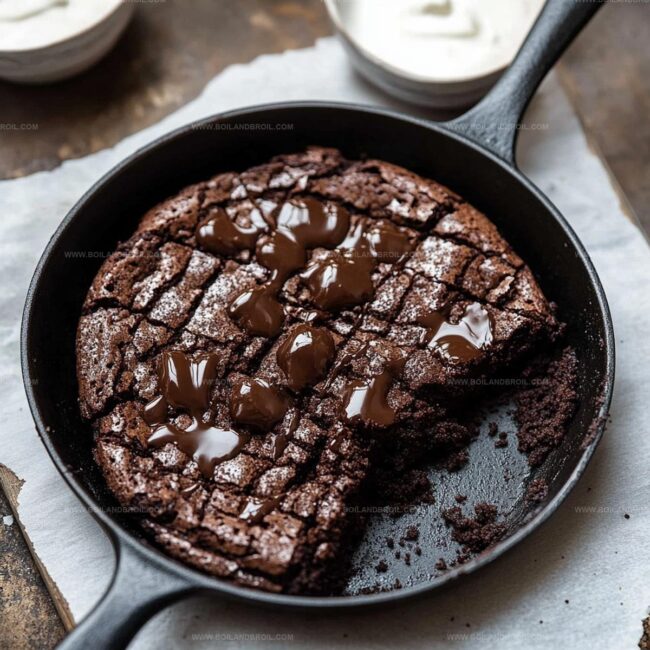
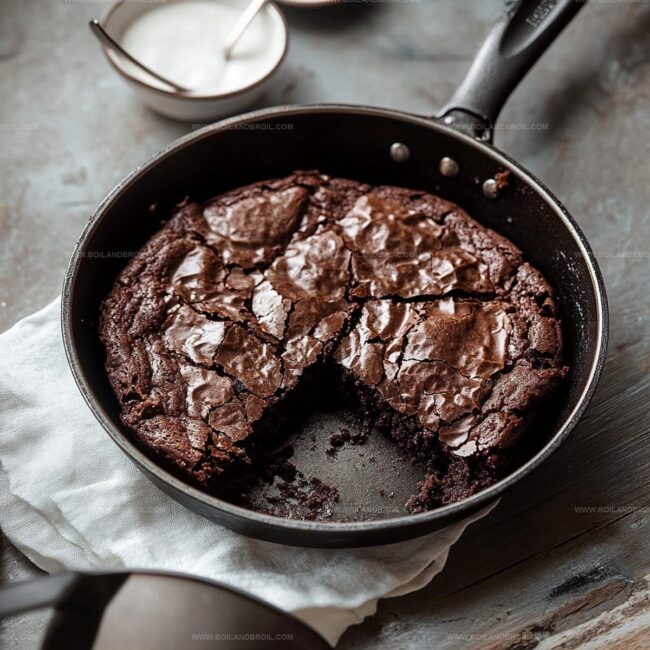
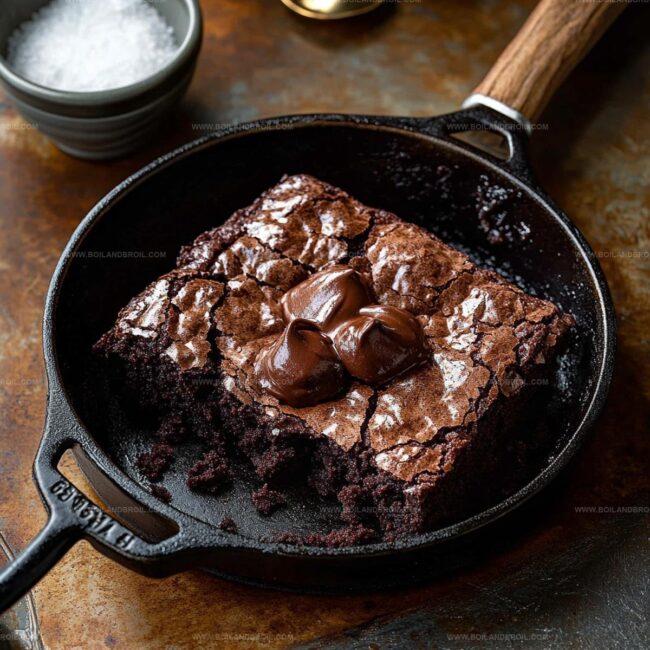
Crafted in a personal skillet, each brownie emerges with crisp edges and molten heart.
Dive into this decadent experience that transforms simple ingredients into an unforgettable sweet moment.
Skillet Brownie Bliss Small Batch Style
Ingredients for Small Batch Skillet Brownie Bliss
How to Cook Small Batch Skillet Brownie Bliss
Step 1: Prepare Oven and Skillet
Grab a small oven-safe skillet and set up your oven.
Crank the temperature to 350F (175C).
Make sure your skillet is clean and ready for deliciousness.
Step 2: Create Buttery Base
Place the skillet on low heat and melt the butter until it’s silky smooth.
Take the skillet off the heat and blend in:Stir until the mixture looks glossy and well combined.
Step 3: Introduce Liquid Magic
Pour in the vanilla extract and egg yolk.
Whisk everything together until the mixture looks creamy and uniform.
Step 4: Build the Brownie Foundation
Softly fold in the dry ingredients, creating a rich batter:Gently mix until no flour streaks remain.
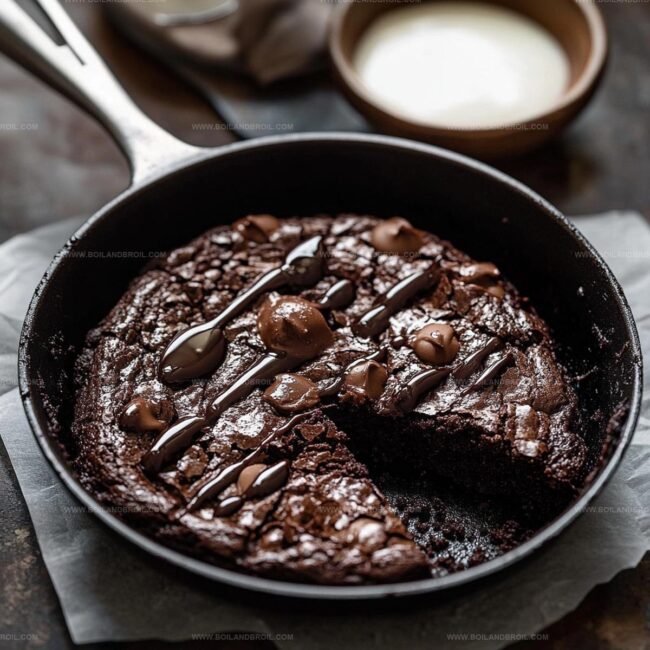
Sprinkle chocolate chips throughout the batter and swirl them in.
Step 5: Bake to Perfection
Spread the batter evenly in the skillet.
Slide into the preheated oven and bake for 15-18 minutes.
Look for set edges with a slightly jiggly center – this means brownie magic is happening!
Step 6: Indulge and Enjoy
Let the brownie cool for a few minutes.
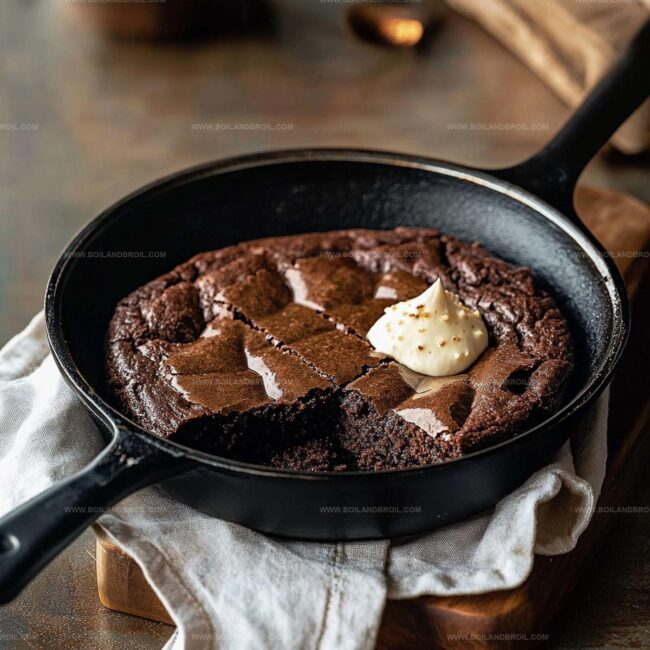
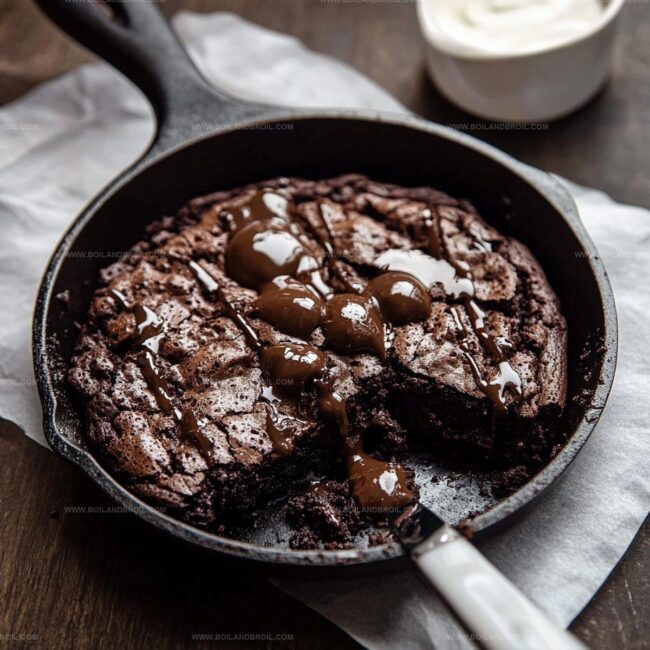
Top with a scoop of vanilla ice cream or a dollop of whipped cream.
Grab a spoon and dive into pure chocolatey bliss!
Tips for Small Batch Skillet Brownie Bliss
Storing and Reheating Small Batch Skillet Brownie Bliss
Pairing Ideas for Small Batch Skillet Brownie Bliss
Variations on Small Batch Skillet Brownie Bliss
FAQs
Yes! You can swap chocolate chips for chopped dark, milk, or white chocolate. Just ensure they’re high-quality for the best flavor and melting texture.
No, just a small oven-safe skillet (around 6-8 inches), basic mixing tools, and standard baking ingredients. A cast iron or ceramic skillet works perfectly.
Look for set edges and a slightly gooey center. A toothpick inserted near the edge should come out with a few moist crumbs, while the center remains soft and fudgy.
Absolutely! This small batch brownie requires minimal ingredients, simple mixing steps, and quick baking time. It’s an excellent recipe for those just starting to explore baking skills.
Print
Small Batch Skillet Brownie Bliss Recipe
- Total Time: 30 minutes
- Yield: 1 1x
Description
Chocolate lovers rejoice with this small batch skillet brownie bliss, a heavenly dessert that melts hearts and satisfies deep cocoa cravings. Warm, gooey chocolate goodness awaits you, promising pure indulgence in just one delightful skillet serving.
Ingredients
Main Ingredients:
- 1 large egg yolk
- 1/4 cup all-purpose flour
- 2 tablespoons (30 ml) unsweetened cocoa powder
Sweet Ingredients:
- 1/4 cup (50 g) granulated sugar
- 1/4 cup (50 g) brown sugar
- 2 tablespoons (30 g) chocolate chips
Wet and Binding Ingredients:
- 3 tablespoons (45 g) unsalted butter
- 1/4 teaspoon vanilla extract
- Pinch of salt
Instructions
- Prepare a compact oven-safe skillet and set the oven temperature to 350F (175C), ensuring even heat distribution.
- Gently melt butter in the skillet over low heat, creating a smooth base for the brownie mixture.
- Remove skillet from heat and thoroughly incorporate both sugars, stirring until the mixture becomes uniform and glossy.
- Introduce vanilla extract and egg yolk, blending carefully to create a rich, cohesive liquid foundation.
- Gradually fold in flour, cocoa powder, and salt, mixing until a dense, velvety batter emerges without overmixing.
- Sprinkle chocolate chips throughout the batter, distributing them evenly for maximum flavor complexity.
- Spread the batter smoothly across the skillet, creating an even surface for consistent baking.
- Place the skillet in the preheated oven and bake for 15-18 minutes, watching for set edges and a slightly molten center.
- Remove from oven and let the brownie rest for a few minutes to stabilize its texture.
- Serve warm, optionally garnishing with a scoop of cold ice cream or a dollop of fresh whipped cream for contrasting temperatures and textures.
Notes
- Customize chocolate intensity by using dark, milk, or semi-sweet chocolate chips depending on personal preference.
- Swap regular flour with gluten-free alternatives like almond or coconut flour for dietary restrictions.
- Use vegan butter and egg substitute for a completely plant-based version of this decadent dessert.
- Experiment with mix-ins like chopped nuts, caramel bits, or sea salt to elevate the brownie’s flavor profile.
- Prep Time: 10 minutes
- Cook Time: 20 minutes
- Category: Desserts, Snacks
- Method: Baking
- Cuisine: American
Nutrition
- Serving Size: 1
- Calories: 320
- Sugar: 28 g
- Sodium: 150 mg
- Fat: 18 g
- Saturated Fat: 11 g
- Unsaturated Fat: 7 g
- Trans Fat: 0 g
- Carbohydrates: 37 g
- Fiber: 1 g
- Protein: 4 g
- Cholesterol: 90 mg
Jack Sullivan
Founder & Culinary Storyteller
Expertise
Single-recipe development with a narrative approach, Culinary storytelling and food history, Seasonal and regional ingredient utilization, Home cooking techniques adapted for modern kitchens
Education
New England Culinary Institute (Montpelier, VT)
Certificate in Culinary Arts
Focused on farm-to-table cooking, sustainable practices, and modern plating techniques.
Asheville-Buncombe Technical Community College
Associate Degree in Culinary Arts
Emphasized Southern Appalachian cuisine and local ingredient sourcing.
Jack grew up surrounded by smoky skillets and handwritten recipes in the mountains of North Carolina. His roots in Appalachian cooking shaped the way he sees food – as something that connects people, tells a story, and holds meaning.
With hands-on training and a background in sustainable, regional cooking, Jack started Boil And Broil to make meaningful meals more accessible. He’s all about one-dish recipes that are simple to follow but rich with flavor and history.