Sweet Sunshine: The Fresh Strawberry Crisp Recipe You’ll Love
Summer’s bounty bursts with sweet, sun-ripened strawberries in this irresistible strawberry crisp that will make your taste buds dance.
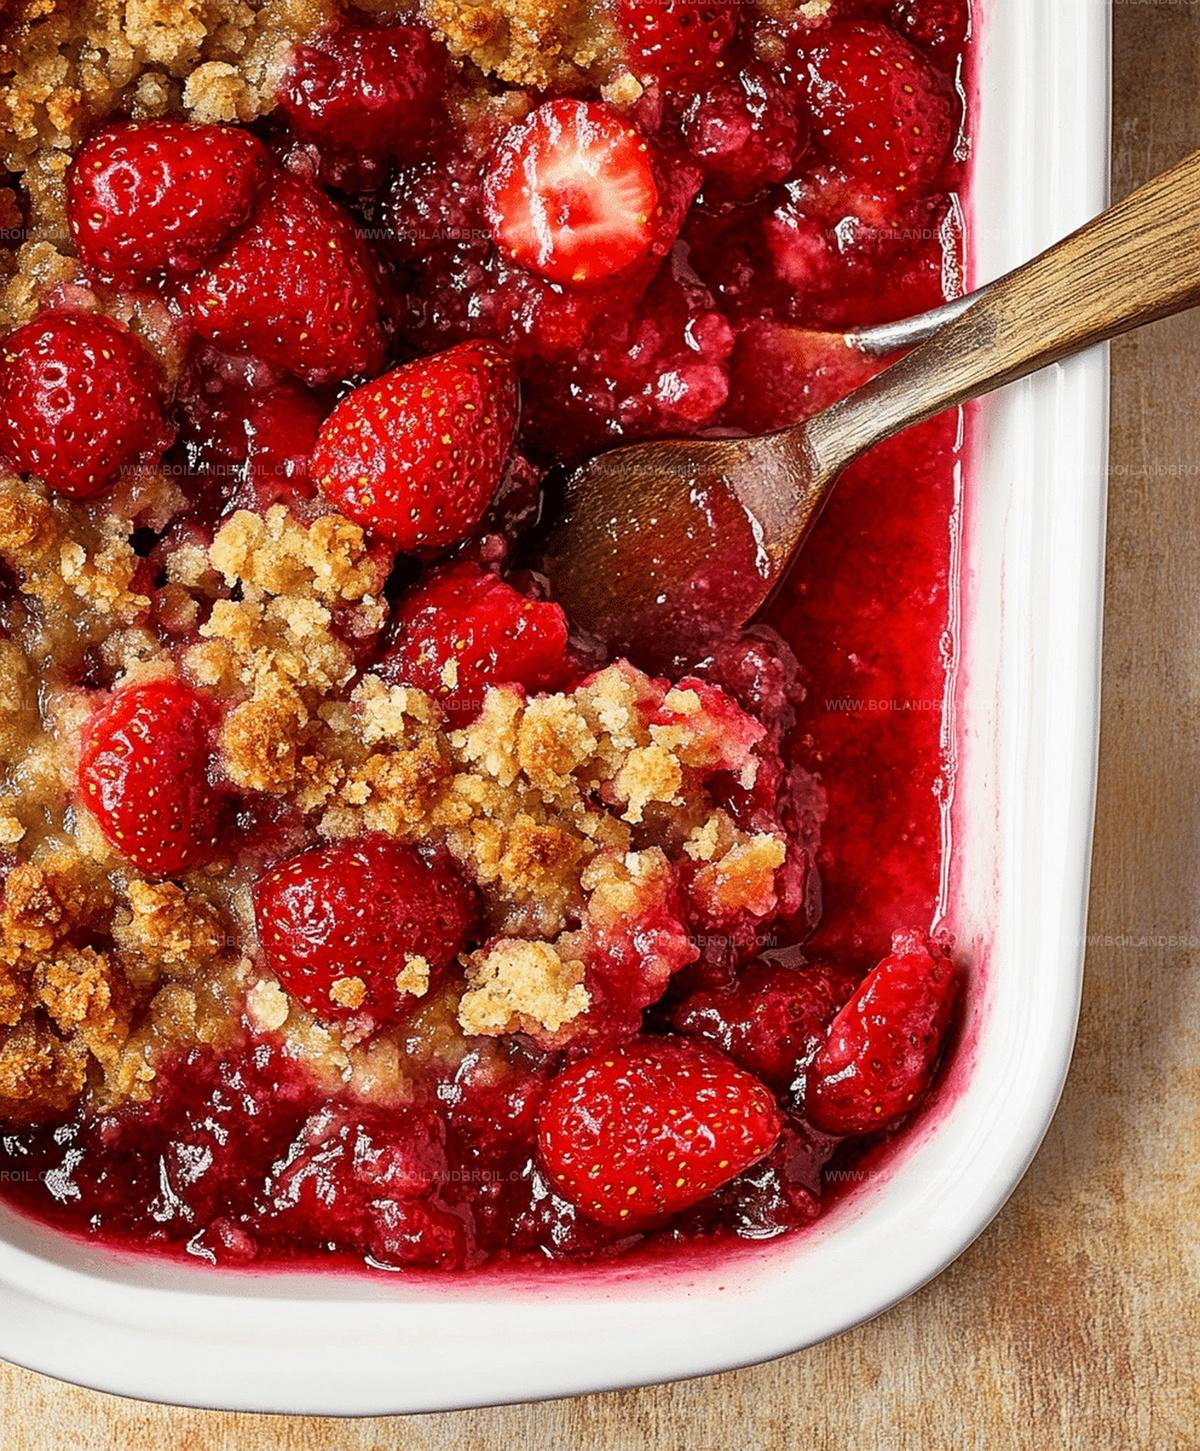
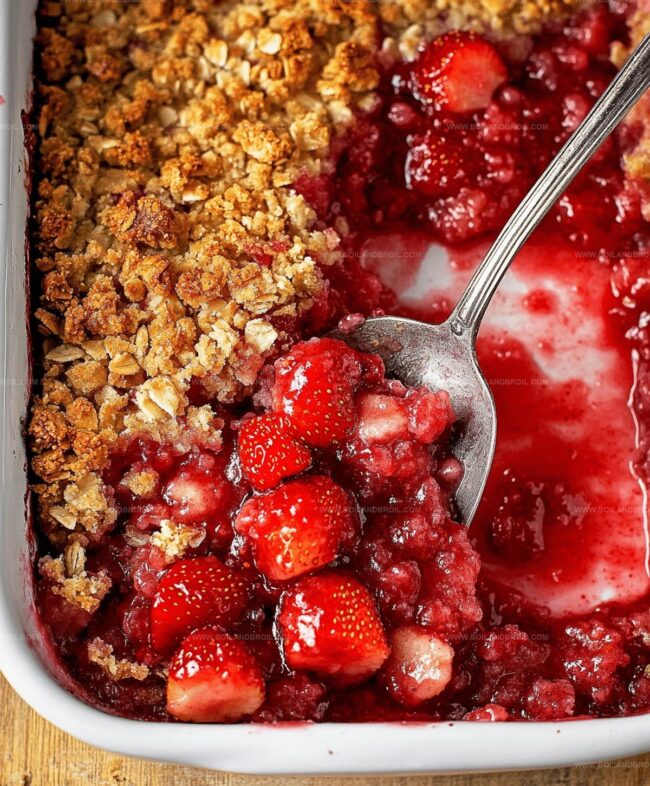
Juicy berries nestled beneath a golden, crumbly topping create a dessert that sings with pure comfort.
Each spoonful promises a delightful contrast between soft, warm fruit and crunchy oat-laden layers.
The recipe combines simple ingredients with minimal effort, delivering maximum flavor in every bite.
Fragrant and warm from the oven, this crisp transforms ordinary strawberries into a spectacular dessert.
Fresh from the kitchen, it beckons with a tantalizing aroma that draws everyone to the table.
Serve this delectable treat and watch as smiles spread with the first delicious mouthful.
What Makes This Crisp a Comfort Dessert
Strawberry Crisp Ingredient Rundown
Fruit Base:Filling Ingredients:Topping Ingredients:Preparation Ingredient:How to Build and Bake the Perfect Crisp
Step 1: Preheat and Prepare Baking Dish
Set the oven to 350°F and lightly coat a 9×13-inch pan with cooking spray to prevent sticking and simplify cleanup.
Step 2: Create Strawberry Filling
In a large mixing bowl, combine:Stir until strawberries are evenly coated and juices start to release.
Transfer the mixture to the prepared baking dish, spreading it into an even layer.
Step 3: Craft Crumbly Topping
Use a food processor to blend:Pulse until the mixture resembles coarse crumbs.
Transfer to a bowl and gently fold in rolled oats, pressing them into the mixture to maintain a crumbly texture.
Step 4: Layer and Bake
Sprinkle the oat topping completely over the strawberry filling.
Slide the dish into the oven and bake for 40-45 minutes, until the topping turns golden brown and the filling bubbles around the edges.
Step 5: Rest and Serve
Allow the crisp to cool for 10 minutes before serving.
This helps the filling set, making it easier to scoop and enjoy.
Tips for a Golden Crisp and Juicy Filling
How to Reheat Strawberry Crisp Without Drying It
Pairing Strawberry Crisp With Ice Cream or More
Different Ways to Top Your Strawberry Crisp
FAQs
Yes, you can use frozen strawberries. Just thaw and drain them completely before using to prevent excess moisture in the crisp.
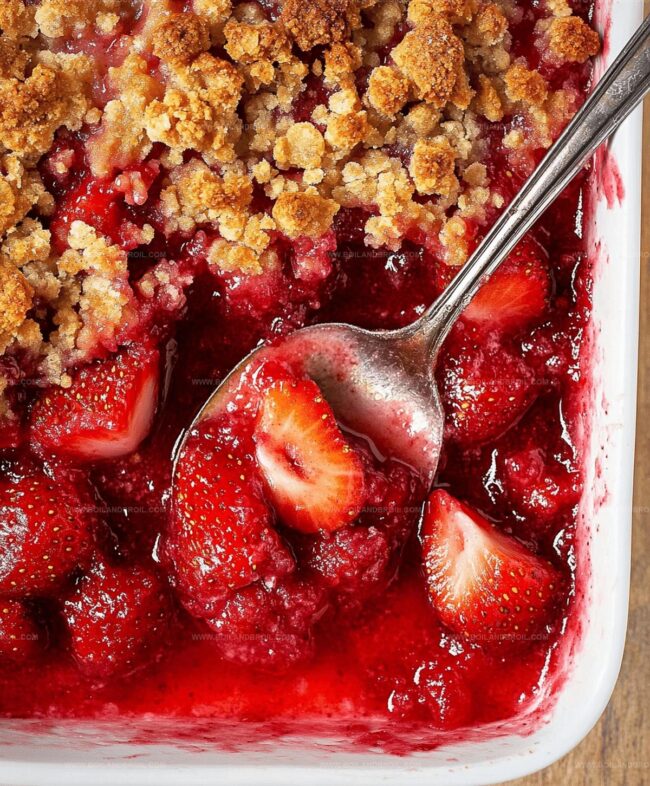
The filling should be bubbling around the edges and have a slightly thickened consistency when it’s done. The strawberries will look soft and slightly broken down.
You can use a pastry cutter or two knives to cut the cold butter into the dry ingredients until you achieve a coarse, crumbly texture similar to wet sand.
Cornstarch helps thicken the strawberry juices and prevents the crisp from becoming too watery. It’s an important ingredient for achieving the right consistency.
Print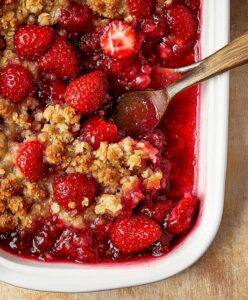
Strawberry Crisp Recipe
- Total Time: 1 hour
- Yield: 8 1x
Description
Homemade strawberry crisp dazzles dessert enthusiasts with its perfect balance of sweet, juicy berries and crunchy oat topping. Warm summer flavors merge in this classic American treat that brings comfort and joy to your table.
Ingredients
Main Ingredients:
- 5 cups (1.2 liters) fresh strawberries, hulled and quartered
- 1 cup (120 grams) flour
- 1 cup (90 grams) rolled oats
Sweeteners and Binding Agents:
- 1/4 cup (50 grams) sugar
- 3/4 cup (165 grams) brown sugar, packed
- 3 tablespoons (24 grams) cornstarch
Flavor Enhancers and Other Ingredients:
- 1/2 cup (113 grams) butter, very cold and diced
- 1 teaspoon vanilla extract
- 1/4 teaspoon salt
- 1 teaspoon cinnamon
Instructions
- Preheat the oven to 350°F and coat a 9×13-inch baking dish with cooking spray to prevent sticking and ease cleanup.
- Hull and quarter strawberries, then combine them in a large mixing bowl with sugar, vanilla extract, and cornstarch. Gently toss until strawberries are evenly coated and juices begin to release.
- Transfer the strawberry mixture to the prepared baking dish, spreading it into a uniform layer.
- In a food processor, blend flour, cold butter, white sugar, brown sugar, salt, and cinnamon until the mixture resembles coarse crumbs.
- Move the crumb mixture to a separate bowl and fold in rolled oats, using hands or a fork to integrate them gently without creating dense clumps.
- Distribute the oat-crumb topping evenly over the strawberry layer, ensuring complete fruit coverage.
- Bake for 40-45 minutes, or until the topping turns golden brown and the filling bubbles around the edges.
- Remove from oven and allow the crisp to cool for 10-15 minutes, which helps the filling set and makes serving easier.
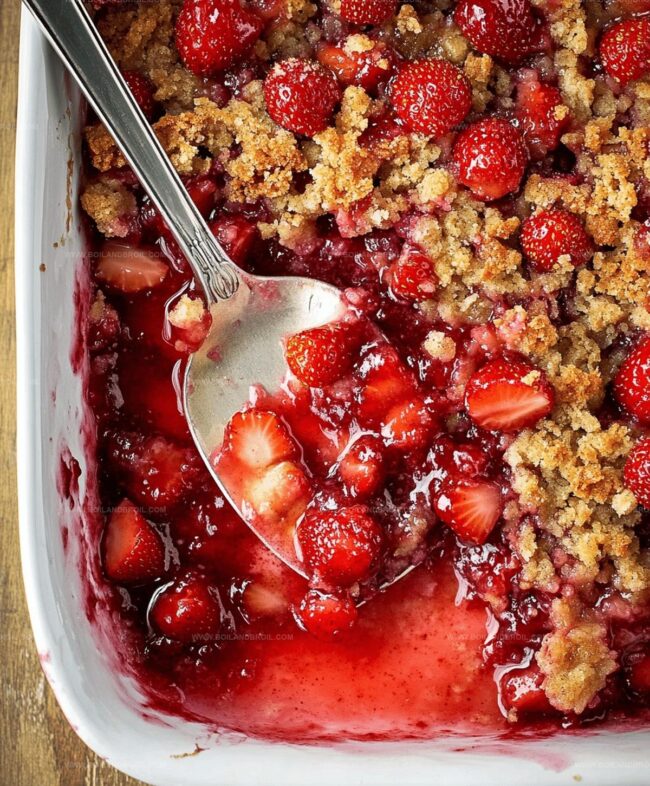
- Serve warm, allowing the vibrant strawberry filling and crispy topping to showcase their delightful textures and flavors.
Notes
- Choose ripe, in-season strawberries for maximum sweetness and flavor intensity that elevates the entire dessert.
- Replace some strawberries with other berries like raspberries or blackberries to create a mixed berry crisp variation.
- Add a sprinkle of sliced almonds or chopped pecans into the topping for extra crunch and nutty complexity.
- For a gluten-free version, swap regular flour with almond flour or a gluten-free blend and use certified gluten-free oats.
- Prep Time: 15 minutes
- Cook Time: 45 minutes
- Category: Desserts, Snacks
- Method: Baking
- Cuisine: American
Nutrition
- Serving Size: 8
- Calories: 200
- Sugar: 12 g
- Sodium: 60 mg
- Fat: 9 g
- Saturated Fat: 5 g
- Unsaturated Fat: 3 g
- Trans Fat: 0 g
- Carbohydrates: 30 g
- Fiber: 3 g
- Protein: 2 g
- Cholesterol: 20 mg
Clara Thompson
Recipe Developer & Culinary Educator
Expertise
Developing accessible single-serving recipes, Food writing and content creation, Plant-based and allergen-friendly cooking, Culinary education and workshop facilitation
Education
Oregon Culinary Institute (Portland, OR)
Diploma in Culinary Arts
Specialized in plant-based cooking and sustainable kitchen practices.
Portland Community College
Certificate in Food Writing and Media
Focused on recipe writing, food photography, and digital content creation.
Clara’s food journey began with a curiosity for color, texture, and ingredients pulled straight from the garden. Her background in plant-forward cooking and creative writing gives her a unique edge – she makes healthy, flavorful food feel inviting, not intimidating.
She specializes in meals that work for busy lives and different diets, all without sacrificing taste. Clara’s voice comes through in every recipe she writes – clear, kind, and encouraging.