The Ultimate Sushi Bake Recipe: A Tasty Twist on Tradition
Creamy, cheesy sushi bake has taken social media by storm with its irresistible fusion of flavors.
California rolls meet casserole in this trendy dish that breaks traditional boundaries.
Layers of seasoned rice, tender fish, and melted cheese create a mouthwatering experience.
Crispy nori wraps add the perfect crunch to this innovative culinary creation.
Home cooks can easily assemble this crowd-pleasing meal in under an hour.
Comfort food meets Japanese-inspired cuisine in a single, delectable pan.
Prepare to impress everyone at your next gathering with this showstopping recipe.
Sushi Bake: Why This Cozy Casserole Is a Winner
Sushi Bake Ingredients for the Perfect Layered Dish
Main Ingredients:Flavor Enhancers:Garnish and Toppings:Simple Steps to a Flavorful Sushi Bake
Step 1: Prepare Perfect Rice Base
Wash sushi rice thoroughly under running water until the water runs crystal clear.
Cook the rice following package guidelines, then gently fold in rice vinegar while the rice is still warm, creating a delightful flavor foundation.
Step 2: Craft Creamy Seafood Filling
Grab a mixing bowl and combine:Blend these ingredients until they create a smooth, luxurious mixture that promises incredible taste.
Step 3: Set Up Baking Magic
Preheat your oven to a toasty 350F (175C).
Spread the prepared rice evenly across a baking dish, creating a uniform layer that will serve as the delicious canvas for your sushi bake.
Step 4: Layer and Bake to Perfection
Carefully spread the seafood mixture over the rice, ensuring an even coverage.
Slide the dish into the preheated oven and bake for 20-25 minutes until the top turns golden and starts bubbling with tantalizing promise.
Step 5: Garnish and Serve with Flair
Pull the sushi bake from the oven and immediately dress it up with:Serve hot and watch everyone dive in with excitement!
Tips for Sushi Bake That’s Creamy and Savory Every Time
Storage and Reheating for Fresh-Tasting Sushi Bake
Sushi Bake Pairings: What to Serve for a Balanced Meal
Sushi Bake – Creative Ways to Customize Your Dish
FAQs
Salmon and tuna are ideal choices because they have rich flavors and smooth textures that blend perfectly with cream cheese and spicy mayo.
The heat level depends on the amount of spicy mayo you add. You can control the spiciness by adjusting the quantity to suit your taste preferences.
Prepare the rice and fish mixture in advance, but bake just before serving to maintain the crispy top and fresh texture.
No special equipment is required. A standard baking dish and basic kitchen tools are all you need to create this delicious dish.
Print
Sushi Bake Recipe
- Total Time: 40 minutes
- Yield: 4 1x
Description
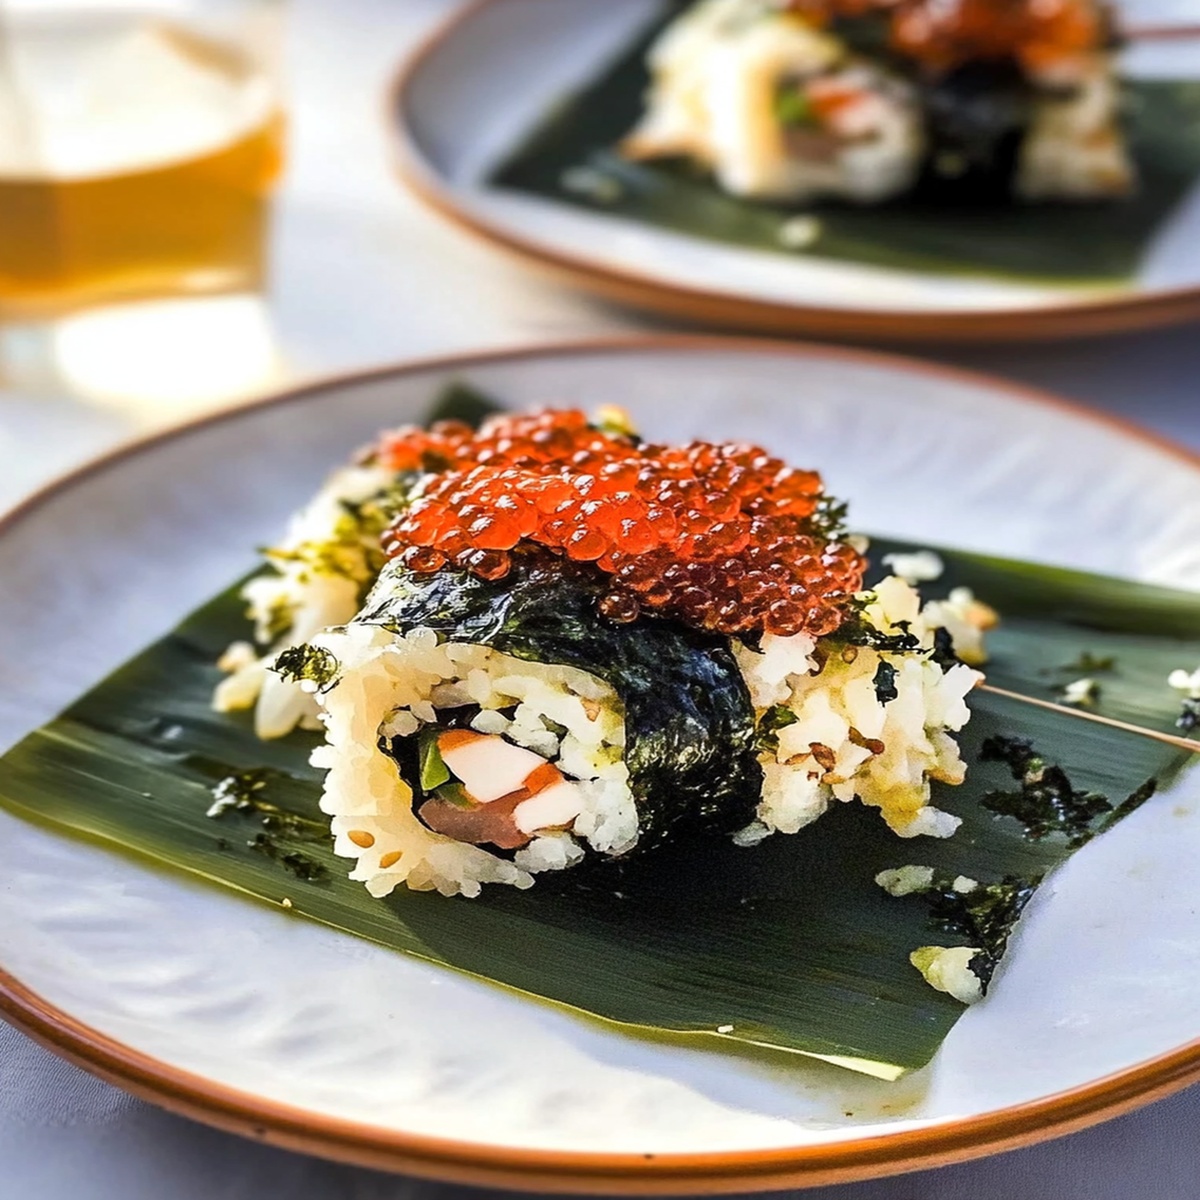
Creamy California roll-inspired Sushi Bake brings Japanese fusion magic to dinner tables. Layers of seasoned rice, imitation crab, cream cheese, and nori create a comforting casserole you’ll devour with crisp seaweed sheets.
Ingredients
Main Ingredients:
- 1 cup sushi rice
- 1 cup sushi-grade fish (salmon or tuna), diced
- 4 oz (113 grams) cream cheese, softened
- 4 nori sheets, cut into strips
Seasoning and Sauce:
- 2 tablespoons rice vinegar
- 2 tablespoons spicy mayo (mayonnaise + Sriracha)
Garnish:
- 1 sliced avocado
- 2 chopped green onions
Instructions
- Thoroughly rinse sushi rice under cold running water until the water runs crystal clear, then prepare according to package guidelines. Gently fold rice vinegar into the warm rice, creating a glossy and flavorful base.
- Create a creamy seafood blend by mixing diced fish with softened cream cheese, then incorporate spicy mayo until ingredients are uniformly combined.
- Heat the oven to 350F (175C), ensuring precise temperature for optimal cooking results.
- Distribute the prepared sushi rice evenly across a baking dish, forming a smooth, compact layer that will serve as the foundation of the dish.
- Carefully spread the seasoned fish and cream cheese mixture over the rice, ensuring complete and uniform coverage for balanced flavor in every bite.
- Place the assembled dish into the preheated oven and bake for 20-25 minutes, watching for a golden-brown surface and bubbling edges that indicate perfect doneness.
- Once removed from the oven, garnish with delicate slices of creamy avocado and finely chopped green onions to add freshness and visual appeal.
- Serve immediately alongside crisp nori strips, allowing guests to create their own delightful rolls or enjoy the bake as a standalone dish.
Notes
- Customize rice texture by adjusting water ratio for perfect sticky consistency without becoming mushy.
- Experiment with alternative protein options like tofu, shredded crab, or cooked shrimp for dietary flexibility.
- Enhance flavor depth by adding a sprinkle of furikake or toasted sesame seeds before baking for extra crunch and umami.
- Keep serving temperature in mind; let dish rest for 5 minutes after baking to allow flavors to meld and prevent burning your mouth.
- Prep Time: 15 minutes
- Cook Time: 25 minutes
- Category: Dinner, Appetizer
- Method: Baking
- Cuisine: Japanese
Nutrition
- Serving Size: 4
- Calories: 400
- Sugar: 2g
- Sodium: 500mg
- Fat: 20g
- Saturated Fat: 6g
- Unsaturated Fat: 10g
- Trans Fat: 0g
- Carbohydrates: 40g
- Fiber: 4g
- Protein: 15g
- Cholesterol: 30mg
Jack Sullivan
Founder & Culinary Storyteller
Expertise
Single-recipe development with a narrative approach, Culinary storytelling and food history, Seasonal and regional ingredient utilization, Home cooking techniques adapted for modern kitchens
Education
New England Culinary Institute (Montpelier, VT)
Certificate in Culinary Arts
Focused on farm-to-table cooking, sustainable practices, and modern plating techniques.
Asheville-Buncombe Technical Community College
Associate Degree in Culinary Arts
Emphasized Southern Appalachian cuisine and local ingredient sourcing.
Jack grew up surrounded by smoky skillets and handwritten recipes in the mountains of North Carolina. His roots in Appalachian cooking shaped the way he sees food – as something that connects people, tells a story, and holds meaning.
With hands-on training and a background in sustainable, regional cooking, Jack started Boil And Broil to make meaningful meals more accessible. He’s all about one-dish recipes that are simple to follow but rich with flavor and history.